Introdução
This instruction manual provides detailed guidance for the safe installation, operation, and maintenance of your Troy Lighting Tristan 12-Light Semi-Flush Mount fixture, Model C2812-PBR. Please read all instructions carefully before beginning installation and retain this manual for future reference.
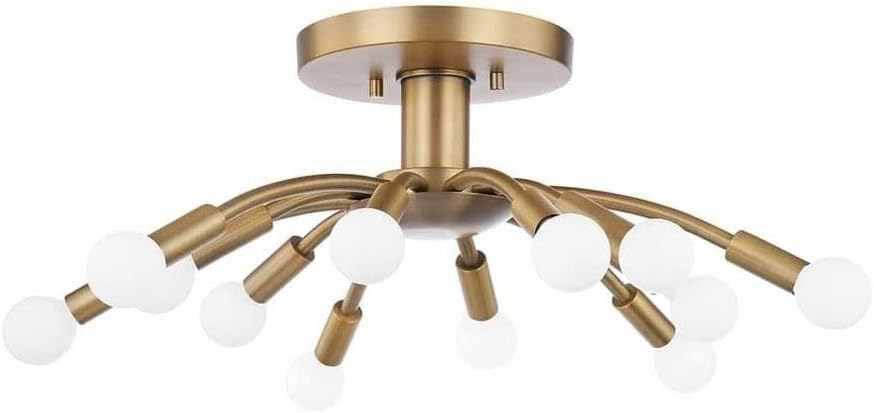
This image displays the complete Troy Lighting Tristan 12-Light Semi-Flush Mount fixture. It features a central brass canopy that attaches to the ceiling, with twelve radiating arms of varying lengths, each terminating in a bulb socket. The fixture has a modern, sputnik-like design, showcasing its brass finish and the arrangement of its light sources.
Informações de segurança
AVISO: Risco de choque elétrico. Desligue a energia na caixa de fusíveis ou disjuntor antes da instalação ou manutenção.
- Todas as conexões elétricas devem estar em conformidade com as normas e regulamentos locais ou com o Código Elétrico Nacional (NEC). Consulte um eletricista qualificado se não estiver familiarizado com as conexões elétricas adequadas.
- Este produto destina-se apenas ao uso interno.
- Certifique-se de que a superfície de montagem suporte o peso da luminária.
- Não exceda a temperatura máximatage specified for each bulb socket.
- Use óculos de segurança e luvas durante a instalação.
- Never connect the fixture to a power source while it is still in the packaging.
Conteúdo da embalagem
Verifique se todos os componentes estão presentes antes de descartar os materiais de embalagem.
- Fixture Body (with pre-attached arms and wiring)
- Mounting Plate/Crossbar
- Mounting Screws and Wire Nuts
- Manual de instruções
Observação: Light bulbs are not included and must be purchased separately. This fixture requires 12 incandescent bulbs, maximum 60 watts each.
Ferramentas necessárias
- Chave de fenda Phillips
- Chave de fenda de cabeça chata
- Alicates de decapagem de fios
- Fita isolante
- Escada (se necessário)
- Óculos de segurança
Configuração e instalação
Follow these steps carefully to install your semi-flush mount fixture.
- Desligar a energia: Locate the circuit breaker or fuse box that supplies power to the fixture location. Turn off the main power switch. Verify power is off using a voltage testador.
- Prepare-se para a Instalação: Carefully unpack the fixture and its components. Lay them out on a clean, soft surface to prevent scratches.
- Instale a placa de montagem: Attach the mounting plate (crossbar) to the electrical junction box in the ceiling using the provided mounting screws. Ensure it is securely fastened.
- Faça conexões elétricas:
- Conecte o preto fio da luminária para o preto Conecte o fio (fase) da caixa de junção usando um conector de fios.
- Conecte o branco fio da luminária para o branco Conecte o fio neutro da caixa de junção usando um conector de fios.
- Conecte o chão fio (cobre nu ou verde) da luminária para o chão Conecte o fio da caixa de junção (ou ao parafuso de aterramento verde na placa de montagem) usando uma porca de fio.
- Certifique-se de que todas as porcas de fio estejam bem apertadas e envolva as conexões com fita isolante para maior segurança.
- Monte o dispositivo: Carefully tuck all wires into the junction box. Align the fixture's canopy with the mounting plate and secure it using the provided screws or nuts, ensuring it sits flush against the ceiling.
- Instalar Lâmpadas: Screw the appropriate incandescent bulbs (max 60W each) into the 12 sockets. Do not overtighten.

Um detalhado view of the Troy Lighting Tristan fixture, focusing on several of its brass-finished arms and the white, spherical bulbs installed in their sockets. This close-up highlights the construction of the arms and the connection points for the bulbs, providing a clearer look at the fixture's material and design elements.
Importante: After installation, restore power at the circuit breaker and test the fixture.
Instruções de operação
The Troy Lighting Tristan fixture operates via a standard wall switch connected to the electrical circuit. Simply toggle the wall switch to turn the light fixture on or off.
Manutenção
Limpeza
To clean the fixture, ensure the power is turned off at the circuit breaker. Use a soft, dry, or slightly damp cloth. Do not use abrasive cleaners, solvents, or polishes as they may damage the finish. Avoid spraying cleaners directly onto the fixture.
Substituição de lâmpada
Before replacing bulbs, turn off the power to the fixture at the circuit breaker and allow bulbs to cool completely. Unscrew the old bulb and screw in a new incandescent bulb (max 60W). Ensure the replacement bulb matches the specified wattage para evitar superaquecimento.
Solução de problemas
| Problema | Possível causa | Solução |
|---|---|---|
| A luminária não acende. | Sem energia para o dispositivo elétrico. | Verifique o disjuntor ou fusível. Certifique-se de que o interruptor de parede esteja ligado. |
| Fiação solta ou incorreta. | Turn off power. Check all wire connections. Re-secure if loose. | |
| Lâmpada(s) defeituosa(s). | Substitua a(s) lâmpada(s) por novas. | |
| As luzes piscam. | Loose bulb or wiring connection. | Turn off power. Tighten bulbs. Check wire connections. |
| Bulbs burn out quickly. | O que está incorretotage lâmpada. | Ensure bulbs do not exceed 60W. |
Especificações
| Número do modelo | C2812-PBR |
| Marca | Troy Iluminação |
| Dimensões (C x L x A) | 25"C x 25"L x 9"A |
| Cor de acabamento | Latão |
| Material | Aluminum, Stainless Steel, Glass |
| Tipo de fonte de luz | Incandescente |
| Número de fontes de luz | 12 |
| Max Wattage por lâmpada | 60 Watts |
| Volumetage | 120 Volts |
| Tipo de montagem | Ceiling Mount (Semi-Flush) |
| Uso interno/externo | Interior |
| Montagem necessária | Sim |
| Peso do item | 8.62 libras |
Garantia
This Troy Lighting fixture is covered by a Garantia limitada do fabricante de 1 anos A garantia é válida a partir da data da compra. Esta garantia cobre defeitos de materiais e de fabricação sob uso normal. Não cobre danos resultantes de instalação incorreta, acidentes, uso indevido, abuso ou modificações não autorizadas. Guarde seu comprovante de compra para eventuais solicitações de garantia.
Apoiar
If you encounter any issues not covered in the troubleshooting section or require further assistance, please contact Troy Lighting customer support. For the most up-to-date contact information, please visit the official Troy Lighting webou consulte a documentação da sua compra.
When contacting support, please have your model number (C2812-PBR) and proof of purchase readily available.


