Introdução
This manual provides essential instructions for the safe and efficient operation, maintenance, and troubleshooting of your KARACA Coffee Art Aroma Filter Coffee Machine. Please read this manual thoroughly before first use and keep it for future reference.
Instruções importantes de segurança
- Leia todas as instruções antes de usar o aparelho.
- Não toque em superfícies quentes. Use alças ou botões.
- Para se proteger contra incêndio, choque elétrico e ferimentos pessoais, não mergulhe o cabo, os plugues ou o aparelho em água ou outro líquido.
- É necessária supervisão rigorosa quando qualquer aparelho for usado por crianças ou perto delas.
- Desligue da tomada quando não estiver em uso e antes de limpar. Deixe esfriar antes de colocar ou retirar peças e antes de limpar o aparelho.
- Não opere nenhum aparelho com o cabo ou plugue danificado ou após o aparelho apresentar mau funcionamento ou ter sido danificado de qualquer forma.
- O uso de acessórios não recomendados pelo fabricante do aparelho pode resultar em incêndio, choque elétrico ou ferimentos às pessoas.
- Não utilize ao ar livre.
- Não deixe o cabo pendurado na borda da mesa ou do balcão, nem toque em superfícies quentes.
- Não coloque sobre ou perto de um queimador a gás ou elétrico quente, nem em um forno aquecido.
- Sempre conecte primeiro o plugue ao aparelho e, em seguida, ligue o cabo na tomada. Para desconectar, gire qualquer controle para a posição "desligado" e, em seguida, retire o plugue da tomada.
- Não utilize o aparelho para outro fim que não o pretendido.
Componentes do produto
Familiarize yourself with the parts of your KARACA Coffee Art Aroma Filter Coffee Machine:

Imagem: Uma explosão view showing the main components of the coffee machine, including the digital display, removable water tank (1.35 L), nylon filter, coffee basket, and stainless steel thermos (1.2 L).
- Tela digital: Shows time and brewing status.
- Painel de controle: Buttons for ON/OFF, START, PROGRAM, AUTO, AROMA FUNCTION, HOUR, MIN.
- Removable Water Tank (1.35 L): Para facilitar o enchimento e a limpeza.
- Nylon Filter: Reusable filter for ground coffee.
- Coffee Basket: Holds the nylon filter and ground coffee.
- Stainless Steel Thermos (1.2 L): Keeps coffee hot for extended periods.
Configuração e primeiro uso
- Desembalagem: Carefully remove all packaging materials and inspect the coffee machine for any damage.
- Limpeza Inicial: Before first use, wash the removable water tank, nylon filter, coffee basket, and thermos with warm, soapy water. Rinse thoroughly and dry. Wipe the exterior of the machine with a damp pano.
- Posicionamento: Place the coffee machine on a stable, flat, heat-resistant surface, away from the edge of the counter. Ensure adequate ventilation around the appliance.
- Primeiro ciclo de preparo (limpeza): Fill the water tank with clean water up to the maximum level. Do not add coffee. Run a full brewing cycle to clean the internal components. Discard the water.
Instruções de operação
Basic Coffee Brewing

Image: A visual guide demonstrating the coffee brewing process, from adding coffee grounds and water to starting the machine and pouring the finished coffee.
- Preparar café: Insert the nylon filter into the coffee basket. Add your desired amount of ground coffee into the filter.
- Adicione água: Fill the removable water tank with fresh, cold water up to the desired level (max 1.35 L). Ensure the thermos is correctly placed on the heating plate.
- Comece a preparar: Press the "ON/OFF" button, then press the "START" button to begin the brewing process. The digital display will show the brewing progress.
- Servir: Once brewing is complete, carefully remove the thermos and pour your coffee. The stainless steel thermos is designed to keep your coffee hot for an extended period.
Usando a função Aroma

Imagem: Uma imagem detalhada view of the coffee machine's control panel, highlighting the digital display and various function buttons, including the 'Aroma Function' button.
The Aroma Function enhances the coffee's flavor for a richer taste.
- Follow steps 1 and 2 for basic brewing.
- Before pressing "START", press the "AROMA FUNCTION" button. An indicator light may illuminate.
- Press "START" to begin brewing with the enhanced aroma setting.
Setting the Timer (Programmable Brewing)

Image: The coffee machine on a wooden table with a cup of coffee, emphasizing the digital display and control panel, indicating the timer function for scheduled brewing.
The timer function allows you to program the machine to start brewing at a specific time.
- Definir hora atual: With the machine plugged in, use the "HOUR" and "MIN" buttons to set the current time on the digital display.
- Prepare-se para a fabricação de cerveja: Add coffee grounds to the filter and fill the water tank as described in the basic brewing section.
- Definir horário do programa: Press the "PROGRAM" button. The display will flash. Use the "HOUR" and "MIN" buttons to set your desired brewing start time.
- Activate Auto Brew: Press the "AUTO" button. An indicator light will confirm that the automatic brewing is set. The machine will now start brewing at the programmed time.
Cuidados e Manutenção
Limpeza diária
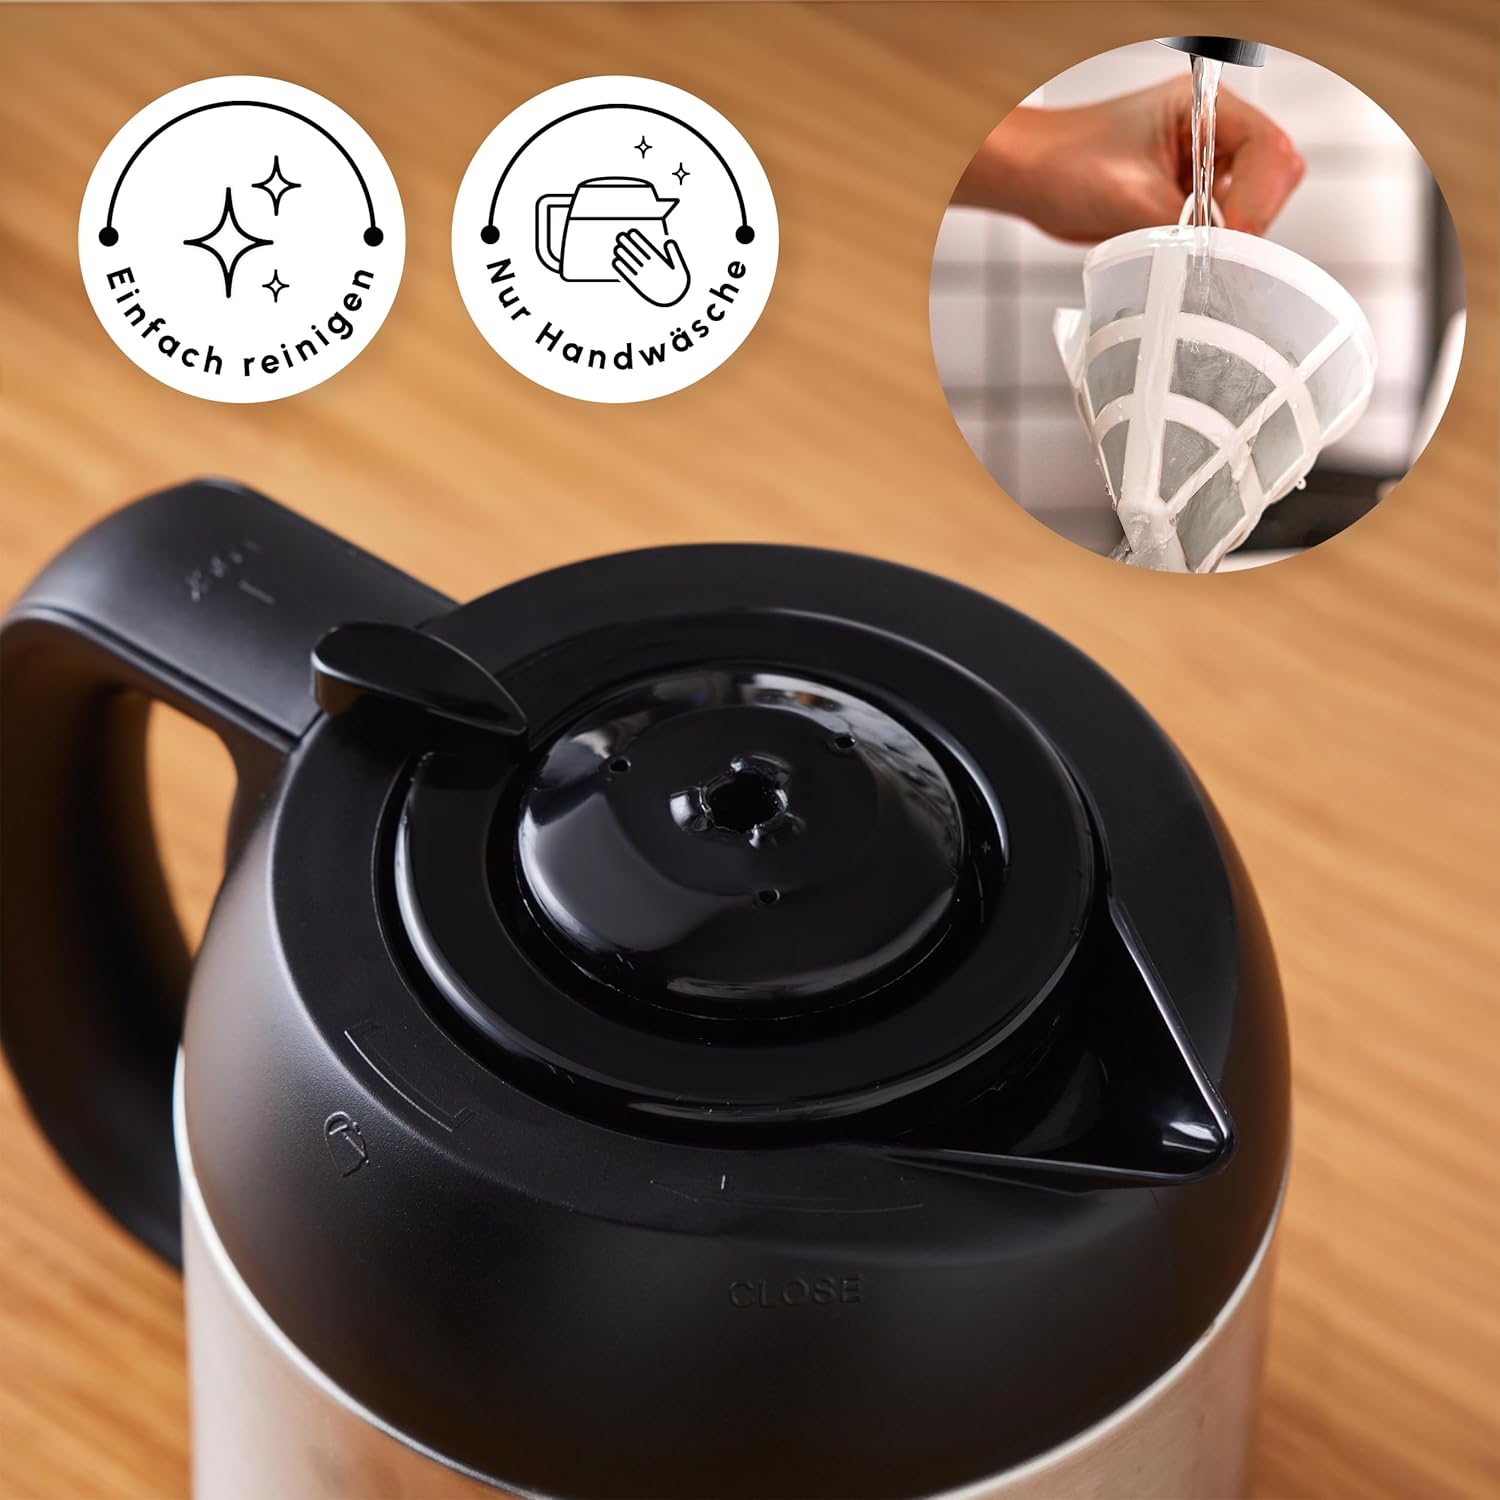
Image: A hand cleaning the reusable nylon filter under a faucet, accompanied by icons signifying easy cleaning and the recommendation for hand washing.
- Desconecte: Always unplug the coffee machine from the power outlet before cleaning.
- Lavar peças removíveis: Remove the water tank, nylon filter, coffee basket, and thermos. Wash them with warm, soapy water. Rinse thoroughly and dry completely. The nylon filter should be hand-washed.
- Limpe o exterior: Limpe a parte externa da máquina de café com um pano macio e seco.amp pano. Não use produtos de limpeza abrasivos ou esfregões.
- Não mergulhe: Nunca mergulhe a unidade principal da máquina de café em água ou qualquer outro líquido.
Descalcificação
Mineral deposits from water can build up in your coffee machine over time, affecting performance and coffee taste. Regular descaling is essential.
- Freqüência: The frequency of descaling depends on the hardness of your water and how often you use the machine. A general recommendation is every 2-4 weeks.
- Solução de descalcificação: Use a commercially available descaling solution suitable for coffee machines, or a mixture of white vinegar and water (1 part vinegar to 2 parts water).
- Processo: Fill the water tank with the descaling solution. Place the empty thermos on the heating plate. Run a full brewing cycle.
- Ciclos de enxágue: After the descaling cycle, discard the solution. Fill the water tank with clean water and run at least two full brewing cycles with only water to rinse out any remaining descaling solution.
Solução de problemas
| Problema | Possível causa | Solução |
|---|---|---|
| Coffee does not brew or stops mid-cycle. | Machine needs descaling; water tank empty; power interruption. | Perform descaling procedure; ensure water tank is filled; check power connection. |
| O café não está quente o suficiente. | Thermos not properly sealed; thermos not pre-heated. | Ensure thermos lid is securely closed; pre-heat thermos with hot water before brewing. |
| Plastic taste in coffee. | New machine residue; insufficient initial cleaning. | Run several cycles with only water; ensure all removable parts are thoroughly cleaned. If problem persists, contact customer support. |
| Digital display or controls not responding. | Power issue; temporary electronic glitch. | Unplug the machine for a few minutes, then plug it back in. If the issue persists, contact customer support. |
Especificações técnicas

Image: The coffee machine with its key dimensions labeled, including height, width, and depth, along with the power cord length.
- Marca: ROE
- Número do modelo: 153.03.06.2270
- Cor: Inox (aço inoxidável)
- Dimensões do produto (C x L x A): 22 x 22 x 34 cm
- Capacidade do tanque de água: 1.35 litros
- Thermos Capacity: 1.2 litros
- Poder: 1000 Watts
- Volumetage: 230 Volts
- Material: Aço inoxidável
- Peso: 3.88 quilos
- Características especiais: Programmable, Timer Function, Aroma Function, Digital Clock, Large Control Panel, Removable Water Tank, Reusable Nylon Filter
Garantia e Suporte ao Cliente
For warranty information, please refer to the documentation included with your product packaging or visit the official KARACA website. For technical support, spare parts, or service inquiries, please contact KARACA customer service through their official channels.


