1. Introdução e Produto Acimaview
The SHARP GC52BEB is a versatile kitchen appliance combining microwave, grill, and convection oven functions. Designed for efficiency and ease of use, it features a 25-liter capacity, 900W microwave power, 1200W grill power, and 2050W convection power. This appliance offers 11 power levels and 14 automatic programs, including a defrost function based on time and weight. Its flatbed design ensures easy cleaning and maximizes usable space.
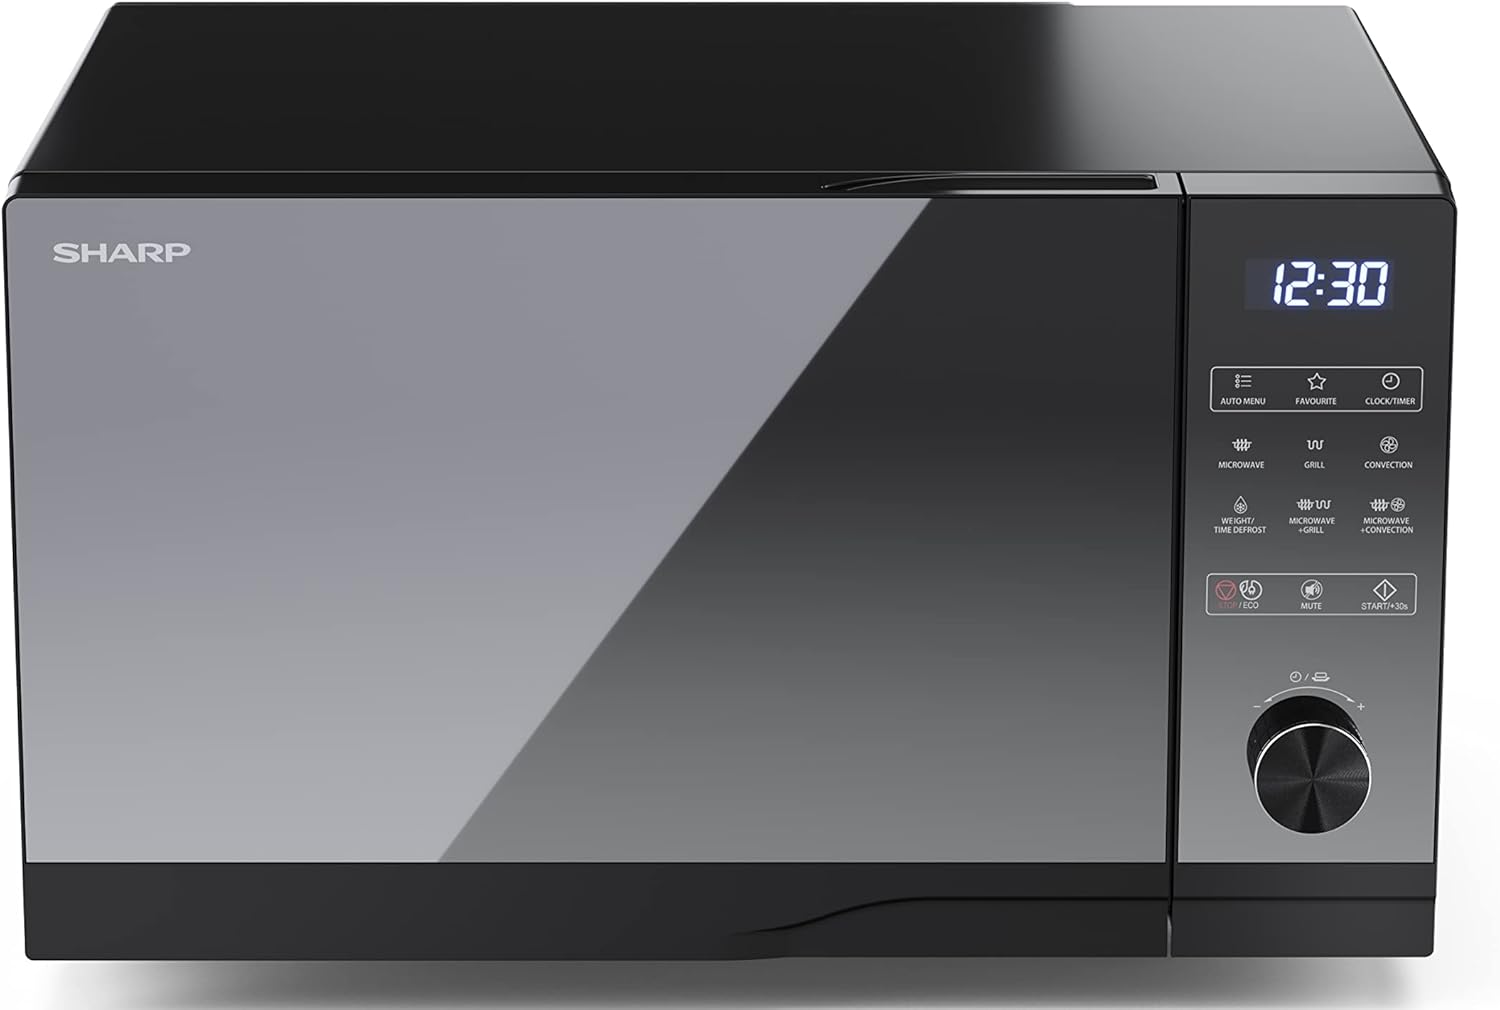
Figura 1: Frente view of the SHARP GC52BEB microwave oven.
2. Instruções importantes de segurança
Sempre siga as precauções básicas de segurança ao usar aparelhos elétricos para reduzir o risco de incêndio, choque elétrico, ferimentos ou exposição excessiva à energia de micro-ondas.
- Leia todas as instruções antes de usar o aparelho.
- Do not operate the oven if it is damaged or malfunctioning. Contact qualified service personnel for repair.
- Garanta uma ventilação adequada. Não obstrua nenhuma abertura de ventilação.
- Não aqueça líquidos ou outros alimentos em recipientes fechados, pois podem explodir.
- Never use metal utensils, foil, or dishes with metallic trim in the microwave mode, as this can cause arcing.
- Supervisione as crianças de perto quando o aparelho estiver em uso.
- Não tente fazer issoamper with, adjust, or repair the door, control panel, safety interlock switches, or any other part of the oven.
- Limpe o forno regularmente e remova quaisquer depósitos de alimentos. Deixar de manter o forno em condições de limpeza pode levar à deterioração da superfície, o que pode afetar adversamente a vida útil do aparelho e possivelmente resultar em uma situação perigosa.
3. Componentes do produto
The SHARP GC52BEB microwave oven includes the following main components and accessories:
- Oven Cavity (interior)
- Control Panel with Touch Buttons and Rotary Dial
- Porta do forno com alça
- Grill Rack (for grilling)
- Assadeira (para cozimento por convecção)
- Cabo de alimentação

Figura 2: Interior view with grill rack.
4. Configuração
4.1 Desembalagem
Carefully remove the microwave oven and all packing materials from the carton. Check the oven for any damage, such as dents or a misaligned door. Do not operate the oven if it is damaged. Retain packaging materials for future transport if needed.
4.2 Posicionamento
Place the oven on a flat, stable surface that can support its weight. Ensure there is adequate ventilation space around the oven: at least 20 cm (8 inches) above, 10 cm (4 inches) at the rear, and 5 cm (2 inches) on each side. Do not place the oven near heat sources or in a damp ambiente.
4.3 Conexão de Energia
Conecte o cabo de alimentação a uma tomada elétrica aterrada. Certifique-se de que o volumetage corresponde às especificações do aparelho.
5. Instruções de operação
5.1 Painel de controle sobreview
The control panel features a digital display, touch buttons for various functions (e.g., Microwave, Grill, Convection, Auto Menu, Defrost), and a rotary dial for setting time, weight, or temperature. Refer to the labels on the control panel for specific functions.
5.2 Ajustando o Relógio
- Press the 'CLOCK/TIMER' button.
- Use the rotary dial to set the hour. Press 'CLOCK/TIMER' again to confirm.
- Use the rotary dial to set the minutes. Press 'CLOCK/TIMER' again to confirm.
5.3 Cozinhar no Microondas
- Coloque o alimento em um recipiente próprio para micro-ondas dentro do forno.
- Press the 'MICROWAVE' button repeatedly to select the desired power level (e.g., 900W, 700W, etc.).
- Use the rotary dial to set the cooking time.
- Press 'START/+30s' to begin cooking.
5.4 Cozinhar na grelha
- Coloque os alimentos na grelha fornecida.
- Press the 'GRILL' button.
- Use o botão giratório para definir o tempo de grelha.
- Press 'START/+30s' to begin.
5.5 Convection Cooking (Hot Air)
- Place food on the baking tray or a heat-resistant dish.
- Press the 'CONVECTION' button.
- Use the rotary dial to set the desired temperature. Press 'CONVECTION' again to confirm.
- Use the rotary dial to set the cooking time.
- Press 'START/+30s' to begin.
5.6 Cozinha Combinada
The oven offers combination modes (Microwave + Grill, Microwave + Convection) for faster and more thorough cooking. Refer to the specific icons on the control panel and the full manual for detailed instructions on setting these modes.
5.7 Função de descongelamento
The defrost function allows you to defrost food by weight or time.
- Press the 'WEIGHT/TIME DEFROST' button.
- Use the rotary dial to select either weight or time, and adjust the value accordingly.
- Press 'START/+30s' to begin defrosting.
5.8 programas automáticos
The oven includes 14 automatic programs for various food types. Press the 'AUTO MENU' button and use the rotary dial to select the desired program. Follow the on-screen prompts for weight or quantity, then press 'START/+30s'.
5.9 Bloqueio para crianças
To activate the child lock, press and hold the 'STOP/ECO' button for 3 seconds until a lock indicator appears on the display. To deactivate, press and hold the 'STOP/ECO' button again for 3 seconds.
5.10 Função Eco
The Eco function helps reduce energy consumption. Press the 'STOP/ECO' button briefly to activate or deactivate this mode. In Eco mode, the display may dim or turn off after a period of inactivity.
6. Limpeza e Manutenção
A limpeza regular e a manutenção adequada garantirão a longevidade e o desempenho ideal do seu forno de micro-ondas.
- Exterior: Limpe as superfícies externas com adamp pano e detergente neutro. Evite produtos de limpeza abrasivos.
- Interior: The flatbed design makes the interior easy to clean. Wipe the oven cavity with a damp cloth after each use. For stubborn food spills, place a bowl of water with lemon juice inside and microwave for a few minutes to loosen residue, then wipe clean.
- Porta e Vedação: Limpe cuidadosamente a porta, as borrachas de vedação e as partes adjacentes com um produto de limpeza.amp pano para remover qualquer derramamento ou respingo.
- Acessórios: Wash the grill rack and baking tray in warm, soapy water.
- Desligar: Desligue sempre o aparelho da tomada antes de limpá-lo.
7. Solução De Problemas
If you encounter problems with your microwave oven, refer to the following table for common issues and solutions.
| Problema | Possível causa | Solução |
|---|---|---|
| O forno não liga. | Cabo de alimentação não conectado; Porta não fechada corretamente; Fusível queimado ou disjuntor desarmado. | Certifique-se de que o cabo de alimentação esteja firmemente conectado; Feche bem a porta; Verifique o fusível/disjuntor da residência. |
| A comida não está esquentando. | Porta não fechada corretamente; Tempo de cozimento/nível de potência configurados incorretamente. | Ensure door is fully closed; Adjust cooking time and power level. |
| Ruído incomum durante a operação. | Metal objects inside; Appliance not on a level surface. | Remove any metal objects; Place the oven on a flat, stable surface. |
| Display shows 'LOCK'. | O bloqueio para crianças está ativado. | Press and hold the 'STOP/ECO' button for 3 seconds to deactivate. |
Se o problema persistir após tentar essas soluções, entre em contato com o suporte ao cliente.
8. Especificações
Key technical specifications for the SHARP GC52BEB microwave oven:
- Número do modelo: GC52BEB
- Fabricante: AFIADO
- Potência de microondas: 900 W
- Potência da grelha: 1200 W
- Poder de convecção: 2050 W
- Capacidade: 25 litros
- Dimensões do produto (C x L x A): 28.7 x 49 x 49.5 cm
- Peso: 18.6 kg
- Cor: Preto
- Características especiais: Electronic control, Flat design (easy to clean), Timer function, Clock, Child lock, Silent mode, Oven cavity lighting, Eco function.
- Tipo de instalação: Freestanding
- Material: Aço Inoxidável, Vidro

Figure 3: SHARP GC52BEB dimensions.
9. Garantia e Suporte
This SHARP appliance comes with a standard manufacturer's warranty. Please refer to the warranty card included in your product packaging for specific terms, conditions, and duration of coverage. Keep your proof of purchase for warranty claims.
For technical assistance, spare parts, or service inquiries, please contact SHARP customer support. Contact details can typically be found on the manufacturer's official webno site ou na documentação da garantia.


