Introdução
Welcome to the Ducky One 3 Mini Aura 60% Mechanical Keyboard. This manual provides essential information for setting up, operating, and maintaining your new keyboard. The Ducky One 3 series incorporates the innovative QUACK Mechanics design philosophy, focusing on enhanced aesthetics, hot-swappable functionality, superior sound dampening, and improved stabilizers.
Your Ducky One 3 Mini Aura features a low-profile case with a unique 3-layer design, allowing for vibrant RGB lighting. It includes a silicone plate dampener and EVA foam case dampener for optimal acoustics. The keyboard is equipped with hot-swappable Kailh Yellow Sockets, Ducky's V2 stabilizers for improved stability, and 3-level adjustable feet. The keycaps are Double Shot Pudding style PBT, offering durability and enhanced RGB illumination.
Conteúdo da embalagem
Certifique-se de que todos os itens estejam presentes em sua embalagem:
- Ducky One 3 Mini Aura 60% Mechanical Keyboard
- Cabo USB-C
Configurar
Conectando o teclado
- Localize a porta USB-C na parte traseira do teclado.
- Conecte o cabo USB-C fornecido ao teclado.
- Connect the other end of the USB-A connector to an available USB port on your computer.
- O teclado será reconhecido automaticamente pelo seu sistema operacional.

Image: The Ducky One 3 Mini Aura keyboard connected to its detachable USB-C cable.
Ajustando a altura do teclado
The keyboard features 3-level adjustable feet on the underside. Flip out the desired feet to achieve your preferred typing angle.
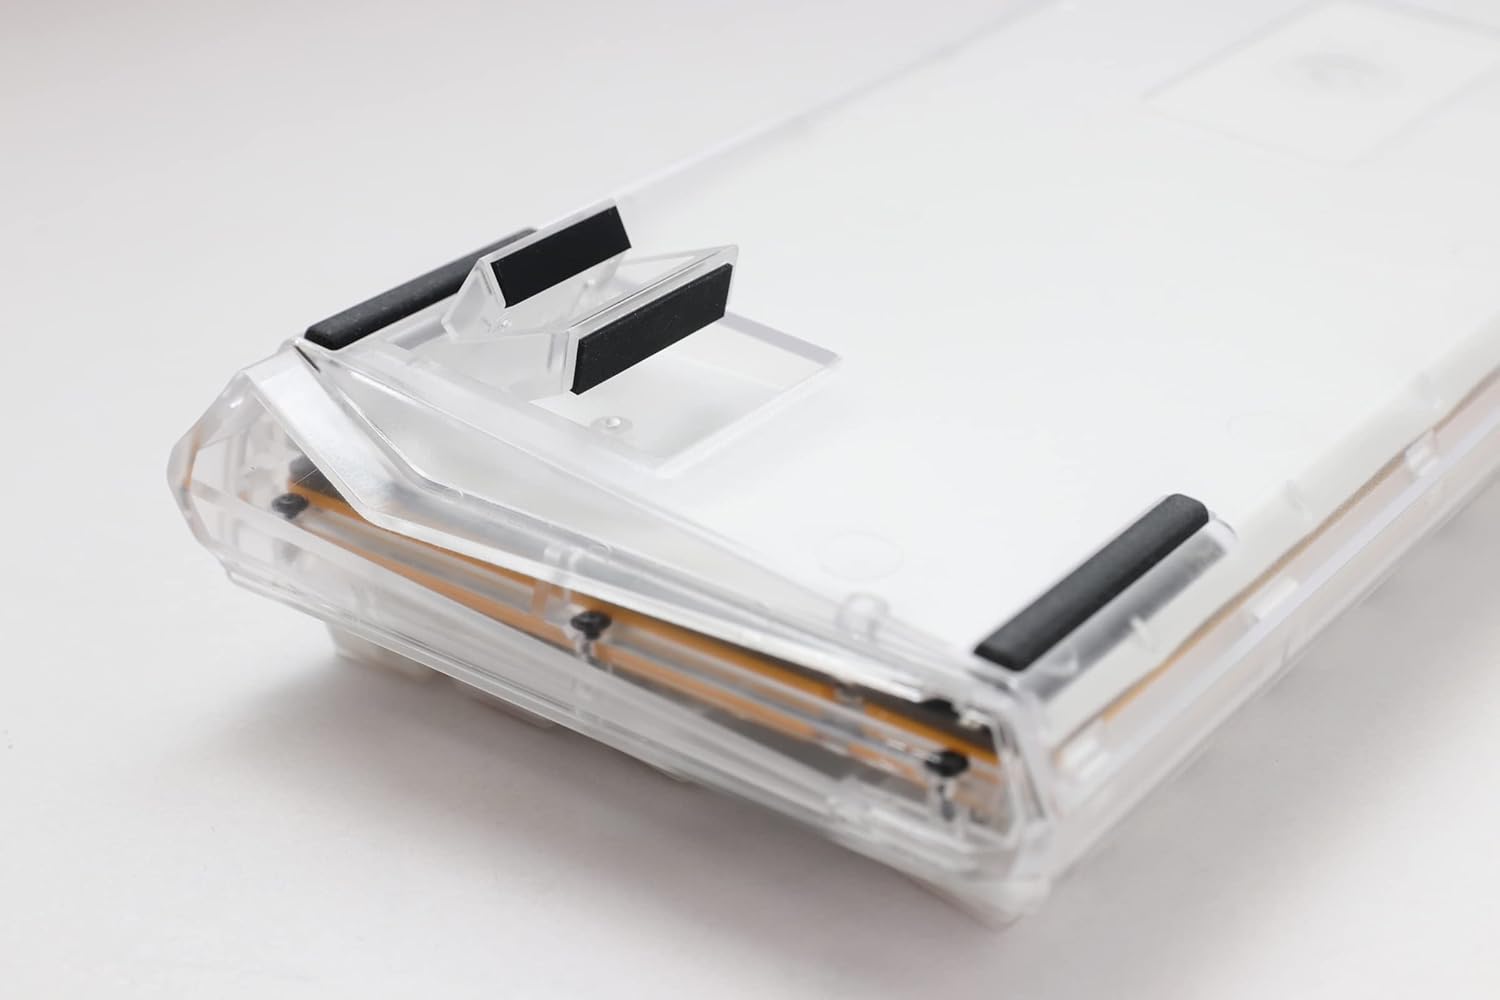
Image: The underside of the Ducky One 3 Mini Aura keyboard, highlighting the adjustable feet for ergonomic positioning.
Instruções de operação
Funções básicas do teclado
The Ducky One 3 Mini Aura functions as a standard 60% mechanical keyboard. Refer to the keycap legends for primary functions. Secondary functions are typically accessed via the Fn key combination.

Imagem: Uma visão de cima para baixo view of the Ducky One 3 Mini Aura 60% mechanical keyboard, showcasing its compact layout and white keycaps.
Iluminação RGB
The keyboard features per-key programmable RGB lighting. Various lighting modes and customization options are available directly on the keyboard. Consult the official Ducky website or included quick guide for detailed instructions on changing lighting effects and colors.
Funções de macro
The Ducky One 3 Mini Aura supports a remapped macro layout, allowing users to program custom key sequences. Specific instructions for macro recording and assignment can be found in the comprehensive user guide available on the Ducky support page.
Interruptores de troca a quente
Your Ducky One 3 Mini Aura is equipped with a hot-swappable PCB and Kailh Yellow Sockets, allowing you to change mechanical switches without soldering. This feature enables customization of typing feel and sound.
- Desligar: Disconnect the keyboard from your computer before attempting to remove or install switches.
- Remover tecla: Utilize um extrator de teclas para remover cuidadosamente a tecla desejada.
- Remover interruptor: Use um extrator de interruptores para segurar cuidadosamente as presilhas superior e inferior do interruptor e puxe-o para cima em linha reta.
- Instalar novo interruptor: Align the pins of the new switch with the holes on the PCB. Gently press the switch down until it clicks into place. Ensure the pins are not bent.
- Substituir tecla: Recoloque a tecla na nova haste do interruptor.
Vídeo: Um excessoview of the Ducky One 3 series, demonstrating features like hot-swappable switches and the QUACK Mechanics design philosophy.
Manutenção
Limpando seu teclado
- Desconecte o teclado do computador.
- Use uma escova macia ou ar comprimido para remover poeira e detritos entre as teclas.
- For stubborn dirt, gently remove keycaps using a keycap puller and clean the exposed switches and plate with a damp pano (certifique-se de que não esteja pingando).
- Clean keycaps with mild soap and water, then dry thoroughly before reattaching.
Cuidados Gerais
Avoid exposing the keyboard to extreme temperatures, direct sunlight, or liquids. Do not attempt to disassemble the keyboard beyond switch and keycap removal, as this may void your warranty.
Solução de problemas
Teclado não responde
- Certifique-se de que o cabo USB-C esteja firmemente conectado tanto ao teclado quanto ao computador.
- Tente conectar o teclado a uma porta USB diferente do seu computador.
- Teste o teclado em outro computador para descartar problemas específicos do sistema.
- Se estiver usando um hub USB, tente conectar diretamente ao computador.
Incorrect Key Input or RGB Issues
- Perform a factory reset (refer to the official Ducky manual for specific key combinations).
- Ensure no switches are bent or improperly seated if you have recently hot-swapped them.
- Atualize os drivers USB do seu computador, se necessário.
Especificações
| Marca | Patinho |
| Número do modelo | DKON2161ST-BUSPDAWWWWC1 |
| Dimensões do produto | 12.2 x 4.33 x 1.57 polegadas |
| Peso do item | 2.09 libras |
| Descrição do teclado | Mecânico |
| Tecnologia de Conectividade | USB-C |
| Dispositivos compatíveis | PC |
| Recurso especial | Retroiluminado (RGB) |
| Tipo de interruptor | Cherry MX Brown (Hot-Swappable) |
| Material Keycap | Tereftalato de polibutileno (PBT) |
| Estilo | 60% Branco |
| Linguagem | Inglês |
Garantia e Suporte
Garantia do produto
This Ducky keyboard comes with a manufacturer's warranty. Please refer to the warranty card included with your product for specific terms, conditions, and duration. Keep your proof of purchase for warranty claims.
Planos de proteção opcionais
Planos de proteção estendida podem estar disponíveis para compra separadamente:
- Plano de proteção de 3 anos
- Plano de proteção de 4 anos
- Asurion Complete Protect (monthly billing)
These plans offer additional coverage beyond the standard manufacturer's warranty. Review the terms of each plan for details.
Suporte ao cliente
For technical assistance, troubleshooting, or warranty inquiries, please visit the official Ducky website or contact their customer support. You can often find FAQs, driver downloads, and detailed manuals on their support pages.


