1. Introdução
The Vimar 30008.C Ligne Aligned Illuminated Button is a single-pole, normally open (1P NO) push-button switch designed for 10A, 250V applications. It features a replaceable, illuminated button in a hemp finish, offering a sleek and modern aesthetic. This product is part of the Vimar Ligne series, known for its absolute flatness, minimal protrusion, and tactile velvet finish.
Principais características
- Absolute Flatness: Seamless integration with the plate, minimal protrusion (5.7 mm thickness).
- Tactile Velvet Finish: Special laser manufacturing provides a durable, scratch-resistant, and dirt-resistant surface.
- Patented Attachment: Ensures precise installation and easy removal of the front cover.
- Iluminação de fundo: Offers various options for a refined and distinctive illuminated effect.
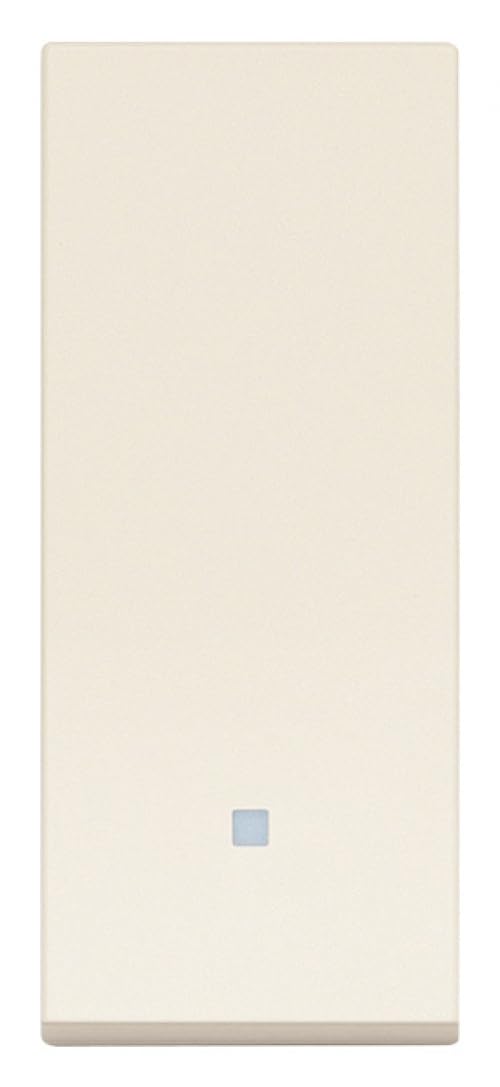
Image 1.1: Vimar 30008.C Ligne Aligned Illuminated Button in hemp color.
2. Configuração e instalação
Proper installation is crucial for the safe and correct operation of the Vimar 30008.C button. It is recommended that installation be performed by a qualified electrician.
2.1 Precauções de segurança
- Desconexão de energia: Always ensure the main power supply to the circuit is turned off at the circuit breaker before commencing any installation or maintenance work.
- Volumetage Verifique: Verifique se o circuito voltage matches the product's specifications (250V~).
- Padrões de fiação: Adhere to all local and national electrical wiring codes and regulations.
2.2 Montagem e Fiação
- Prepare Mounting Box: Ensure the electrical mounting box is securely fixed in the wall and free from debris.
- Conexões de fios:
- Identify the Live (L) and Switched Live (L') terminals on the back of the button module.
- Connect the incoming Live wire from the power supply to the 'L' terminal.
- Connect the wire leading to the electrical load (e.g., light fixture, doorbell) to the 'L'' terminal.
- If backlighting is utilized, connect the backlighting module according to its specific instructions. This module may be integrated or sold separately.
- Certifique-se de que todas as conexões dos fios estejam firmes e seguras para evitar contatos soltos.
- Inserção do Módulo: Carefully align the wired button module with the mounting frame and press it firmly until it snaps into place.
- Fixação da placa: Position the decorative cover plate over the module and secure it, ensuring it sits flush with the wall surface.
- Restauração de energia: Once installation is complete and all components are securely in place, restore power to the circuit from the main circuit breaker.

Image 2.1: Close-up of Vimar Ligne aligned illuminated buttons.
3. Instruções de operação
The Vimar 30008.C functions as a simple push-button switch.
3.1 Operação básica
- Ativação: Press the button firmly to momentarily close the circuit and activate the connected load (e.g., turn on a light, ring a doorbell).
- Desativação: Release the button to open the circuit and deactivate the connected load. As a Normally Open (NO) switch, the circuit remains closed only while the button is pressed.
3.2 Backlighting Functionality
If your Vimar 30008.C button is equipped with a backlighting module, the illumination provides visibility in low-light conditions.
- Illumination State: Typically, the backlighting will be active when the button is in its resting (open circuit) state, making it easy to locate in the dark.
- Personalização: Depending on the specific backlighting module, there may be options for different light intensities or colors. Refer to the backlighting module's separate instructions for advanced settings.

Image 3.1: Vimar Ligne axial keys with LED illumination.
4. Manutenção
Regular care will help maintain the appearance and functionality of your Vimar 30008.C button.
4.1 Limpeza
- Limpeza de superfícies: Use um pano macio e levementeamp cloth to gently wipe the surface of the button and plate.
- Evite produtos químicos agressivos: Do not use abrasive cleaners, solvents, alcohol-based cleaners, or harsh chemicals, as these can damage the tactile velvet finish and the plastic material.
- Secagem: Ensure the surface is dry after cleaning to prevent water spots.
4.2 Inspection and Button Replacement
- Verificação periódica: Periodically inspect the button and its surrounding plate for any signs of wear, damage, or loose components.
- Substituição de botões: The Vimar 30008.C features a replaceable button. If replacement is necessary, ensure the power supply is disconnected. Carefully follow the specific instructions provided with the replacement button for detaching the old one and attaching the new mechanism.
5. Solução De Problemas
If you encounter issues with your Vimar 30008.C button, refer to the following common troubleshooting steps:
| Problema | Possível causa | Solução |
|---|---|---|
| Button not responding / Load not activating | Circuito sem energia Fiação incorreta ou solta Mecanismo do botão emperrado | Verifique o disjuntor e a fonte de alimentação. Verify all wire connections are secure and correct (L and L'). Inspect the button for obstructions; ensure it moves freely. |
| A retroiluminação não está funcionando | Backlighting module incorrectly installed/wired No power to backlighting circuit Faulty LED/light source | Ensure backlighting module is correctly connected as per its instructions. Check power supply to the backlighting circuit. If possible, test with a known good backlighting module or contact support. |
| Button or plate feels loose | Module not fully engaged in frame Mounting frame/box not secure | Press the button module firmly into the mounting frame until it clicks. Tighten the mounting screws of the electrical box. |
If the problem persists after attempting these solutions, please contact a qualified electrician or Vimar customer support.


