Introdução
The DYMO LabelManager 160 is a portable label maker designed for creating high-quality, professional labels. With its intuitive QWERTY keyboard and one-touch fast-formatting keys, you can easily customize labels with various font sizes, text styles, symbols, and clip art. This manual provides essential information for setting up, operating, maintaining, and troubleshooting your device, ensuring optimal performance and longevity.
Configurar
1. Instalação da bateria
The LabelManager 160 requires 6 AAA batteries (not included). To install:
- Abra a tampa do compartimento da bateria na parte traseira do dispositivo.
- Insira 6 pilhas AAA, certificando-se da polaridade correta (+/-).
- Feche bem a tampa do compartimento da bateria.
2. Label Cassette Installation
The device uses DYMO D1 label cassettes. To install a new cassette:
- Open the label compartment cover on the back of the device.
- Insert the label cassette with the label tape facing the print head. Ensure the cassette clicks into place.
- Close the label compartment cover.
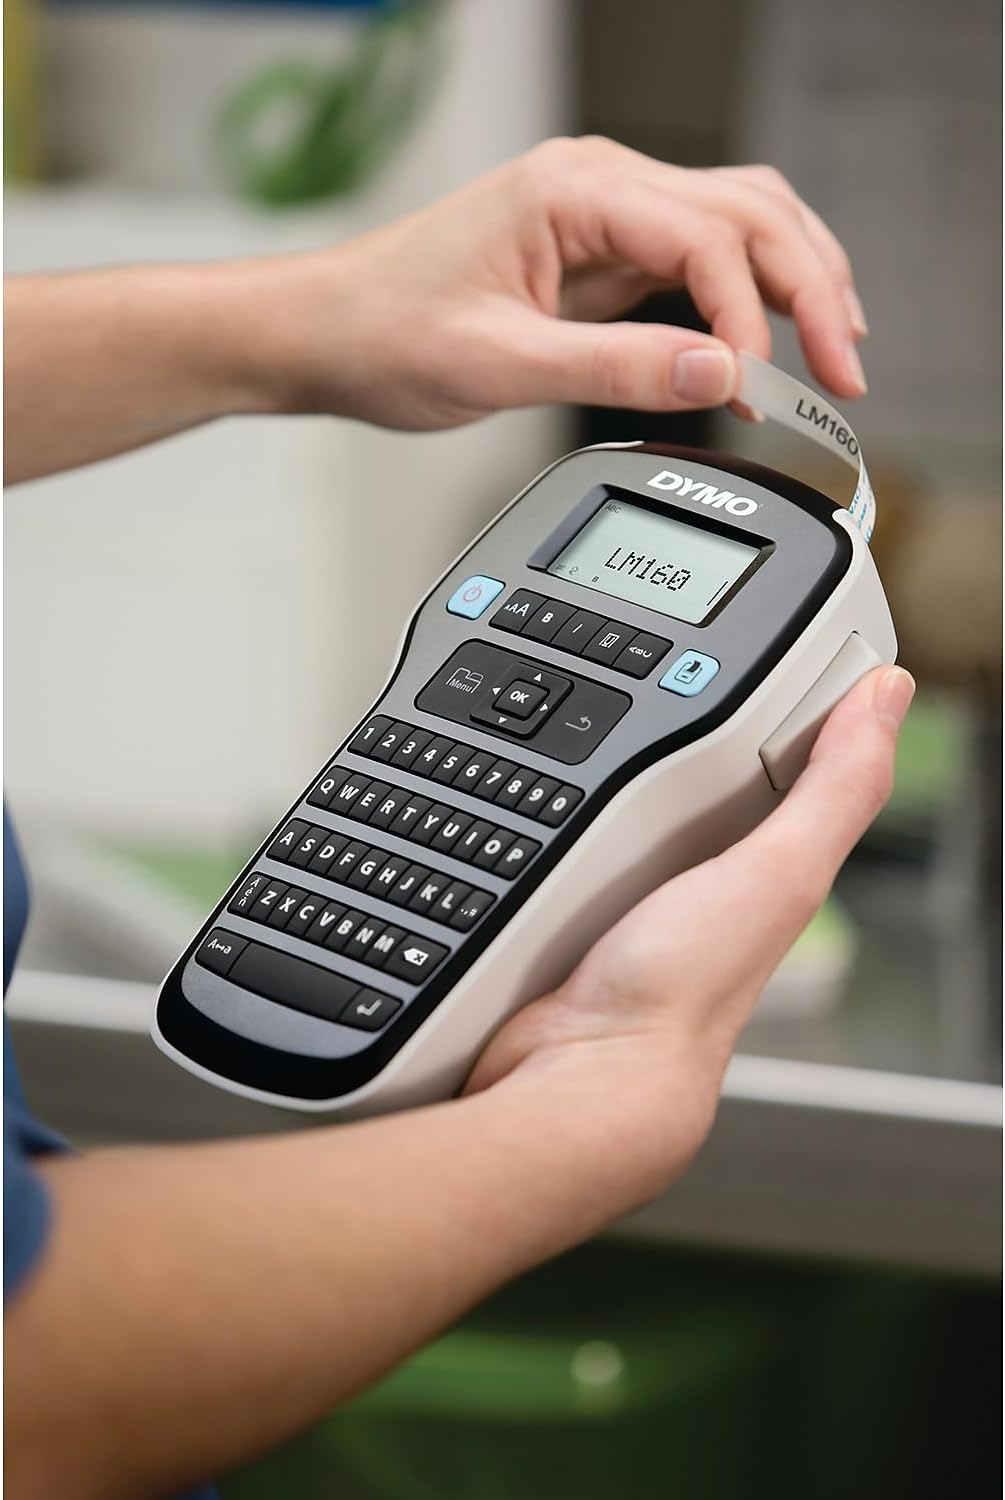
Figure 1: Inserting a label cassette into the LabelManager 160.
3. Ligar / desligar
Press the blue power button located on the top left of the keyboard to turn the device on or off. The device features an auto power-off function to conserve battery life when not in use.
Instruções de operação
1. Typing Text
Use the QWERTY keyboard to type your desired text. The display screen will show your input.
2. Formatting Text
The LabelManager 160 offers various formatting options:
- Tamanho da fonte: Press the 'Aa' button to cycle through 6 available font sizes.
- Text Styles: Use the 'B' (Bold), 'I' (Italic), 'U' (Underline), and 'Box' buttons to apply different styles. You can also select vertical text.
- Symbols & Clip Art: Access over 200 symbols and clip art by pressing the 'Symbol' button.
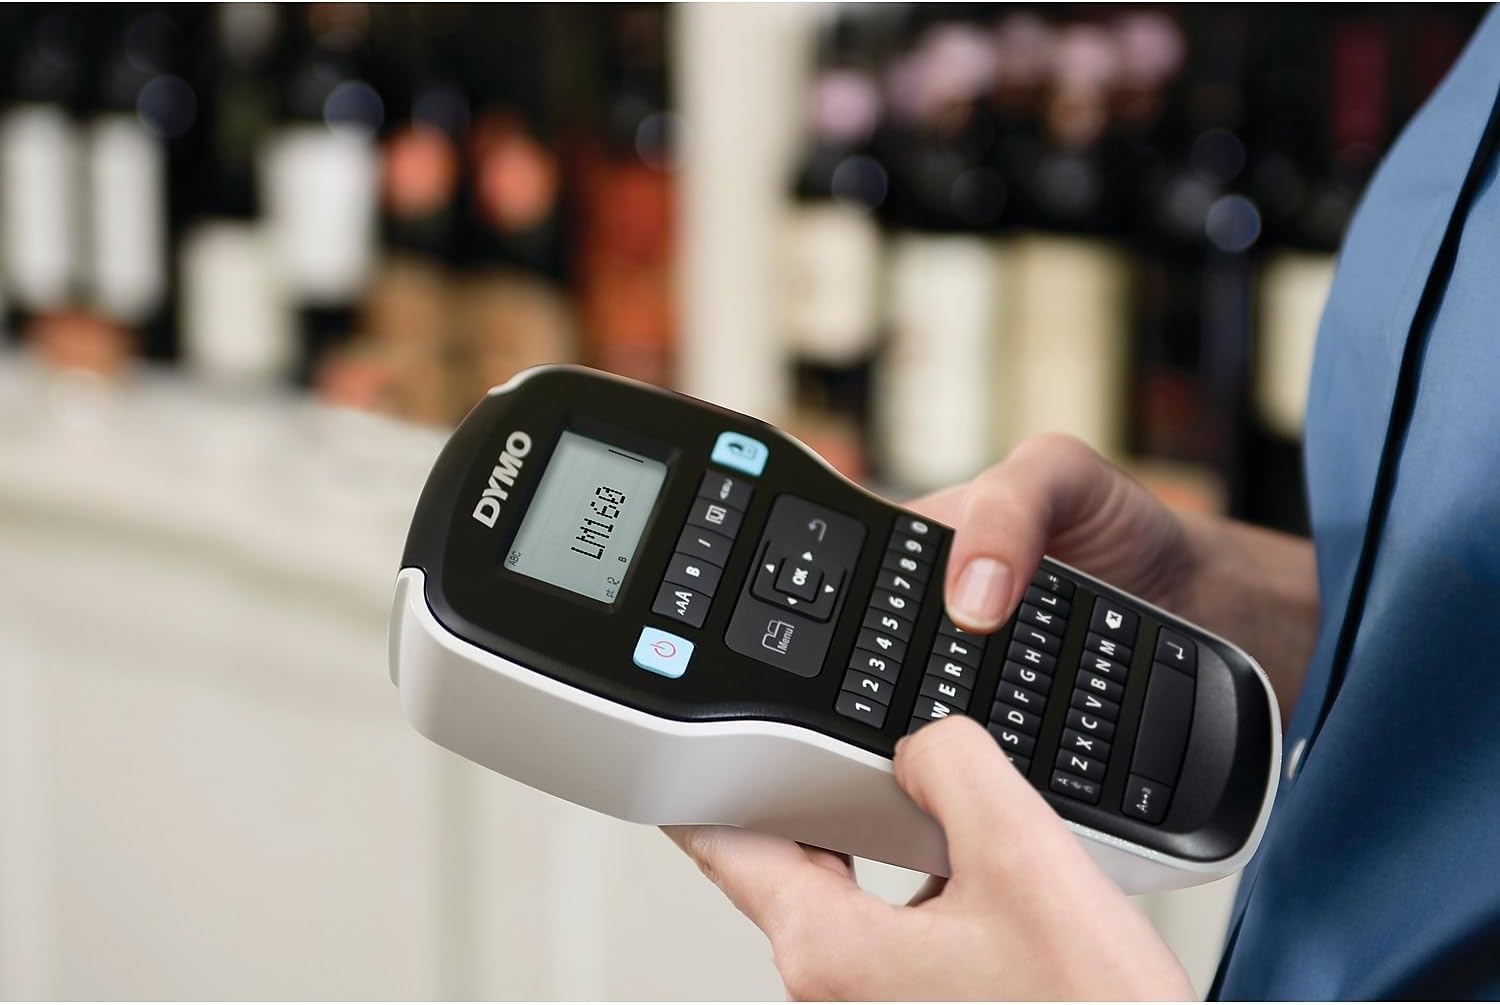
Figure 2: Typing and formatting text on the LabelManager 160.
3. Printing a Label
Once your text is formatted as desired, press the blue 'Print' button (printer icon) to print the label.

Figure 3: A label being printed from the LabelManager 160.
4. Cutting the Label
After printing, push the cutter button located on the left side of the device to cleanly cut the label.
5. Applying the Label
Peel the backing from the printed label to expose the adhesive, then firmly apply the label to your desired surface.
Manutenção
1. Cleaning the Print Head and Cutter Blade
Regular cleaning ensures optimal print quality and extends the life of your device. Use a soft, lint-free cloth to gently wipe the print head and cutter blade. Do not use abrasive cleaners or sharp objects.
2. Replacing Label Cassettes
When the label tape runs out or you wish to change tape types, follow the label cassette installation steps to replace the cassette.
3. Cuidados com a bateria
To maximize battery life, ensure the device is turned off when not in use. The auto power-off feature helps with this. If storing the device for an extended period, remove the batteries to prevent leakage.
Solução de problemas
- No Print/Faint Print: Check if the label cassette is installed correctly and if there is enough tape. Clean the print head.
- Label Jamming: Open the label compartment, carefully remove any jammed tape, and ensure the cassette is properly seated.
- "Low Battery" Message: Substitua as pilhas AAA.
- Dispositivo não liga: Ensure batteries are correctly installed and charged. Try new batteries.
Especificações
| Recurso | Detalhe |
|---|---|
| Dimensões do produto | 4.65"P x 10"L x 1.93"A |
| Tamanho máximo da mídia | 1 x 10 polegadas (2.54 x 25.4 cm) |
| Mídia impressa | Etiquetas |
| Capacidade máxima de entrada de folhas | 6 |
| Max Print Speed (Black & White) | 1 ppm |
| Dispositivos compatíveis | Keyboard, Printer |
| Resolução máxima de impressão | 200-300 dpi |
| Tecnologia de impressão | Dot Matrix (Thermal) |
| Tecnologia de Conectividade | USB |
| Cor da tinta | Preto |
| Peso do item | 13.7 onças (0.39 quilogramas) |
| Número do modelo | 2175086 |
| UPC | 071701063427 |
Garantia e Suporte
For warranty information and technical support, please refer to the documentation included with your product or visit the official DYMO webGuarde o comprovante de compra como prova para eventuais solicitações de garantia.


