1. Introdução
Welcome to the instruction manual for your Raymarine Axiom 2 Pro 12 S Chartplotter/Fishfinder. This guide provides essential information for the safe installation, effective operation, and proper maintenance of your marine electronics device. Please read this manual thoroughly before using the product to ensure optimal performance and longevity.
1.1 Informações de segurança
- Fonte de energia: Certifique-se de que o dispositivo esteja conectado a uma fonte de alimentação estável de 12 V CC. Volume incorretotage pode danificar a unidade.
- Exposição à água: While the unit is designed for marine environments, avoid direct high-pressure water jets. Ensure all connections are sealed to prevent water ingress.
- Montagem: Securely mount the device in a location that does not obstruct navigation or safety equipment. Verify the mounting surface can support the unit's weight.
- Auxílio à navegação: This device is an aid to navigation. Always use official government charts and exercise caution.
2. Conteúdo da embalagem
Carefully unpack your Raymarine Axiom 2 Pro 12 S and verify that all items are present. If any items are missing or damaged, contact your dealer immediately.
- Raymarine Axiom 2 Pro 12 S Display Unit
- Mounting Hardware Kit (gasket, studs, thumb nuts, washers)
- Power/NMEA2000 Cable
- Pacote de documentação (incluindo este manual)
3. Configuração e instalação
Proper installation is crucial for the performance of your Axiom 2 Pro 12 S. Refer to the detailed installation instructions provided in the separate installation guide for specific drilling templates and wiring diagrams.
3.1 Montagem da Unidade de Exibição
The Axiom 2 Pro 12 S is designed for surface mounting. Choose a location that offers good visibility, is protected from excessive direct sunlight, and allows for adequate ventilation around the unit.
- Localização: Select a flat, rigid surface on your dashboard or console.
- Liberação: Ensure sufficient space behind the unit for cable connections and ventilation.
- Perfuração: Use the provided template to mark and drill the necessary holes for mounting studs and cables.
- Selagem: Apply marine-grade sealant around drilled holes and the mounting gasket to prevent water intrusion.
3.2 Conexões de energia e rede
Connect the power cable to a dedicated 12V DC circuit. The unit is battery-powered and requires a stable power supply.
- Cabo de energia: Connect the red wire to the positive (+) terminal of your 12V DC power source and the black wire to the negative (-) terminal. Ensure an inline fuse (not supplied) is installed on the positive line, as specified in the installation guide.
- NMEA2000: The supplied power cable also includes NMEA 2000 connections for integrating with other compatible marine electronics. Connect to your NMEA 2000 backbone for data sharing.
- Transducer/Chart (Optional): This model does not include a chart or transducer. If you are connecting an external, compatible transducer or chart card reader, refer to their respective manuals for connection details.
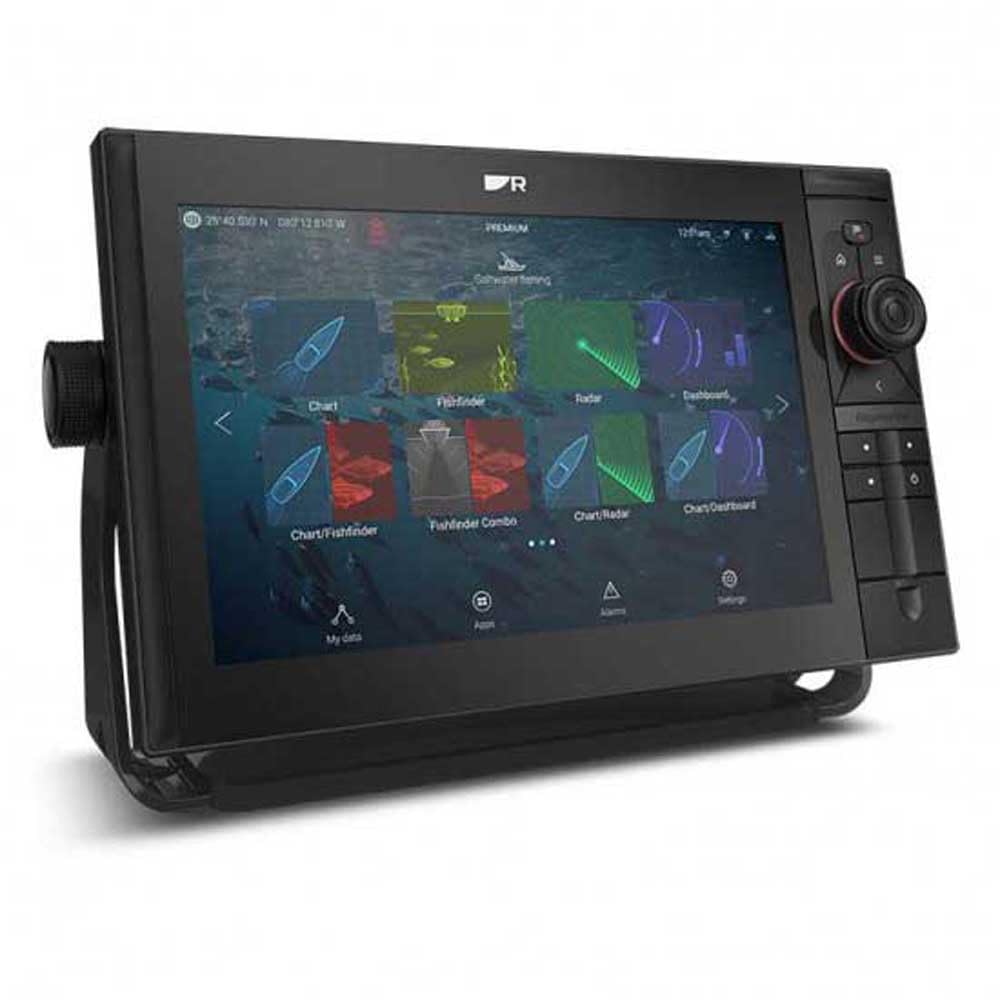
Image of the Raymarine Axiom 2 Pro 12 S display unit, showing its sleek design and large touchscreen.
4. Instruções de operação
The Axiom 2 Pro 12 S features an intuitive touchscreen interface. Familiarize yourself with the basic operations to navigate and utilize its functions effectively.
4.1 Ligar/Desligar
- Ligar: Press and hold the power button located on the unit's side or front panel until the Raymarine logo appears.
- Desligar: Press and hold the power button until the power-off menu appears. Select 'Power Off' to shut down the system safely. A quick press will bring up the quick access menu.
4.2 Interface de tela sensível ao toque
- Tocar: Select items, open menus, or activate functions.
- Deslize: Scroll through lists or pan across charts.
- Ampliar com os dedos: Use two fingers to zoom in or out on charts and sonar displays.
- Pressão longa: Access contextual menus or advanced options.
4.3 Chartplotter Functions
- Navegação: Tap on the chart to set a waypoint or create a route. Follow the on-screen guidance.
- Pontos de referência: Save specific locations of interest. Access the Waypoints menu to manage saved points.
- Rotas: Plan multi-point journeys. Routes can be created, edited, and activated from the Routes menu.
- Faixas: The unit automatically records your vessel's path. View and manage tracks from the Tracks menu.
4.4 Fishfinder Functions
Note: Fishfinder functionality requires a compatible transducer (not included with this model) to be connected.
- Sonar Display: Interpret the sonar returns to identify fish, bait, and bottom structure.
- Faixa de profundidade: Adjust the depth range to focus on specific water columns.
- Ajuste de ganho: Increase or decrease the sensitivity (gain) to optimize the sonar image for different water conditions.
- Frequências: If using a multi-frequency transducer, select the appropriate frequency for your fishing conditions.
4.5 Configurações do sistema
- Mostrar: Adjust brightness, color palette, and backlight settings.
- Unidades: Configure units of measurement for depth, speed, temperature, etc.
- Linguagem: Selecione seu idioma preferido para a interface do usuário.
- Rede: Manage network connections and device settings for connected equipment.
5. Manutenção
Regular maintenance ensures the longevity and reliable operation of your Axiom 2 Pro 12 S.
- Limpeza: Limpe a tela com um pano macio e seco.amp Pano e detergente neutro. Evite produtos de limpeza abrasivos ou solventes.
- Atualizações de software: Verifique periodicamente o Raymarine. website for software updates. Keeping your unit updated ensures access to the latest features and performance enhancements.
- Inspeção de cabos: Regularly inspect all cables and connections for signs of wear, corrosion, or damage. Ensure all connections remain watertight.
- Armazenar: If storing the vessel for an extended period, ensure the unit is powered off correctly and consider covering it to protect from dust and UV exposure.
6. Solução De Problemas
This section addresses common issues you might encounter. For more complex problems, contact Raymarine customer support.
| Problema | Possível causa | Solução |
|---|---|---|
| Unidade não liga | No power, blown fuse, loose connection | Check power cable connections, inspect fuse, verify battery voltage. |
| Sem sinal de GPS | Obstruído view of sky, internal GPS fault | Certifique-se de limpar view of the sky. If problem persists, contact support. |
| No sonar data | Transdutor desconectado, transdutor com defeito, bolhas de ar sob o transdutor. | Verify transducer connection. Check transducer for damage. Ensure transducer is properly submerged and free of obstructions. |
| A tela está escura ou ilegível | Brightness setting too low, direct sunlight | Adjust display brightness in settings. Reposition unit or use a sun cover if direct sunlight is an issue. |
7. Especificações
Key technical specifications for the Raymarine Axiom 2 Pro 12 S (Model E70655).
- Marca: Raymarine
- Nome do modelo: Axiom 2 Pro 12 S (E70655)
- Tamanho da tela: 12 polegadas
- Tipo de exibição: Tela sensível ao toque
- Fonte de energia: Alimentado por bateria (12 V CC)
- Maximum Measuring Depth: 274 Meters (with compatible transducer)
- Tipo de montagem: Montagem em superfície
- Dimensões do produto: Aproximadamente 1 x 1 x 1 polegada (Note: This dimension may be generic. Refer to the installation guide for precise measurements.)
- Código UPC: 723193843536
8. Garantia e Suporte
Your Raymarine Axiom 2 Pro 12 S is covered by a manufacturer's warranty. For specific warranty terms and conditions, please refer to the warranty documentation included with your product or visit the official Raymarine website.
For technical support, service, or to find authorized service centers, please visit the official Raymarine support website or contact their customer service department directly. Providing your model number (E70655) and serial number will assist in faster service.
Official Raymarine Website: www.raymarine.com


