1. Introdução
This manual provides instructions for the installation, operation, and maintenance of your Sunco 6 Pack 2W Solar Sidewalk Path Lights. These solar-powered lights are designed for outdoor use, offering 100 lumens of brightness and selectable color temperatures (3000K, 5000K, 7000K) with automatic dusk-to-dawn functionality.
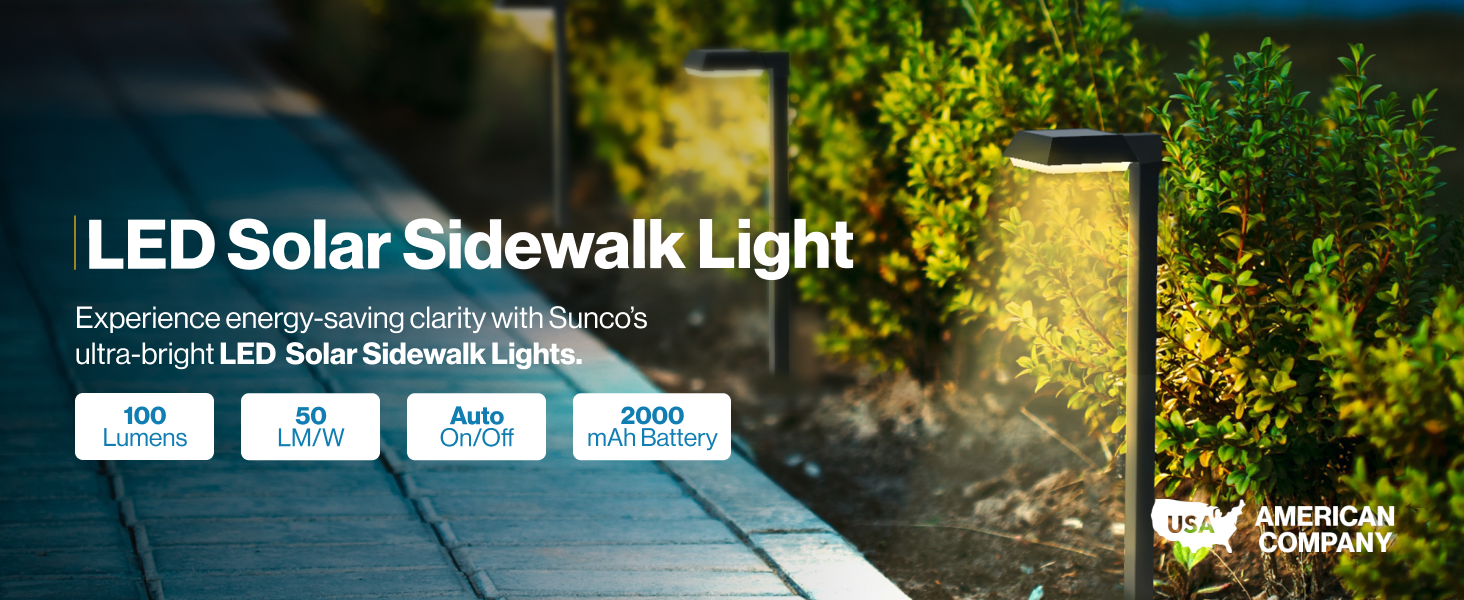
Imagem: Acimaview of the Sunco LED Solar Sidewalk Light highlighting its features.
2. Recursos do Produto
- Operação movida a energia solar: Utilizes solar energy for charging, eliminating the need for external wiring or power sources.
- 3-in-1 Color Temperature (3CCT): Offers selectable color temperatures of 3000K (Warm White), 5000K (Cool White), and 7000K (Daylight) to suit various preferences.
- Funcionalidade do anoitecer ao amanhecer: Equipped with a built-in photocell sensor that automatically turns the lights on at dusk and off at dawn.
- Design resistente às intempéries: Constructed with durable plastic and rated IP65 for protection against dust and water ingress, suitable for outdoor environments.
- Brilho: Provides 100 lumens of illumination per light unit.
- Integrated CCT Switch: Allows for easy selection of desired color temperature.
- Altura ajustável: Includes extension poles for customizable height during installation.

Image: Sunco solar path lights demonstrating the three selectable color temperature options.
3. Conteúdo da embalagem
Verifique se todos os componentes estão presentes no seu pacote:
- 6 x Solar Path Light Heads
- 6 x Upper Pole Segments
- 6 x Lower Pole Segments
- 6 x estacas terrestres
- 1 x Manual de Instruções
4. Informações importantes de segurança
- Este produto foi projetado para Uso externo apenas. Do not install indoors.
- Ensure the installation location does not create a tripping hazard.
- Do not attempt to disassemble, repair, or modify the light unit. This may void the warranty and pose a safety risk.
- Mantenha o painel solar limpo para garantir a máxima eficiência de carregamento.
- Avoid placing the lights near open flames or sources of extreme heat.
- Dispose of the lithium-ion battery in accordance with local regulations.
5. Configuração e instalação
5.1. Assemble the Light Unit
Connect the pole segments together, then attach them to the light head. You can use one or both pole segments to adjust the height of the light.

Image: Visual guide for connecting the pole and light head.
5.2. Select Color Temperature (CCT)
Locate the CCT switch on the underside of the light head. Slide the switch to select your desired color temperature: 3000K (Warm White), 5000K (Cool White), or 7000K (Daylight).
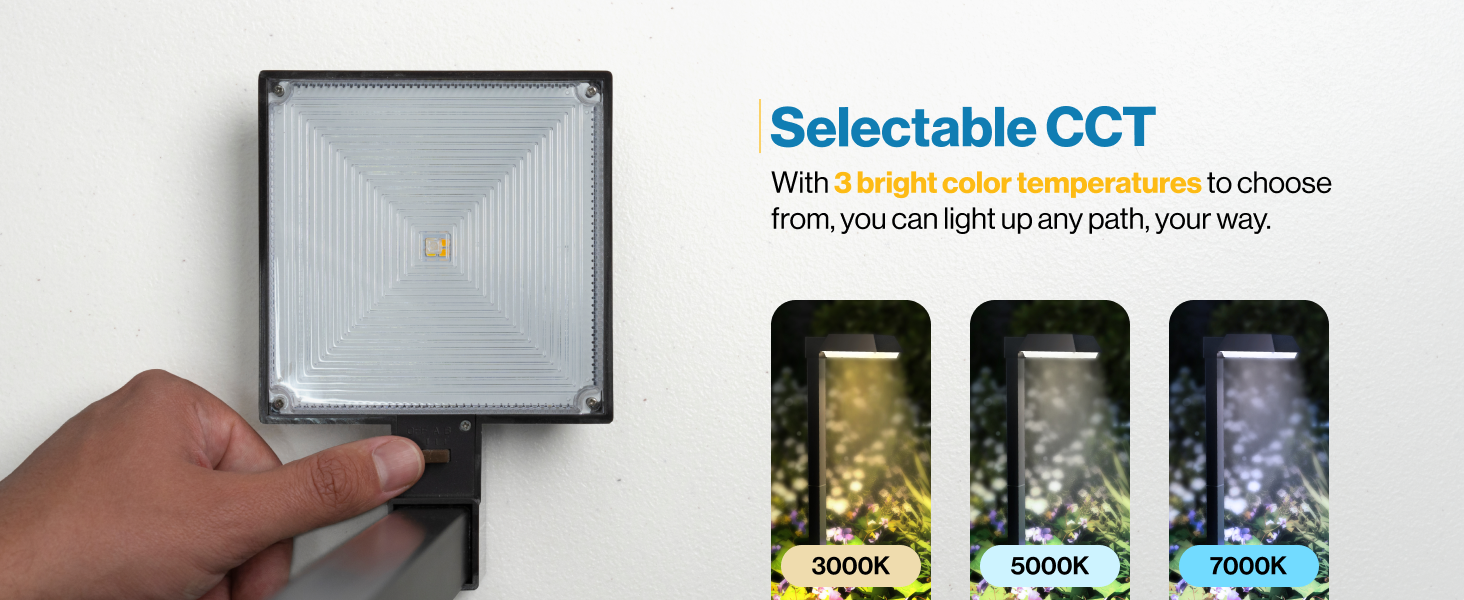
Image: Demonstrating the selectable CCT switch and its effect on light color.
5.3. Optimal Placement for Solar Charging
For optimal performance, place the solar path lights in an area that receives direct sunlight for at least 6-8 hours daily. Avoid shaded areas caused by trees, buildings, or other obstructions. Also, ensure the lights are not placed directly under streetlights or other strong light sources, as this may interfere with the dusk-to-dawn sensor and prevent the lights from activating.
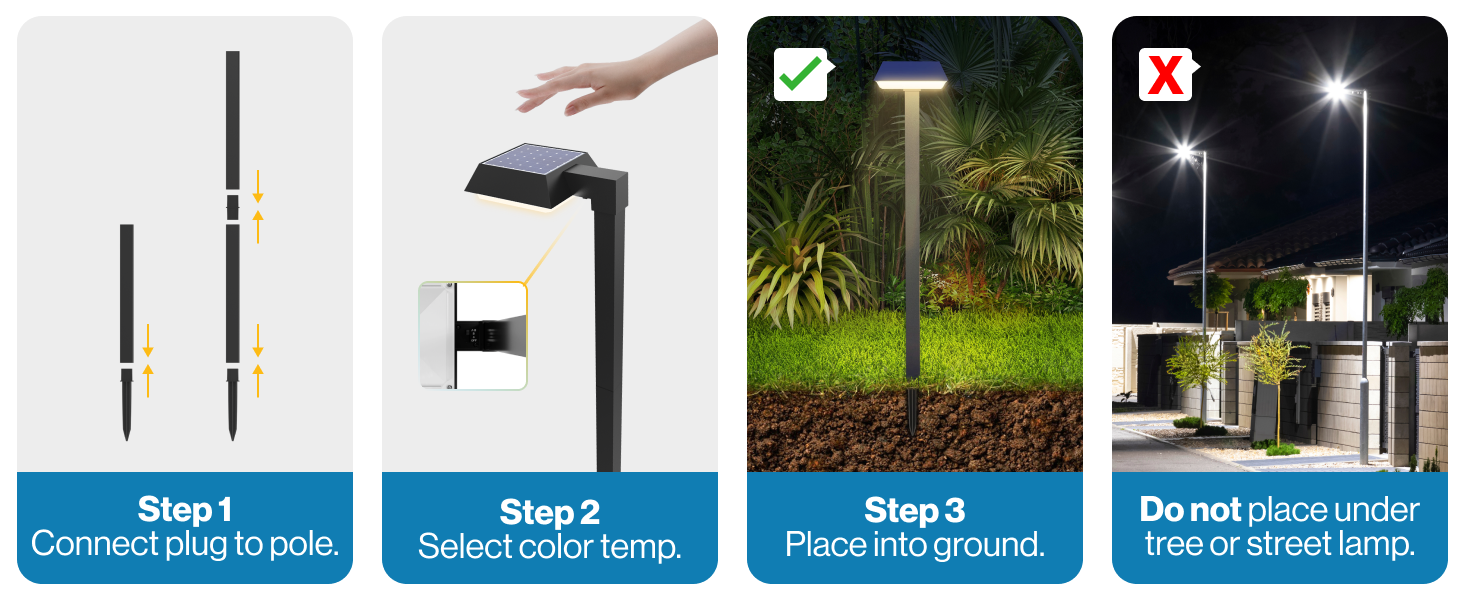
Image: Guide for proper light placement to ensure effective solar charging and operation.
5.4. Secure in Ground
Attach the ground stake to the bottom pole segment. Firmly push the assembled light into the soil. Ensure the light is stable and upright.
6. Instruções de operação
6.1. Automatic Dusk-to-Dawn Functionality
Once installed and exposed to sunlight, the lights will automatically charge during the day. At dusk, the built-in photocell sensor will detect low light conditions and activate the lights. They will remain illuminated throughout the night and turn off automatically at dawn.
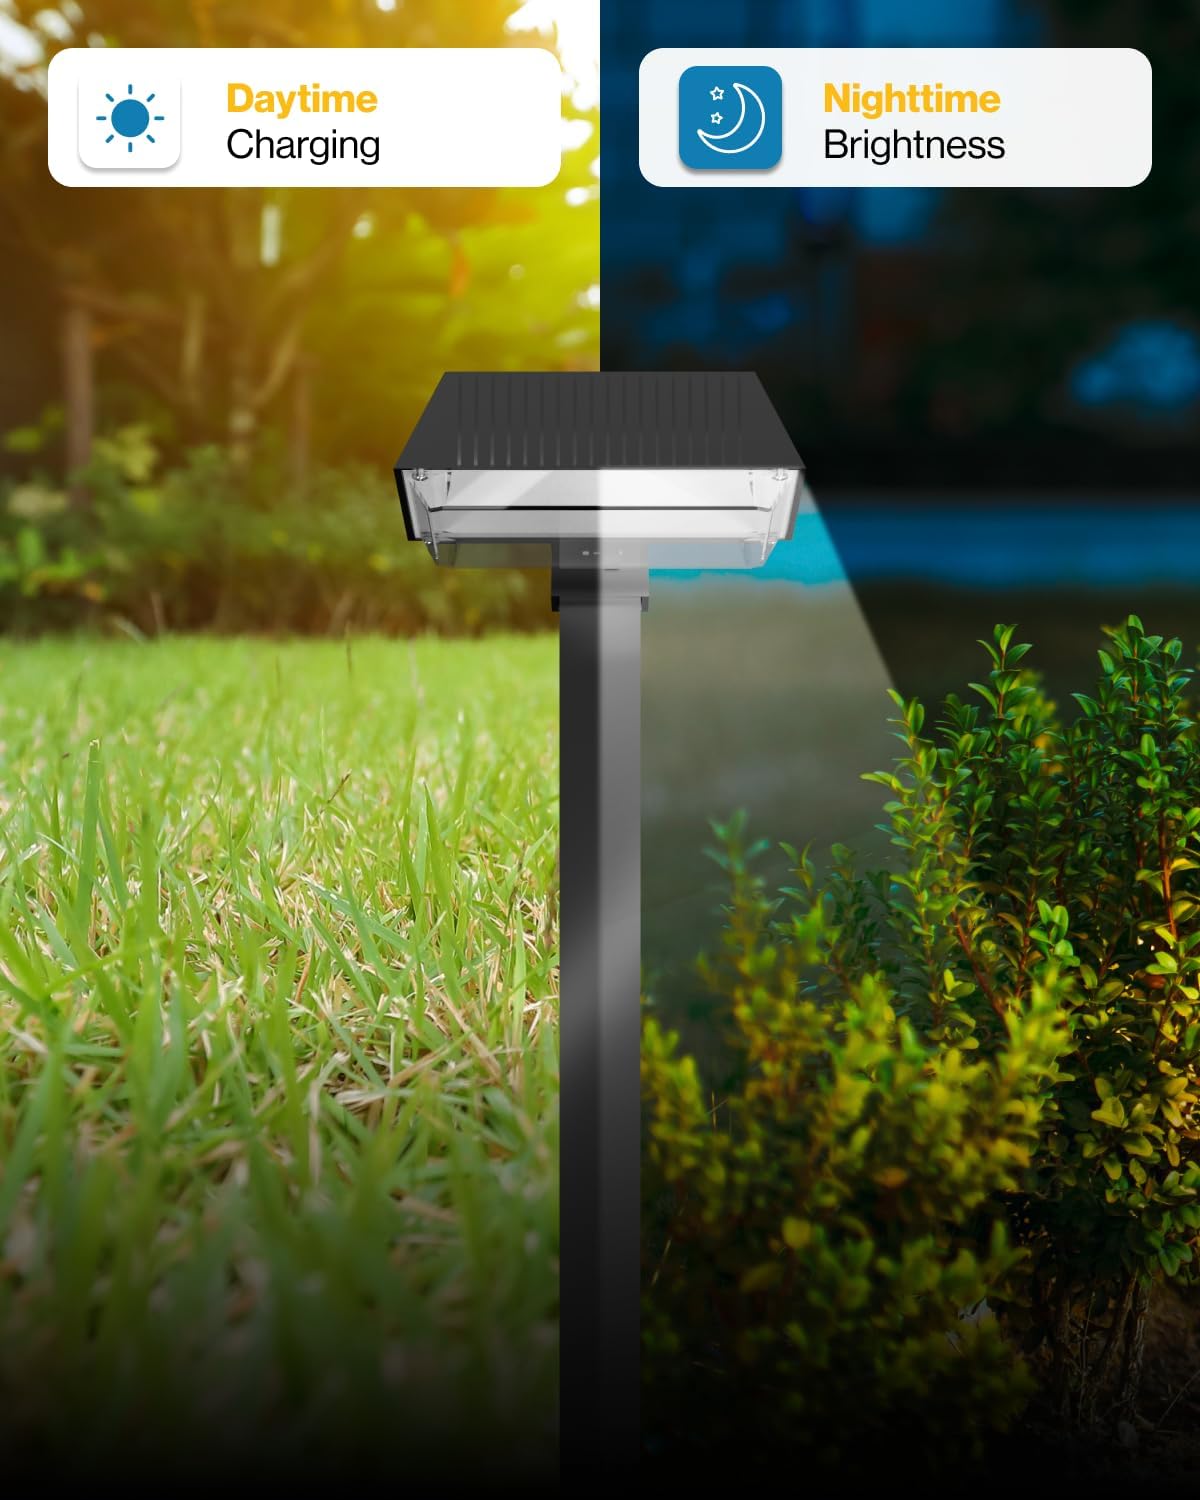
Image: Illustration of the light's automatic charging during the day and illumination at night.
6.2. Ajustando a temperatura da cor
The color temperature can be changed at any time using the CCT switch located on the light head. Adjust the switch to cycle between 3000K, 5000K, and 7000K to achieve your desired lighting effect.

Imagem: Close-up view of the solar light demonstrating the three distinct color temperature outputs.
7. Manutenção
- Limpeza: Limpe regularmente o painel solar com um pano macio e seco.amp cloth to remove dust, dirt, and debris. A clean solar panel ensures maximum charging efficiency.
- Inspeção: Periodically check the lights for any signs of damage or wear. Ensure the ground stakes are firmly in place.
- Resistência às intempéries: The lights are designed to be weatherproof (IP65 rated), but extreme weather conditions may affect performance. Ensure proper drainage around the base of the lights.

Image: The solar path light shown enduring rain, highlighting its weatherproof construction.
8. Solução De Problemas
| Problema | Possível causa | Solução |
|---|---|---|
| A luz não acende à noite. | Insufficient solar charge; light sensor activated by other light sources. | Ensure the solar panel receives 6-8 hours of direct sunlight daily. Relocate the light away from streetlights or other bright lights. |
| Light is dim or turns off too early. | Inadequate solar charging; dirty solar panel; battery degradation. | Clean the solar panel. Ensure optimal sun exposure. If the issue persists after prolonged charging, the battery may need replacement (contact support). |
| A luz pisca. | Loose connection; low battery charge. | Check all pole connections. Ensure the light receives sufficient solar charge. |
9. Especificações técnicas
| Recurso | Detalhe |
|---|---|
| Número do modelo | GD_BC2_SR-BK-3070K-6PK |
| Brilho | 100 Lúmens |
| O quetage | 2 Watts |
| Temperatura de cor | 3000K / 5000K / 7000K (Selecionável) |
| Fonte de energia | Solar (DC) |
| Tipo de Bateria | 1 íon de lítio (2000 mAh) |
| Material | Plástico |
| Nível de resistência à água | IP65 (à prova d'água) |
| Dimensões do produto | 14.57"C x 13.46"L x 5.6"A |
| Peso do item | 12.8 onças |
| Ângulo do feixe | 110° |
| Eficiência | 50 LM / W |
| UPC | 840360610972 |
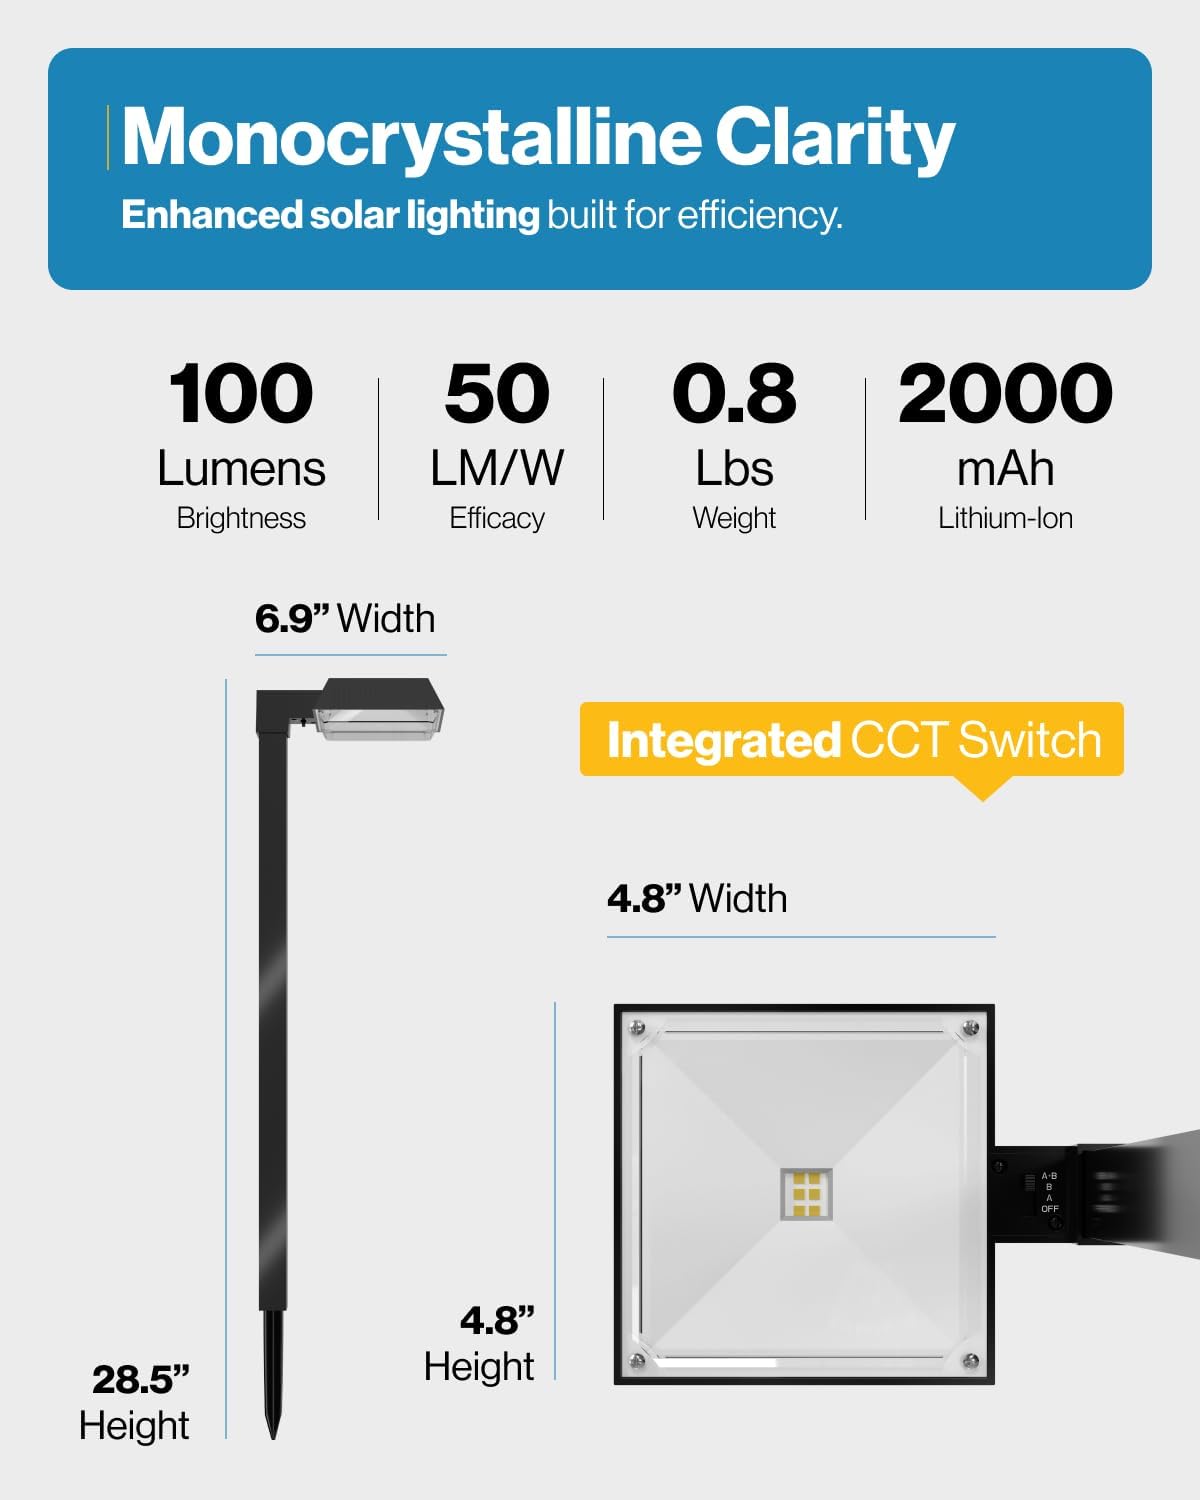
Image: Detailed dimensions and key technical specifications of the solar path light.
10. Garantia e Suporte ao Cliente
A Sunco Lighting oferece uma Garantia de 1 anos for this product, ensuring quality and reliability. For any questions, technical assistance, or warranty claims, please contact our USA-based support specialists.
Produto acimaview Vídeo
Vídeo: Um excessoview of the Sunco Selectable Solar Sidewalk Light, demonstrating its features and functionality.
About Sunco Lighting
Video: Learn more about Sunco Lighting, their commitment to quality, and customer-focused approach.


