1. Introdução
This manual provides essential information for the safe and efficient operation, maintenance, and troubleshooting of your Einhell TP-ET 18 Li BL-Solo 18V Cordless Compact Router. Please read these instructions carefully before using the tool and keep them for future reference.
The Einhell TP-ET 18 Li BL-Solo is a versatile cordless compact router designed for precision woodworking tasks such as edge milling, grooving, and decorative profiling. It features a powerful brushless motor for extended runtime and performance, electronic speed control, and a continuously adjustable milling depth.
2. Instruções gerais de segurança
AVISO: Leia todos os avisos de segurança, instruções, ilustrações e especificações fornecidos com esta ferramenta elétrica. O não cumprimento de todas as instruções listadas abaixo pode resultar em choque elétrico, incêndio e/ou ferimentos graves.
2.1 Segurança da Área de Trabalho
- Mantenha a área de trabalho limpa e bem iluminada. Áreas desorganizadas ou escuras convidam a acidentes.
- Não opere ferramentas elétricas em atmosferas explosivas, como na presença de líquidos inflamáveis, gases ou poeira. Ferramentas elétricas criam faíscas que podem inflamar a poeira ou os vapores.
- Mantenha crianças e espectadores afastados enquanto estiver operando uma ferramenta elétrica. Distrações podem fazer com que você perca o controle.
2.2 Segurança elétrica
- Os plugues das ferramentas elétricas devem corresponder à tomada. Nunca modifique o plugue de forma alguma.
- Evite contato corporal com superfícies aterradas, como canos, radiadores, fogões e geladeiras. Há um risco maior de choque elétrico se seu corpo estiver aterrado.
- Não exponha ferramentas elétricas à chuva ou condições úmidas. A entrada de água em uma ferramenta elétrica aumentará o risco de choque elétrico.
2.3 Segurança Pessoal
- Use sempre proteção para os olhos. Utilize óculos de segurança, óculos de proteção ou protetor facial.
- Use protetores auriculares ao operar ferramentas elétricas por períodos prolongados.
- Vista-se adequadamente. Não use roupas largas ou joias. Mantenha seu cabelo e roupas longe de peças móveis.
- Fique alerta, observe o que está fazendo e use o bom senso ao operar uma ferramenta elétrica.
- Não force a ferramenta elétrica. Use a ferramenta elétrica correta para sua aplicação.
- Desconecte a bateria da ferramenta elétrica antes de fazer ajustes, trocar acessórios ou guardar ferramentas elétricas.
- Guarde ferramentas elétricas ociosas fora do alcance de crianças e não permita que pessoas não familiarizadas com a ferramenta elétrica ou com estas instruções a operem.
- Faça a manutenção de ferramentas elétricas e acessórios. Verifique se há desalinhamento ou travamento de peças móveis, quebra de peças e qualquer outra condição que possa afetar a operação da ferramenta elétrica.
3. Componentes e Conteúdo da Embalagem
Your Einhell TP-ET 18 Li BL-Solo Cordless Compact Router package includes the following items:
- Einhell TP-ET 18 Li BL-Solo Compact Router (Tool Only)
- 2 x Collets (6mm and 8mm)
- Edge Milling Attachment
- 2 x Spanner Wrenches
- Copy Sleeve
- Suction Adapter
- Parada Paralela
- Compass Tip
Note: Battery and charger are NOT included with this 'Solo' version and must be purchased separately as part of the Einhell Power X-Change system.

Figure 1: Einhell TP-ET 18 Li BL-Solo Cordless Compact Router with included accessories. This image displays the main router unit, two collets, two spanner wrenches, an edge milling attachment, a copy sleeve, a suction adapter, a parallel stop, and a compass tip.
4. Configuração
4.1 Instalação da bateria
- Ensure the router is switched off.
- Align the battery pack with the battery port on the top of the router.
- Deslize a bateria para dentro do compartimento até que ela se encaixe firmemente no lugar.
- Para remover, pressione o botão de liberação na bateria e deslize-a para fora.
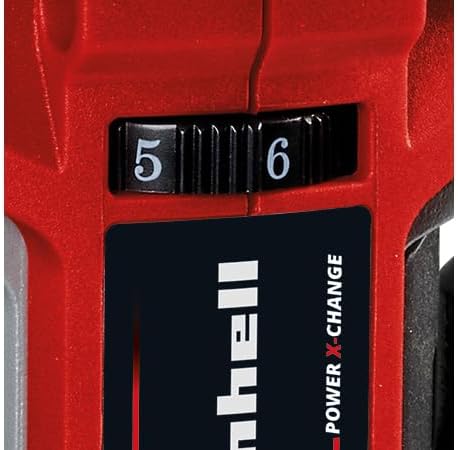
Figure 2: The Einhell TP-ET 18 Li BL-Solo router is supplied without a battery or charger, highlighting the need for separate purchase of Power X-Change batteries.
4.2 Router Bit Installation
- Certifique-se de remover a bateria por segurança.
- Pressione e mantenha pressionado o botão de trava do eixo para impedir que o eixo gire.
- Loosen the collet nut using one of the provided spanner wrenches.
- Insert the desired router bit into the collet, ensuring it is seated firmly but not bottomed out.
- Tighten the collet nut securely with the spanner wrench while holding the spindle lock.

Figura 3: Close view of the spindle lock button and collet area, essential for safe and easy router bit changes.
4.3 Attaching the Base Plate and Dust Extraction
- The transparent base plate is pre-installed. Ensure it is clean and free of debris.
- To attach the dust extraction adapter, align it with the designated port on the base plate and secure it. This allows connection to an external vacuum cleaner for a cleaner work environment.

Figure 4: The transparent base plate provides visibility of the workpiece during operation. The dust extraction port is visible for connecting a vacuum.
4.4 Adjusting Milling Depth
- Afrouxe a alavanca de ajuste de profundidade.
- Rotate the fine adjustment knob to set the desired milling depth. The scale on the side indicates the depth in millimeters.
- Once the desired depth is set, tighten the depth adjustment lever to secure the router in position.
4.5 Attaching Guides (Parallel Stop, Compass Tip, Guide Roller)
Depending on your application, various guides can be attached to the router base for enhanced precision:
- Parada paralela: Used for routing parallel to an edge. Slide the parallel stop into the slots on the router base and secure it at the desired distance from the bit.
- Compass Tip: For cutting perfect circles. Attach the compass tip to the base and pivot it around a central point.
- Guide Roller: For following curved edges or templates. Attach the guide roller to the base, ensuring it makes contact with the guide surface.
5. Instruções de operação
5.1 Ligar/Desligar
- To turn the router ON, slide the power switch to the 'I' position.
- To turn the router OFF, slide the power switch to the 'O' position.
5.2 Controle de velocidade
The router features electronic infinitely variable speed control. Adjust the speed dial to match the material and router bit being used. Higher speeds are generally suitable for smaller bits and softer materials, while lower speeds are for larger bits and harder materials.

Figure 5: The speed control dial allows for precise adjustment of the router's RPM to suit different materials and applications.
5.3 Técnicas de Roteamento
- Certifique-se sempre de que a peça esteja firmemente presa.ampeditado antes do roteamento.
- Start the router before making contact with the workpiece.
- Move the router smoothly and consistently along the desired path. Avoid sudden movements or excessive pressure.
- For best results and to prevent kickback, always feed the router against the direction of bit rotation.
- When routing edges, use the edge milling attachment for precise chamfering.
5.4 Coleta de Pó
For a cleaner work environment and improved visibility, connect a suitable wet/dry vacuum cleaner to the suction adapter. This helps to remove wood chips and dust during operation.
6. Manutenção
6.1 Limpeza
- Desconecte sempre a bateria antes de limpar.
- Regularly clean the router housing, base plate, and collet area to remove dust and debris. Use a soft brush or compressed air.
- Não use agentes de limpeza ou solventes agressivos.
6.2 Router Bit Care
- Keep router bits sharp and clean. Dull bits can cause overheating and poor cutting performance.
- Store bits in a protective case to prevent damage.
6.3 Inspeção Geral
- Check all screws and fasteners regularly to ensure they are tight.
- Inspect the power cord (if applicable, for charger) for damage.
- Ensure all ventilation openings are clear to prevent overheating.
7. Solução De Problemas
| Problema | Possível causa | Solução |
|---|---|---|
| O roteador não inicia. | A bateria não foi inserida corretamente ou está descarregada. | Check battery connection; charge or replace battery. |
| Poor cutting quality / Rough edges | Broca da tupia gasta ou danificada. Configuração de velocidade incorreta. | Replace bit; adjust speed according to material. |
| Vibração excessiva | Router bit not properly secured. Damaged bit. | Re-tighten collet nut; replace damaged bit. |
| Motor superaquece | Orifícios de ventilação obstruídos. Sobrecarga da ferramenta. | Clean ventilation slots; reduce cutting depth/feed rate. |
8. Especificações
| Recurso | Especificação |
|---|---|
| Modelo | TP-ET 18 Li BL-Solo |
| Número da peça | 4350415 |
| Volumetage | 18 Volts (Power X-Change) |
| Tipo de motor | Sem escova |
| Altura de elevação | 40 milímetros |
| Tamanhos de pinça | 6 mm, 8 mm |
| Velocidade máxima de rotação | 3000 RPM (Note: Product description states 3000 RPM, title states 30000 RPM. Please verify with manufacturer for accurate specification.) |
| Dimensões do produto | 9.3 x 9.3 x 18.2 cm |
| Peso do item | 1.34 kg |
| Material | Alumínio, Plástico |
| Fonte de energia | Alimentado por bateria (íon-lítio) |
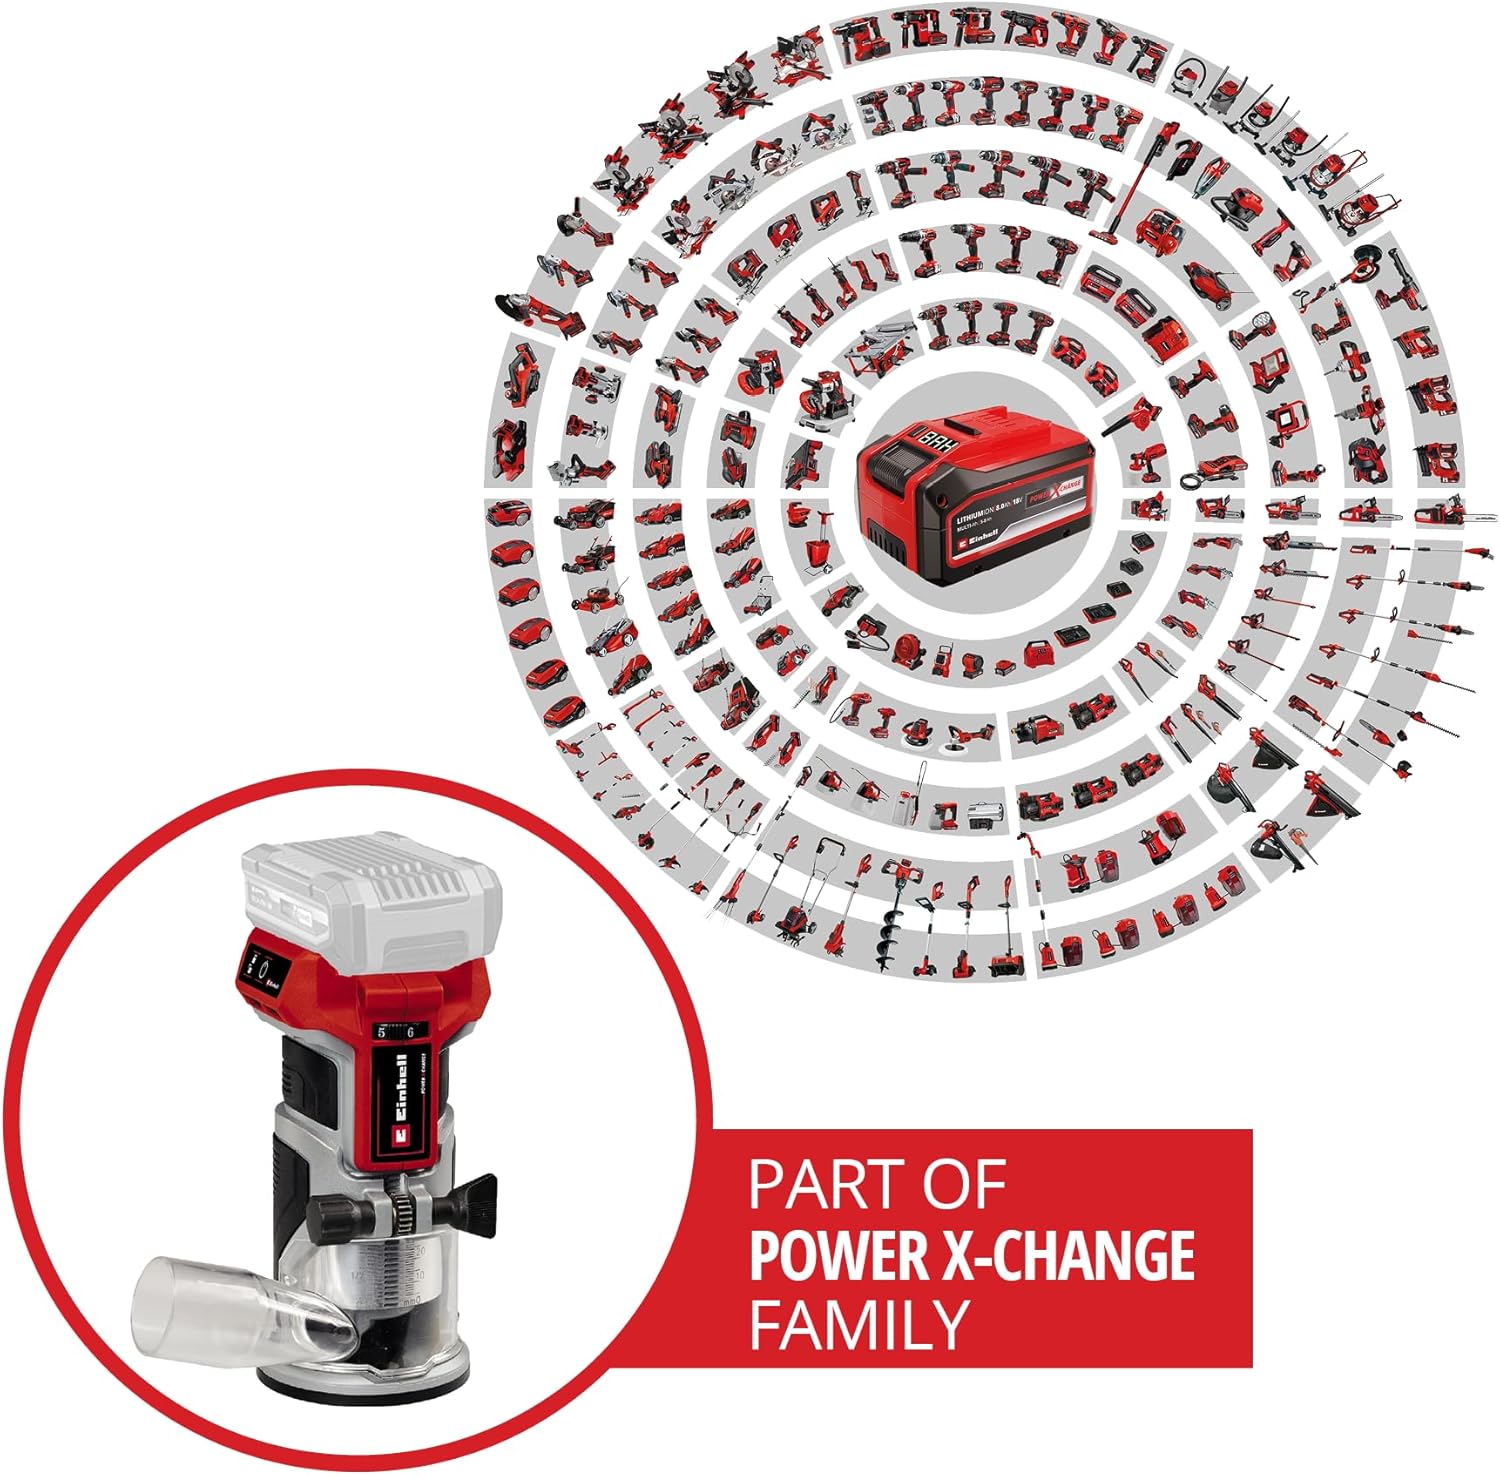
Figure 6: The Einhell TP-ET 18 Li BL-Solo is part of the Power X-Change family, allowing battery compatibility across a wide range of Einhell tools.

Figure 7: Illustration highlighting the benefits of the PurePOWER brushless motor, including increased lifespan, runtime, and power compared to conventional motors.
9. Garantia e Suporte
Your Einhell TP-ET 18 Li BL-Solo Cordless Compact Router comes with a 2-year warranty, ensuring safety and durability for your DIY projects. For warranty claims, technical support, or to explore other Einhell products, please visit the official Einhell store or contact customer service.
Loja oficial da marca: Einhell Canada Store
10. Vídeos de Produtos
No official product videos from the seller directly related to the Einhell TP-ET 18 Li BL-Solo Cordless Compact Router were found in the provided data. Videos available were either for related products from other brands, from influencers, or for different Einhell tools.


