1. Introdução
This manual provides detailed instructions for the setup, operation, and maintenance of your Pisichen 16-inch 1920x1200P Touch Panel Portable Monitor. Please read this manual thoroughly before using the product to ensure proper functionality and to prevent damage.

Image 1.1: The Pisichen 16-inch Portable Monitor, showcasingraças à sua tela vibrante e design fino.
2. Informações de segurança
- Não exponha o monitor à chuva ou umidade para evitar choque elétrico ou risco de incêndio.
- Não abra o monitor casing. Encaminhe todos os serviços de manutenção para pessoal qualificado.
- Evite colocar o monitor sob luz solar direta ou perto de fontes de calor.
- Use only the power adapter and cables provided or approved by the manufacturer.
- Clean the screen with a soft, lint-free cloth. Do not use liquid cleaners or aerosol sprays directly on the screen.
3. Conteúdo da embalagem
Por favor, verifique se a embalagem contém os seguintes itens:
- Pisichen 16-inch Portable Monitor
- Adaptador de energia
- Cabo USB-A para USB-C
- Cabo HDMI para HDMI
- Cabo USB-C para USB-C
- Manual do usuário (este documento)

Image 3.1: All items included in the product package, ready for immediate use.
4. Produto acabadoview
The monitor features multiple ports for versatile connectivity and control buttons for easy navigation of settings.
4.1. Portas e Botões
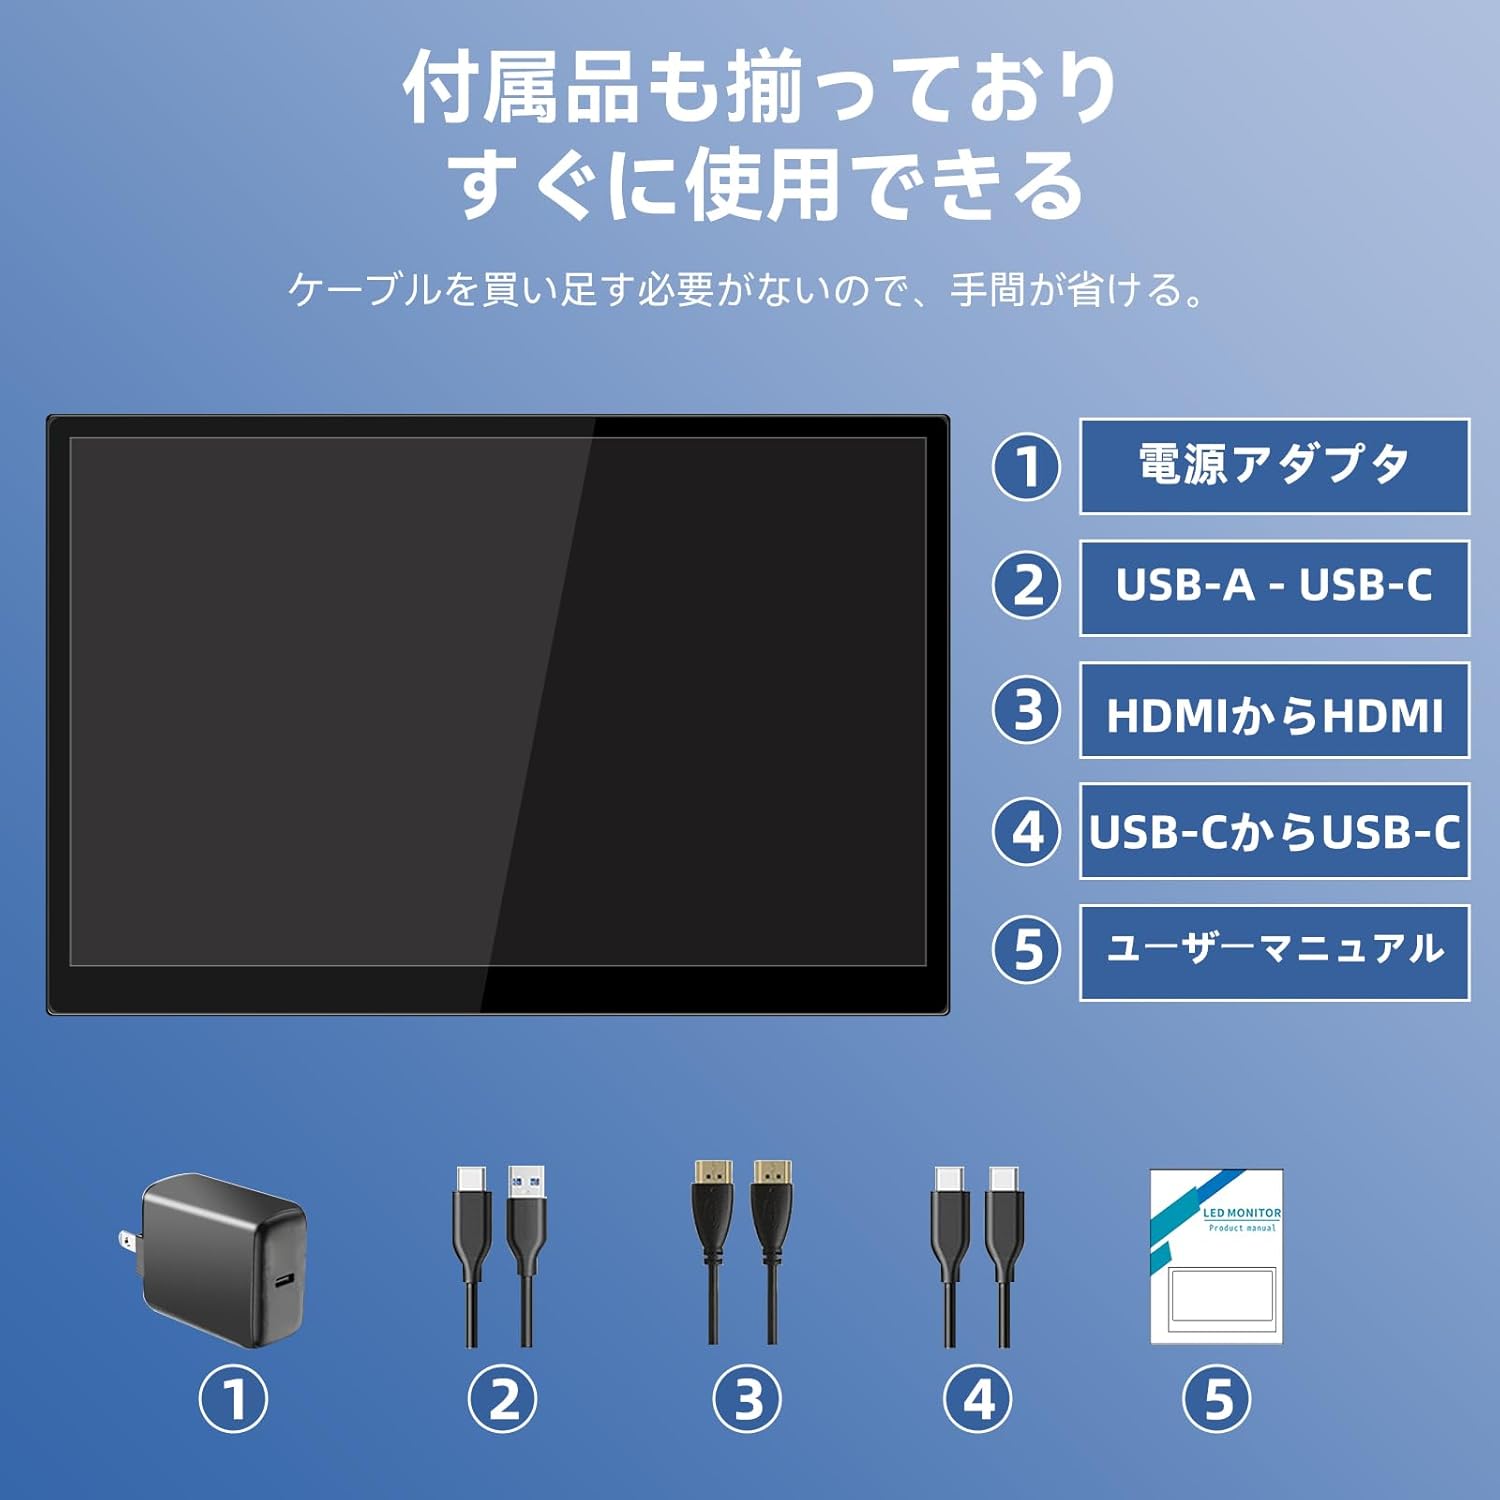
Imagem 4.1: Detalhada view of the monitor's interfaces, including audio port, USB-C ports, HDMI port, brightness controls, menu/OK button, volume/down button, and USB-A port.
- Porta de áudio de 3.5 mm: Para conectar fones de ouvido ou alto-falantes externos.
- USB-C Port 1 (Full-function): Supports power, video, and touch signal transmission.
- USB-C Port 2 (Full-function): Supports power, video, and touch signal transmission.
- Porta HDMI: For video signal input from devices.
- Brightness Up / Power Button: Short press to increase brightness, long press to power on/off.
- Botão Menu / OK: Press to open OSD menu, press again to confirm selection.
- Volume Down / Back Button: Short press to decrease volume, long press to go back in OSD menu.
- USB-A Port (OTG): Para conectar um mouse ou teclado.
5. Configuração
Follow these steps to connect your portable monitor to various devices.
5.1. Single Cable Connection (USB-C)
For devices with a full-function USB-C port (supporting DisplayPort Alternate Mode and power delivery), a single USB-C to USB-C cable can transmit video, audio, touch signals, and power.
- Connect one end of the USB-C to USB-C cable to a full-function USB-C port on your device (e.g., laptop, smartphone).
- Connect the other end to either USB-C Port 1 or USB-C Port 2 on the monitor.
- The monitor should automatically power on and display the content. Touch functionality will also be active.
5.2. Dual Cable Connection (HDMI + USB-C for Power/Touch)
For devices with an HDMI output, or if your USB-C port does not support power delivery, you will need two cables.
- Connect one end of the HDMI to HDMI cable to your device's HDMI output.
- Connect the other end to the HDMI Port on the monitor.
- Connect the power adapter to one of the monitor's USB-C ports (Port 1 or Port 2) for power.
- For touch functionality, connect the USB-A end of the USB-A to USB-C cable to your device's USB-A port, and the USB-C end to the other available USB-C port on the monitor.

Image 5.1: Illustration of different connection methods: single USB-C cable for power, video, and touch, and dual cable setup using HDMI for video and USB-C for power and touch.
6. Instruções de operação
6.1. Ligar/desligar
Long press the Brightness Up / Power Button (5) for approximately 3 seconds to power the monitor on or off.
6.2. Menu de exibição na tela (OSD)
Press the Menu / OK Button (6) to access the OSD menu. Use the Brightness Up / Power Button (5) and Volume Down / Back Button (7) to navigate through options. Press the Menu / OK Button (6) to confirm selections. Long press the Volume Down / Back Button (7) to exit the menu.
6.3. Funcionalidade de toque
The monitor supports 10-point capacitive multi-touch. Ensure a USB connection (via full-function USB-C or USB-A to USB-C cable) is established for touch input to work. The touch screen allows for intuitive interaction, including swiping, writing, and annotating.
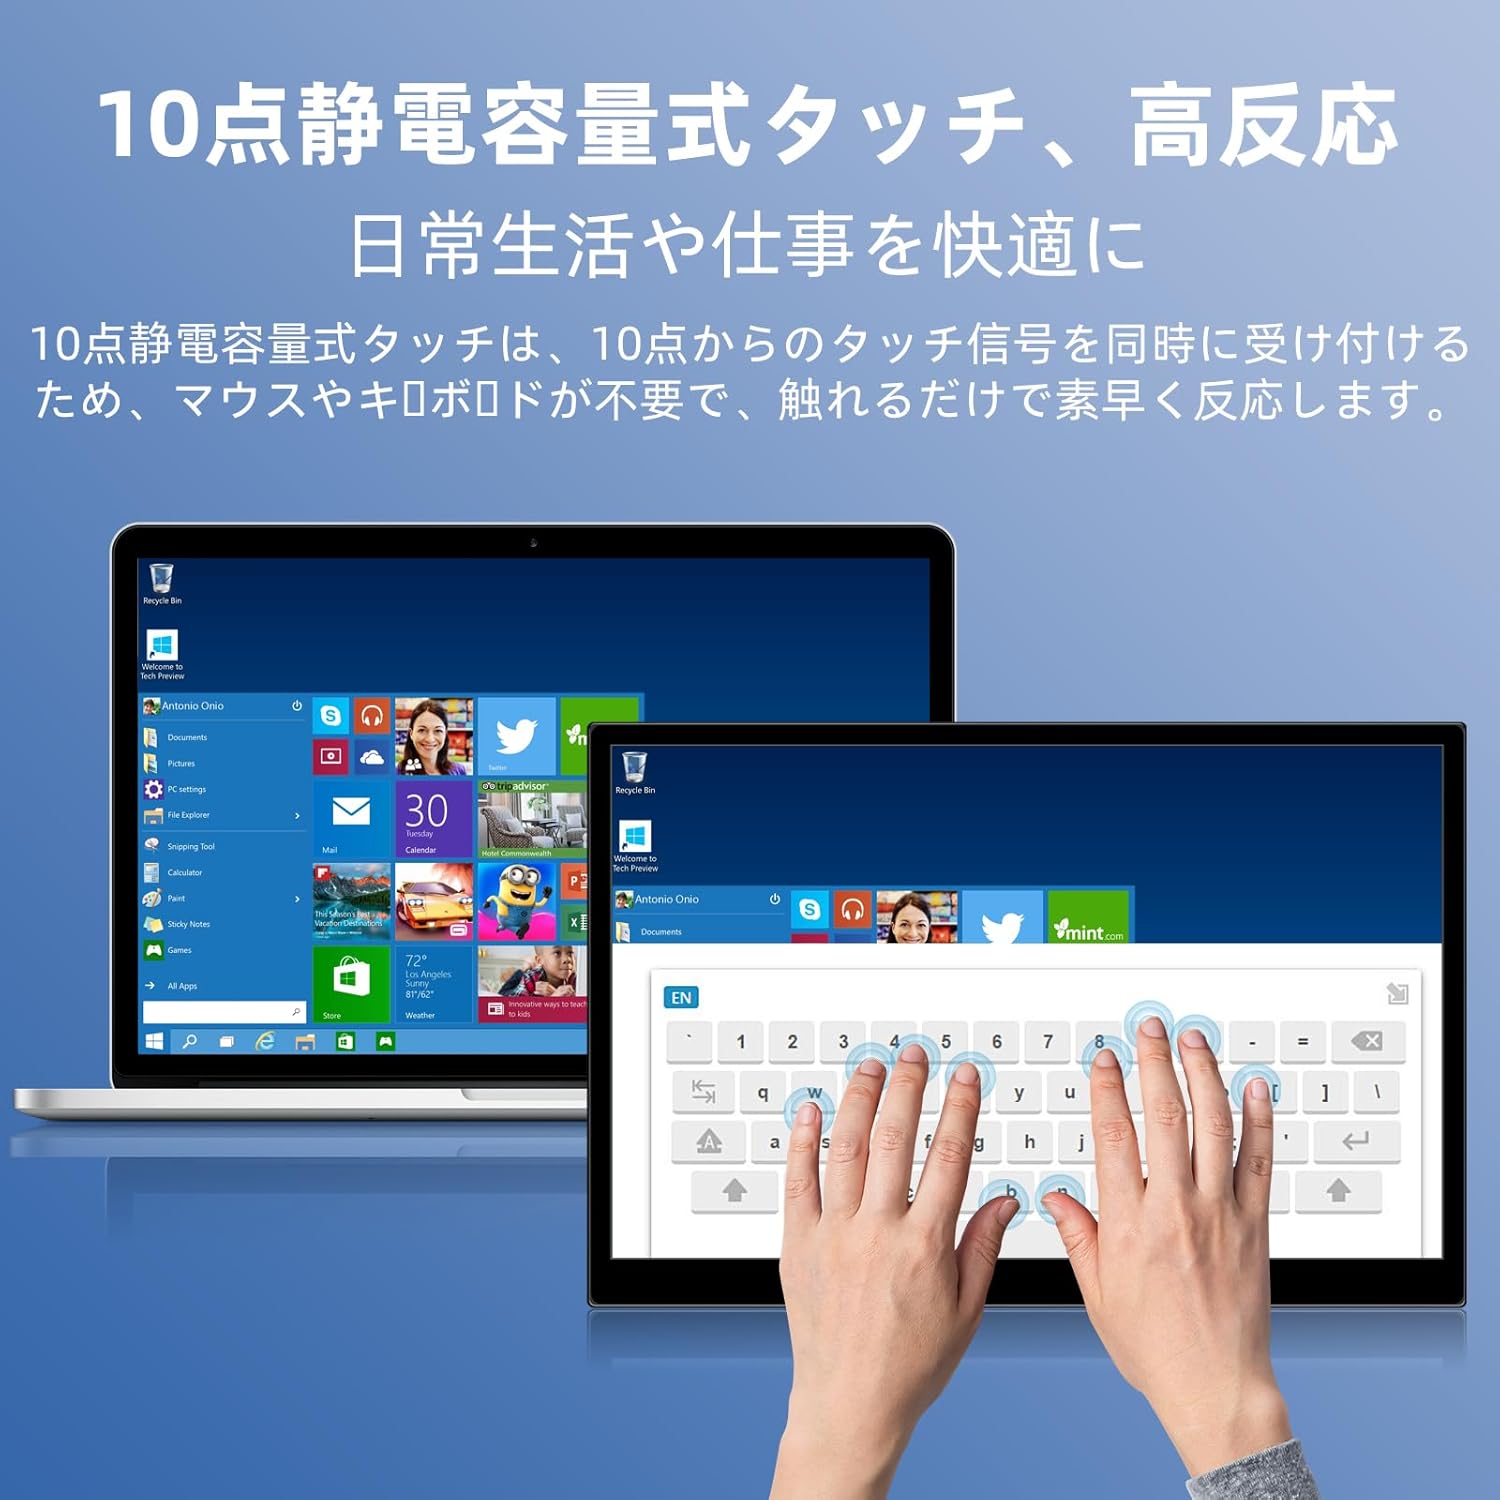
Image 6.1: A user demonstrating the responsive 10-point capacitive touch functionality on the portable monitor, enabling smooth interaction with on-screen content.
6.4. Modos de exibição
O monitor suporta vários modos de exibição quando conectado a um computador:
- Modo duplicado: Espelha o conteúdo da sua tela principal.
- Modo de extensão: Amplia sua área de trabalho, oferecendo mais espaço na tela para realizar multitarefas.
- Modo de segunda tela: Utiliza apenas o monitor portátil como tela.
6.5. Orientação da tela
The monitor supports both landscape and portrait orientations. You can adjust the display settings on your connected device (e.g., Windows Display Settings, macOS Display Preferences) to change the orientation as needed for different tasks like document viewing or design work.
6.6. HDR Technology
The monitor features HDR (High Dynamic Range) mode, which provides deeper and more realistic colors for an enhanced visual experience. This setting can typically be toggled within the OSD menu or your device's display settings.

Imagem 6.2: Examples of the monitor's versatility, showing its use for entertainment, mobile productivity, and as an extended display for a home office.
7. Manutenção
- Limpando a tela: Limpe suavemente a tela com um pano macio, seco e sem fiapos. Para manchas persistentes, esfregue levemente.ampen the cloth with water or a screen-specific cleaner (apply to cloth, not directly to screen).
- Limpando o Casing: Use um pano macio e seco para limpar o monitor.asing. Evite produtos de limpeza abrasivos.
- Armazenar: Quando não estiver em uso por longos períodos, guarde o monitor em local fresco e seco, de preferência em sua embalagem original ou em uma capa protetora.
- Gerenciamento de cabos: Evite dobrar ou torcer os cabos em excesso para evitar danos.
8. Solução De Problemas
| Problema | Possível causa | Solução |
|---|---|---|
| Sem imagem / Mensagem "Sem sinal" | Conexão de cabo incorreta, alimentação insuficiente, fonte de entrada incorreta. | Ensure cables are securely connected. Verify the device's USB-C port supports video output. Connect the power adapter if using HDMI or if USB-C power is insufficient. Check OSD menu for correct input source. |
| A função de toque não está funcionando | No USB connection for touch, driver issue (rare). | Ensure the USB-C cable is full-function or that the USB-A to USB-C cable is connected for touch data. Restart the monitor and connected device. |
| Tela piscando | Unstable power, faulty cable, refresh rate mismatch. | Use the provided power adapter. Try a different cable. Adjust the refresh rate in your device's display settings. |
| Image is distorted or stretched | Incorrect aspect ratio settings. | Adjust the aspect ratio in the OSD menu or your device's display settings to match the monitor's native resolution (1920x1200). |

Image 8.1: Demonstrating the importance of correct aspect ratio settings to avoid image distortion.
9. Especificações
| Recurso | Especificação |
|---|---|
| Marca | Pisichen |
| Número do modelo | 16QTHCM-1200P |
| Tamanho da tela | 16 polegadas |
| Resolução | 1920 x 1200 pixels (FHD) |
| Tipo de painel | IPS |
| Viewângulo de engate | 178° |
| Taxa de atualização | 60 Hz |
| Taxa de contraste | 1000:1 |
| Brilho | 300 cd/m² |
| Gama de cores | 100% sRGB |
| Profundidade de cor | 16.7 milhões de cores |
| Tela sensível ao toque | 10-point Capacitive Touch |
| Conectividade | 2x Full-function USB-C 3.1, 1x HDMI, 1x USB-A (OTG), 1x 3.5mm Audio Jack |
| Suporte HDR | Sim |
| Compatível com montagem VESA | Sim |
| Dimensões do produto (L x A x P) | 350 x 230 x 10 mm |
| Peso | 1.62 kg |
10. Garantia e Suporte
For warranty information and technical support, please refer to the warranty card included in your product package or contact Pisichen customer service through their official website or the retailer where the product was purchased. Please have your model number (16QTHCM-1200P) and purchase details ready when contacting support.


