1. Introdução
This instruction manual provides essential information for the safe and effective installation, operation, and maintenance of your Front Runner Side Mount Ladder, model LALD010. This three-step ladder is specifically designed to enhance accessibility to the roof rack of your Land Rover New Defender (2020-Current), facilitating the loading and unloading of gear.
Please read this manual thoroughly before attempting installation or use. Retain this manual for future reference.
2. Informações de segurança
AVISO: O não cumprimento destas instruções de segurança pode resultar em ferimentos graves ou danos materiais.
- Always ensure the ladder is securely attached to the vehicle and roof rack before use.
- Não exceda a capacidade máxima de peso de 110 kg (242.5 lbs).
- Use caution when climbing or descending, especially in wet or slippery conditions. The ladder rungs are equipped with rubber grips, but vigilance is still required.
- Ensure hands are clean and dry for a secure grip.
- Do not use the ladder if any components appear damaged or loose.
- Keep children away from the ladder unless supervised by an adult.
- Regularly inspect all mounting hardware for tightness and wear.
3. Conteúdo da embalagem
Verify that all components are present and undamaged before beginning installation. The package should include:
- Front Runner Side Mount Ladder assembly (LALD010)
- Todo o hardware de montagem necessário
- Detailed fitment instructions (refer to manufacturer's specific guide for step-by-step visuals)
If any parts are missing or damaged, contact Front Runner customer support immediately.
4. Configuração e instalação
The Front Runner Side Mount Ladder is designed for straightforward installation without the need for drilling, preserving your vehicle's integrity. It securely attaches to the side of your Slimline II Roof Rack using existing attachment points on the Land Rover New Defender.
4.1 Lista de verificação de pré-instalação
- Ensure your vehicle is parked on a level surface and the parking brake is engaged.
- Confirm that your Land Rover New Defender is equipped with a compatible Slimline II Roof Rack.
- Gather all tools required as specified in the manufacturer's detailed fitment instructions (e.g., wrenches, hex keys).
4.2 Etapas de Instalação (Geral)view)
- Position the Ladder: Carefully align the ladder with the designated mounting points on the side of your Slimline II Roof Rack.
- Fixar os suportes superiores: Secure the upper section of the ladder to the roof rack using the provided hardware. Ensure a snug fit but do not fully tighten yet.
- Fixar os suportes inferiores: Connect the lower section of the ladder to the vehicle's existing attachment points. Again, ensure a snug fit.
- Aperto final: Once the ladder is correctly positioned and all hardware is in place, progressively tighten all bolts and nuts according to the torque specifications provided in the detailed fitment instructions.
- Verificar segurança: After tightening, gently test the ladder for any movement or looseness. All connections must be firm and secure.
For detailed, step-by-step visual instructions, please refer to the specific fitment guide provided by Front Runner with your product.
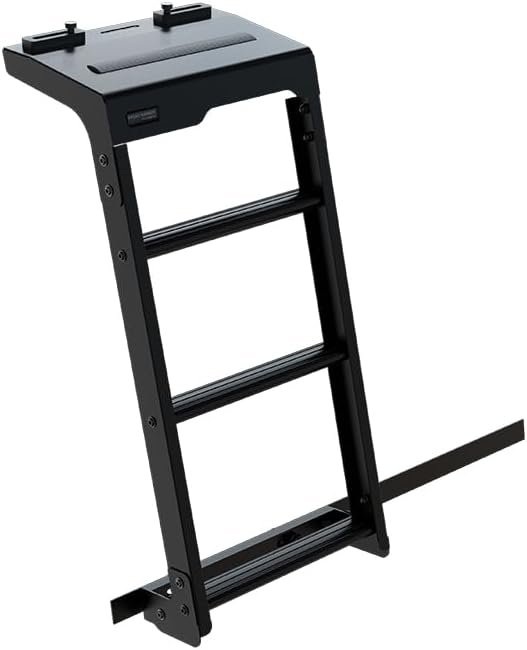
Figura 1: Angulado view of the Front Runner Side Mount Ladder, highlighting its three-rung design and the upper platform for roof rack access.
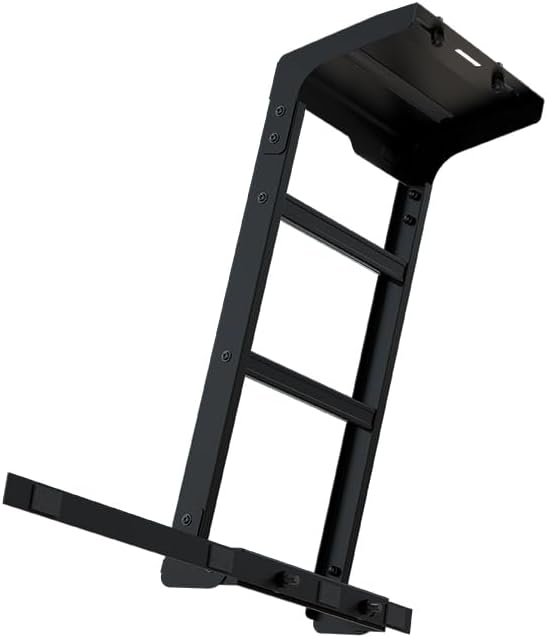
Figura 2: Lateral view of the Front Runner Side Mount Ladder, illustrating its robust construction and how it would attach to a vehicle's side.
5. Instruções de operação
The Front Runner Side Mount Ladder provides a stable and secure means to access your vehicle's roof rack. Follow these guidelines for safe operation:
- Approach Safely: Always approach the ladder facing it.
- Mantenha três pontos de contato: When climbing or descending, always keep three points of contact with the ladder (two hands and one foot, or two feet and one hand).
- Use Rubber Grips: The rungs are equipped with rubber grips to enhance traction. Utilize these grips, especially in wet conditions.
- Center Your Weight: Distribute your weight evenly and keep your body centered between the side rails of the ladder.
- Evite exageros: Do not overreach while on the ladder. Descend and reposition if necessary.
- Verificar carga: Before climbing, ensure any items on the roof rack are securely fastened and will not shift or fall.
6. Manutenção
Regular maintenance will ensure the longevity and safe operation of your Front Runner Side Mount Ladder.
- Inspeção de rotina: Periodically inspect the ladder for any signs of wear, damage, or corrosion. Pay close attention to welds, rungs, and mounting points.
- Verifique os fixadores: Regularly check all bolts, nuts, and other fasteners to ensure they remain tight. Re-tighten as necessary, referring to the original torque specifications.
- Limpeza: Clean the ladder with mild soap and water. Avoid abrasive cleaners or solvents that could damage the powder-coated finish or rubber grips. Rinse thoroughly and dry.
- Prevenção de corrosão: While constructed from durable materials like black powder-coated steel and aluminum, regular cleaning and inspection can help prevent corrosion, especially after exposure to harsh environments (e.g., saltwater, road salt).
- Punhos de borracha: Ensure the rubber grips on the rungs are intact and not excessively worn. Replace if necessary to maintain slip resistance.
7. Solução De Problemas
This section addresses common issues you might encounter with your side mount ladder.
- Ladder feels loose after installation:
Solução: Re-check all mounting hardware. Ensure all bolts and nuts are tightened to the manufacturer's specified torque. If the issue persists, re-read the installation instructions carefully or contact customer support.
- Difficulty climbing due to slippery rungs:
Solução: Ensure the rubber grips are clean and free of mud, grease, or ice. If the grips are worn, consider replacing them. Always exercise caution in wet conditions.
- Unusual noises (rattling, squeaking) while driving:
Solução: Inspect all attachment points and the ladder structure for any loose components or contact points with the vehicle body. Tighten any loose fasteners. Ensure no foreign objects are lodged in or around the ladder.
If you encounter problems not listed here or cannot resolve an issue, please contact Front Runner customer support.
8. Especificações
| Número do modelo | LALD010 |
| Marca | Líder |
| Material | Aluminum, Alloy Steel (Black Powder-Coated) |
| Dimensões (C x L x A) | 369 mm x 322 mm x 684 mm (14.5 pol. x 12.7 pol. x 26.9 pol.) |
| Capacidade de peso | 110 kg (242.5 libras) |
| Tipo de serviço do veículo | Passenger Car (Land Rover New Defender 2020-Current) |
| Instalação | No drilling required, attaches to Slimline II Roof Rack |
9. Informações de garantia
For detailed warranty information regarding your Front Runner Side Mount Ladder, please refer to the official Front Runner website or the warranty card included with your product. Warranty terms and conditions may vary by region and product type.
10. Suporte ao cliente
If you have any questions, require technical assistance, or need to report a problem with your Front Runner Side Mount Ladder, please contact Front Runner customer support through their official website ou as informações de contato fornecidas na embalagem do seu produto.
Website: www.frontrunneroutfitters.com


