1. Introdução
Thank you for choosing the goobay Digital Timer. This device is designed to help you manage power consumption and enhance home security by automatically switching electrical appliances on and off. It features up to 16 programmable settings (8 ON/OFF pairs), a random mode for anti-burglary protection, and an integrated backup battery to retain settings during power outage.
Please read this manual carefully before use to ensure proper operation and safety.
2. Instruções de segurança
- Somente para uso interno. Não exponha à umidade ou a temperaturas extremas.
- Do not exceed the maximum load of 3680 W (230 V AC, 16 A).
- Não desmonte nem tente reparar o dispositivo. Encaminhe todos os serviços de manutenção a pessoal qualificado.
- Certifique-se de que o temporizador esteja firmemente conectado a uma tomada aterrada.
- Mantenha fora do alcance de crianças.
- Unplug the timer from the wall outlet before cleaning. Clean only with a dry cloth.
- Do not connect appliances that generate a lot of heat, such as heaters, without supervision.
3. Produto acabadoview
The goobay Digital Timer is a compact and efficient device for controlling your electrical appliances.
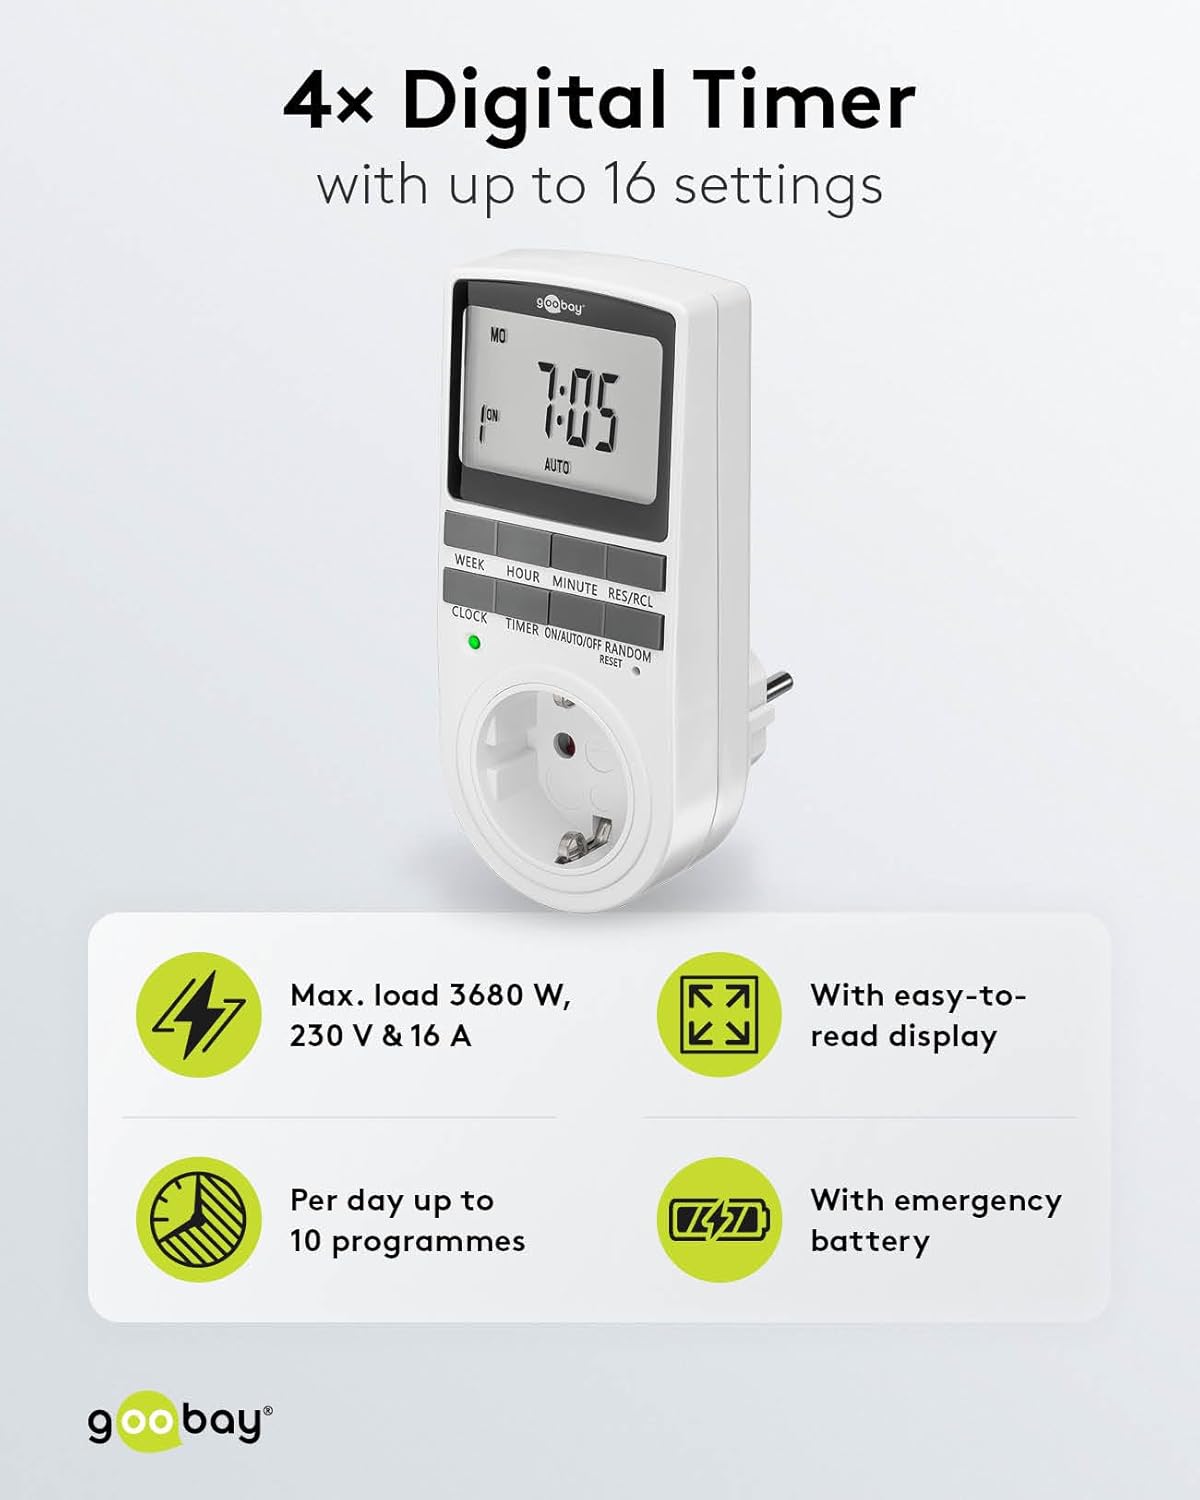
Image: goobay Digital Timer highlighting its features: Max. load 3680 W, 230 V & 16 A; Easy-to-read display; Up to 10 programs per day; Emergency backup battery.
Os principais recursos incluem:
- Carga Máx.: 3680 W, 230 V & 16 A
- Configurações programáveis: Up to 8 ON/OFF program pairs (16 individual settings).
- Modo aleatório: Simulates presence for enhanced security.
- Bateria de reserva: Retains settings for over 100 days during power outage.
- Economia de energia: Interrupts standby mode of connected devices.
- Design compacto: Space-saving installation.

Imagem: Lado view of the goobay Digital Timer showing its compact dimensions: 135 mm height, 60 mm width, 38 mm depth, and 155g weight.
4. Configuração
4.1 Carregamento Inicial
Before first use, plug the timer into a wall outlet for approximately 5-10 minutes to charge the internal backup battery. This ensures the display functions and settings can be retained even when unplugged.
4.2 Reiniciar o dispositivo
If the display is blank or unresponsive, or if you wish to clear all previous settings, press the REINICIAR button using a small, non-metallic pointed object (e.g., a toothpick or the included reset tool). This will clear all programs and reset the clock.

Image: The goobay Digital Timer showing the LED status display, Reset function (with reset tool), Safety plug (Type F, CEE 7/4, 230V, 16A, 3680W), and Safety socket (Type F, CEE 7/3, 6A, 250V output).
4.3 Ajustando a hora atual
- Pressione o RELÓGIO botão.
- Pressione o SEMANA Botão para selecionar o dia da semana atual (SEG, TER, QUA, QUI, SEX, SÁB, DOM).
- Pressione o HORA button to set the current hour (0-23).
- Pressione o MINUTO button to set the current minute (0-59).
- Pressione o RELÓGIO Pressione novamente o botão para confirmar e sair do modo de configuração de hora.

Image: Close-up of the goobay Digital Timer's display, indicating Weekday, Selected time setting (1-10), Time of day, and Operating mode (On/Auto/Off).
5. Instruções de operação
5.1 Programação dos horários de LIGAR/DESLIGAR
The timer allows for up to 8 ON/OFF program pairs (16 individual settings).
- Pressione o CRONÔMETRO botão para entrar no modo de programação. O visor mostrará "1 LIGADO".
- Imprensa SEMANA to select the day(s) for this program. Options include:
- Dias individuais (SEG, TER, QUA, QUI, SEX, SÁB, DOM)
- Groups of days (MO TU WE TH FR SA SU, MO TU WE TH FR, SA SU, MO TU WE TH FR SA, MO WE FR, TU TH SA, MO TU WE, TH FR SA)
- Imprensa HORA para definir a hora LIGADA desejada.
- Imprensa MINUTO para definir o minuto LIGADO desejado.
- Imprensa CRONÔMETRO novamente. O visor mostrará "1 OFF".
- Repita os passos 2 a 4 para definir o tempo de DESLIGAMENTO desejado para o mesmo programa.
- Continuar pressionando CRONÔMETRO to cycle through program settings 2 ON, 2 OFF, up to 8 ON, 8 OFF, setting each as needed.
- Após configurar todos os programas desejados, pressione o RELÓGIO Botão para sair do modo de programação e retornar à exibição da hora atual.

Image: Diagram illustrating the functions of the goobay Digital Timer's buttons: WEEK (Set weekday), HOUR (Set hours), MINUTE (Set minutes), RES/RCL (Delete or restore setting), CLOCK (Set different times of day), TIMER (Switch set times), ON/AUTO/OFF (Manual or automatic mode), RANDOM (Random mode).
5.2 Operating Modes (ON/AUTO/OFF)
Pressione o LIGAR/AUTO/DESLIGAR botão para alternar entre os modos de operação:
- EM: The connected appliance will remain continuously ON, overriding all programmed settings.
- CARRO: The connected appliance will operate according to the programmed ON/OFF times. This is the standard operating mode for scheduled tasks.
- OFF: The connected appliance will remain continuously OFF, overriding all programmed settings.
5.3 Modo Aleatório
The random mode is designed to simulate presence for security purposes. When activated, the timer will switch ON and OFF at random intervals between 6:00 PM and 5:30 AM.
- Certifique-se de que o temporizador esteja em AUTO modo.
- Pressione o ALEATÓRIO button to activate or deactivate this mode. An "R" will appear on the display when random mode is active.
5.4 Horário de Verão (DST)
To adjust for Daylight Saving Time, press the HORA e MINUTO buttons simultaneously while in RELÓGIO mode. The time will advance or rewind by one hour. Repeat to revert.
6. Manutenção
- Limpeza: Unplug the timer from the wall outlet before cleaning. Wipe the exterior with a soft, dry cloth. Do not use liquid cleaners or sprays.
- Armazenar: If storing the timer for an extended period, ensure the backup battery is charged periodically to maintain its functionality.
- Bateria de reserva: The integrated backup battery is designed to retain settings for over 100 days. No user maintenance is required for the battery.
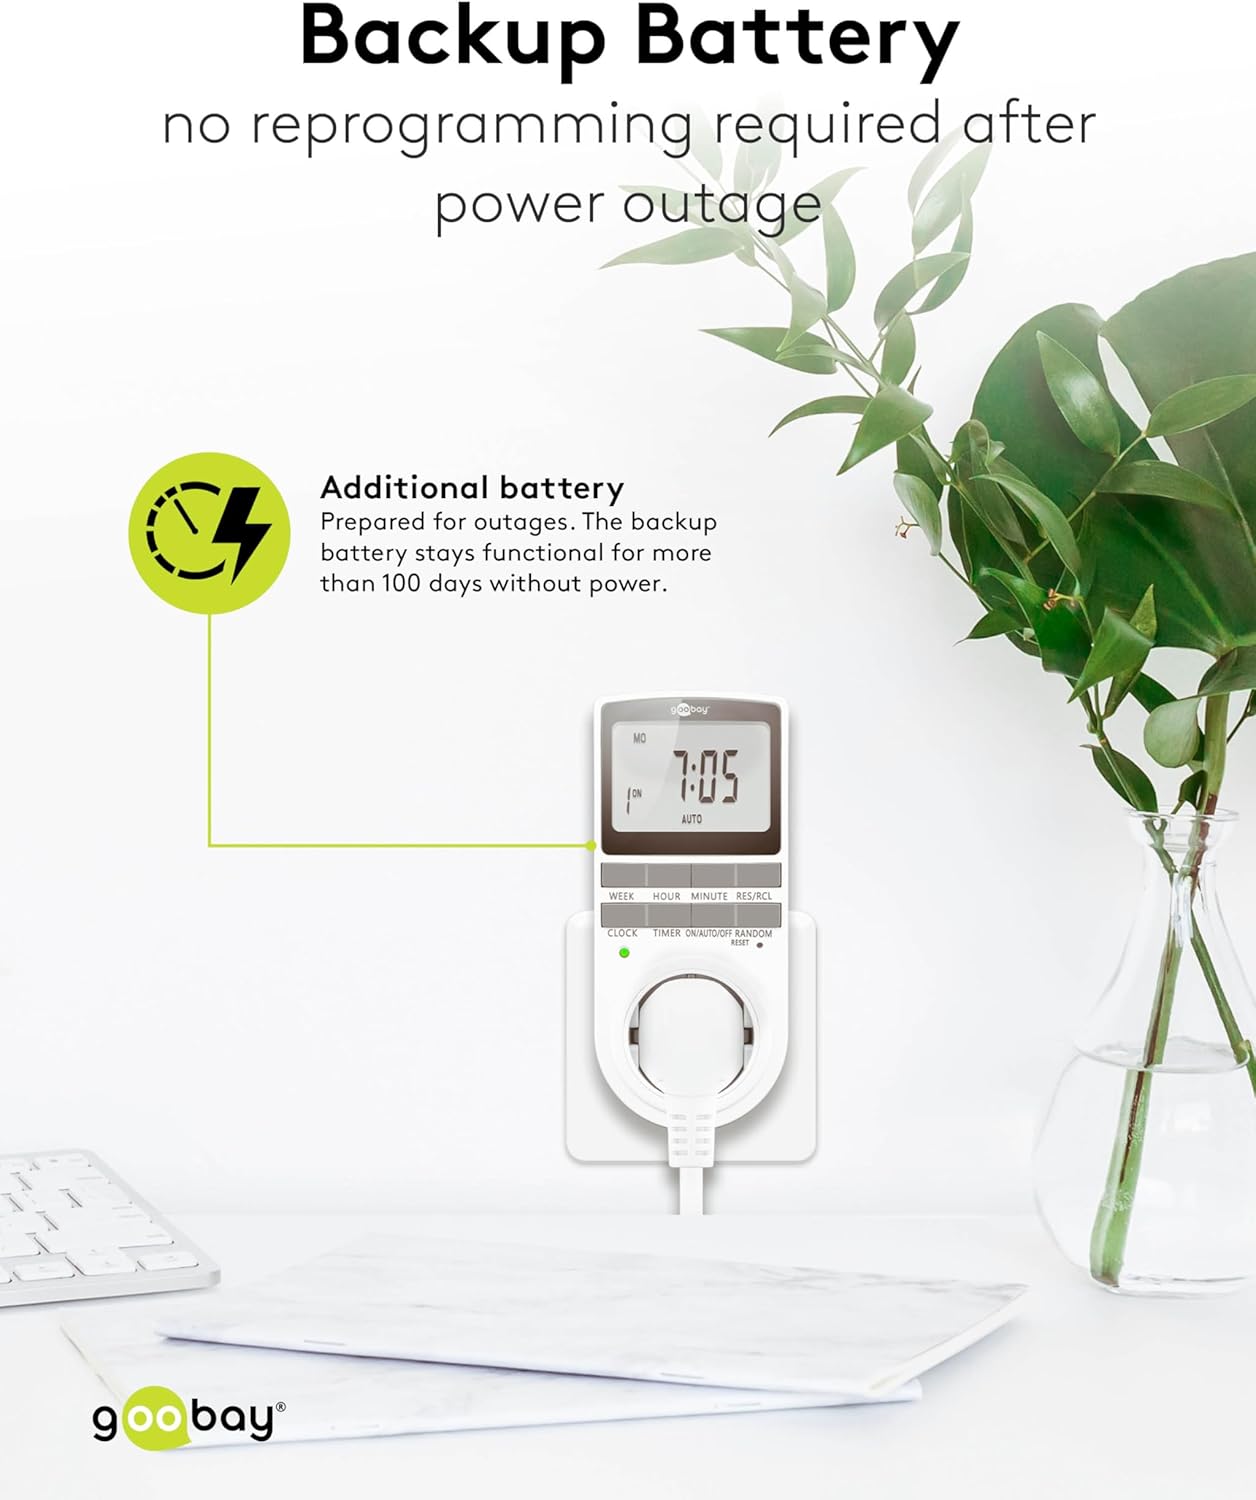
Image: The goobay Digital Timer plugged into an outlet, illustrating the backup battery feature which prevents reprogramming after a power outage.
7. Solução De Problemas
| Problema | Possível causa | Solução |
|---|---|---|
| A tela está em branco ou não responde. | Backup battery is depleted or device needs reset. | Plug the timer into a live outlet for 5-10 minutes to charge the battery. If still unresponsive, press the REINICIAR botão. |
| O aparelho não liga/desliga nos horários programados. | Timer is not in AUTO mode, programs are incorrect, or appliance is faulty. | Certifique-se de que o temporizador esteja configurado para AUTO mode. Verify programmed ON/OFF times. Check if the connected appliance works when plugged directly into the wall outlet. |
| Random mode is not working. | Timer is not in AUTO mode or random mode is not activated. | Certifique-se de que o temporizador esteja em AUTO modo. aperte o ALEATÓRIO button to activate it (an "R" should appear on the display). |
| O horário está incorreto após uma queda de energia.tage. | Backup battery is depleted or was not charged sufficiently. | Plug the timer into a live outlet for at least 10 minutes to fully charge the backup battery. Reset and reprogram if necessary. |
8. Especificações
| Marca: | circulado |
| Número do modelo: | 74217 |
| Cor: | Branco |
| Material: | Acrylonitrile Butadiene Styrene Plastic |
| Dimensões do produto (C x L x A): | 7.6 x 6 x 13.5 cm |
| Peso do item: | 155 g |
| Abastecimento Voltage: | 230 V (CA) |
| Máx. Poder de comutação: | 3680 W |
| Corrente máx.: | 16.0 UMA |
| Número de configurações: | 16 (8 ON/OFF program pairs) |
| Classificação de proteção: | IP20 |
| Classe de proteção: | I |
| País de origem: | China |
9. Garantia e Suporte
Specific warranty information is not provided within this manual. For details regarding warranty coverage, technical support, or service, please refer to the official goobay website ou entre em contato com seu revendedor.
You can often find additional resources and contact information on the manufacturer's website: www.goobay.com


