1. Introdução
Thank you for choosing the Brilagi MIA Recessed Spotlight. This manual provides essential information for the safe and efficient installation, operation, and maintenance of your new lighting fixture. Please read these instructions carefully before installation and retain them for future reference.
The Brilagi MIA spotlight is a modern and functional lighting solution designed for indoor use. Its black finish and compact dimensions make it suitable for various interior styles, providing directed illumination for specific areas or objects.
2. Informações de segurança
- Segurança elétrica: A instalação deve ser realizada por um eletricista qualificado, em conformidade com todos os códigos elétricos locais e nacionais.
- Desconexão de energia: Desligue sempre a energia no disjuntor principal antes de instalar, fazer manutenção ou limpar a luminária.
- Volumetage: Certifique-se de que a fonte de alimentação voltage (230V) matches the fixture's requirements.
- Lamp Tipo: Use only GU10 lamps com um wat máximotage of 30W. Exceeding this wattage pode causar superaquecimento e danos.
- Aquecer: Lamps can become hot during operation. Allow them to cool before handling.
- Somente para uso interno: This product is designed for indoor lighting applications. Do not expose to moisture or outdoor elements.
- Montagem segura: Ensure the fixture is securely mounted to the ceiling structure to prevent accidental falling.
3. Conteúdo da embalagem
Verifique se todos os componentes estão presentes e sem danos antes de prosseguir com a instalação.
- Brilagi MIA Recessed Spotlight fixture (1 unit)
- Suporte de montagem
Note: GU10 lamp is not included and must be purchased separately.
4. Especificações
| Recurso | Especificação |
|---|---|
| Marca | Brilagi |
| Número do modelo | BG0590 |
| Dimensões (C x L x A) | 8 x 8 x 8.4 cm |
| Material | Metal |
| Cor | Preto |
| Terminar | Esteira |
| Lamp Encaixe | GU10 |
| Máx. Wattage | 30 W |
| Volumetage | 230V |
| Direção da luz | Direto |
| Características especiais | Ajustável |
| Tipo de instalação | Montagem no teto |
| Certificação | CE |
| Uso | Iluminação interna |
5. Configuração e instalação
Importante: Certifique-se de que a energia esteja desligada no disjuntor principal antes de iniciar a instalação.
- Prepare a área de instalação: Choose a suitable location on the ceiling. Ensure there is adequate space for the fixture and wiring.
- Monte o suporte: Secure the provided mounting bracket to the ceiling using appropriate screws and anchors (not included) suitable for your ceiling material. Ensure the bracket is firmly attached.
- Conexão elétrica: Connect the electrical wires from the ceiling to the fixture's terminals. Follow standard wiring practices: Live (L) to Live, Neutral (N) to Neutral, and Earth (E) to Earth. If you are unsure, consult a qualified electrician.
- Fixe o acessório: Carefully align the spotlight fixture with the mounting bracket and secure it in place.
- Install the GU10 Lamp: Insira um GU10 lamp (max 30W) into the lamp holder by pushing it in and twisting clockwise until it locks into place.
- Ajustar direção: The spotlight features an adjustable head, allowing you to direct the light beam as desired.
- Restaurar energia: Após a conclusão da instalação e a verificação de que todas as conexões estão seguras, restabeleça a energia no disjuntor principal.

Um close-up view of the Brilagi MIA Recessed Spotlight, showcasing its black cylindrical design and the illuminated GU10 bulb angled downwards, providing direct light.
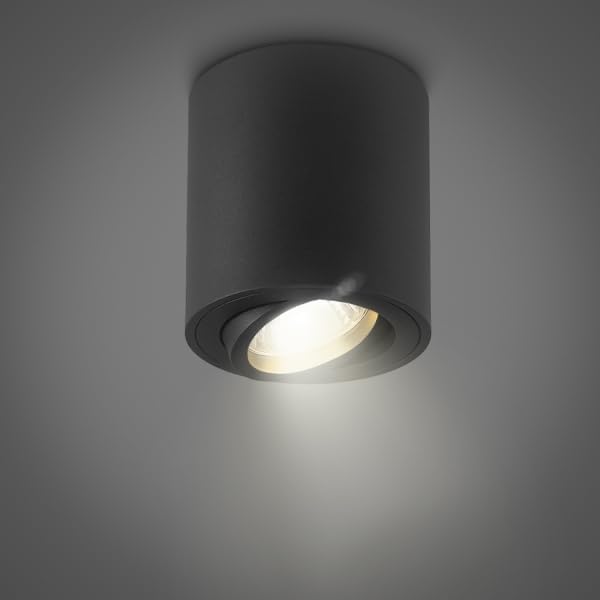
Another perspective of the Brilagi MIA Recessed Spotlight, highlighting its sleek black finish and the focused beam of light emitted from the adjustable GU10 bulb.

An image depicting two Brilagi MIA Recessed Spotlights installed in the ceiling of a modern kitchen, providing accent lighting over the countertop and work areas. The spotlights blend seamlessly with the contemporary interior design.
6. Instruções de operação
The Brilagi MIA Recessed Spotlight is designed for simple operation via a standard wall switch. Once properly installed and connected to the electrical supply, the light can be turned on and off using the connected wall switch.
- Ligar/Desligar: Use the wall switch connected to the fixture to control the light.
- Ajustando a direção da luz: Gently pivot the inner part of the spotlight to direct the light beam to your desired area.
7. Manutenção
A manutenção regular garante a longevidade e o desempenho ideal do seu refletor.
- Limpeza: Disconnect power before cleaning. Wipe the fixture with a soft, dry cloth. Do not use abrasive cleaners, solvents, or liquids, as these can damage the finish.
- Lamp Substituição: Disconnect power before replacing the lamp. Allow the old lamp to cool completely. Remove the old GU10 lamp by pushing it in and twisting counter-clockwise. Insert a new GU10 lamp (max 30W) by pushing it in and twisting clockwise.
- Inspeção: Inspecione periodicamente a luminária para verificar se há sinais de danos ou conexões soltas. Se encontrar algum problema, desligue a energia e consulte um eletricista qualificado.
8. Solução De Problemas
If you encounter issues with your Brilagi MIA Recessed Spotlight, refer to the following common problems and solutions:
- A luz não acende:
- Verifique se a fonte de alimentação está conectada e se o disjuntor está ligado.
- Certifique-se de que o interruptor de parede esteja na posição "ligado".
- Verify that the GU10 lamp is correctly inserted and not faulty. Try replacing it with a known working lamp.
- Verifique se há conexões elétricas soltas (somente por um eletricista qualificado).
- A luz pisca:
- Certifique-se de que o GU10 lamp está totalmente encaixado no soquete.
- O lamp itself might be faulty; try replacing it.
- Check for loose wiring connections (only by a qualified electrician).
- Superaquecimento:
- Ensure the correct GU10 lamp o quêtage (max 30W) is used.
- Verify there is adequate ventilation around the fixture.
If these steps do not resolve the issue, please contact Brilagi customer support or a qualified electrician.
9. Garantia e Suporte
Brilagi products are manufactured to high-quality standards. For information regarding warranty terms and conditions, please refer to the documentation provided at the time of purchase or visit the official Brilagi website.
For technical support, replacement parts, or any questions not covered in this manual, please contact Brilagi customer service through their official channels.


