1. Introdução
Thank you for choosing the Scheppach C-LT300-X 2-in-1 Cordless Trimmer. This versatile tool is designed for efficient trimming of grass and precise edging of lawns, offering cordless convenience with the Scheppach IXES 20V battery system. This manual provides essential information for safe operation, assembly, maintenance, and troubleshooting to ensure optimal performance and longevity of your device.

Figura 1.1: The Scheppach C-LT300-X 2-in-1 Cordless Trimmer, shown with the included 2Ah battery, charger, and two spools of trimmer line. This image provides an overview of the complete product package.
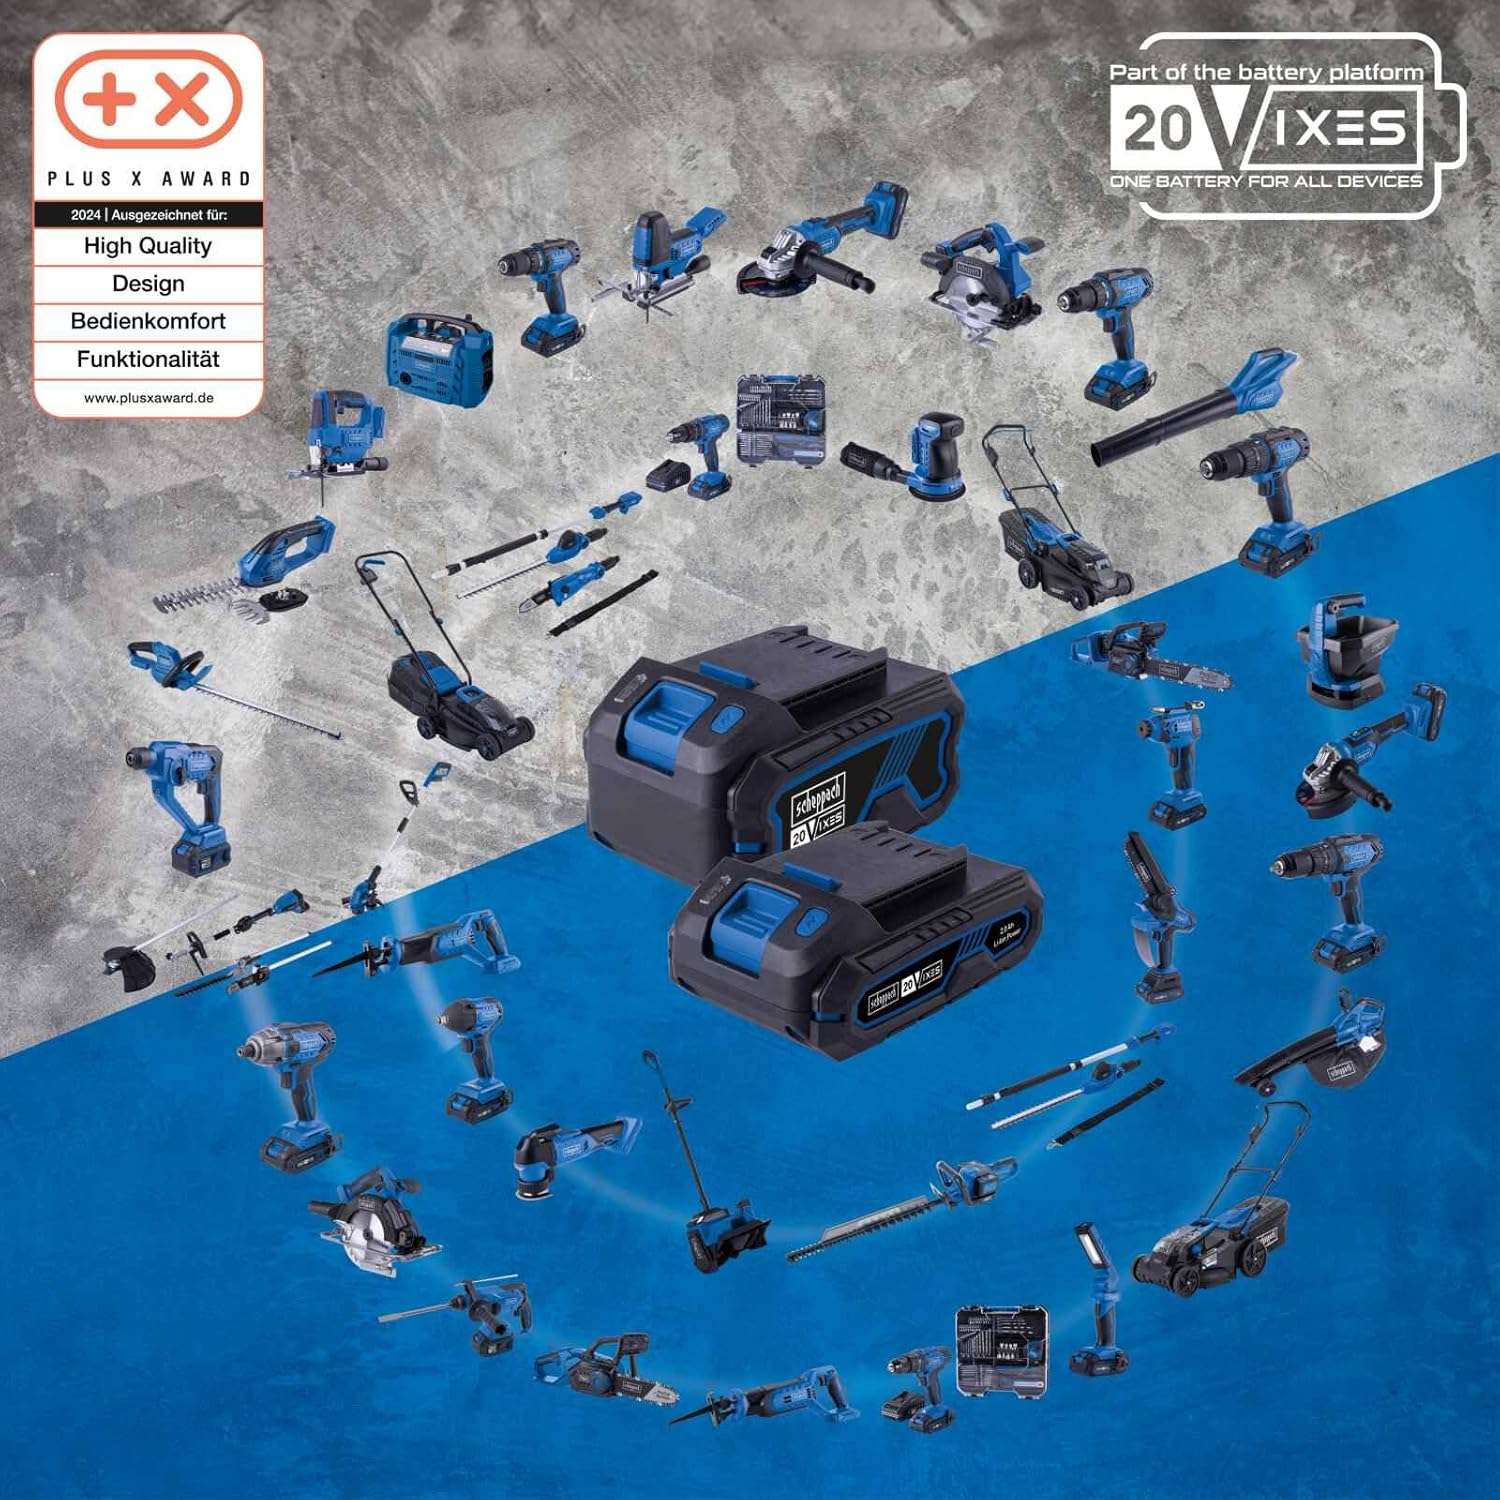
Figura 1.2: The Scheppach IXES 20V battery platform, illustrating the wide range of compatible tools. This system allows you to use the same battery across multiple Scheppach devices, enhancing versatility and convenience.
2. Instruções de segurança
Always observe the following safety precautions to prevent injury and damage to the tool.
2.1 Segurança Geral
- Leia e compreenda todas as instruções antes de utilizar a ferramenta.
- Mantenha crianças e espectadores afastados enquanto estiver operando o aparador.
- Do not operate the tool in wet conditions or in the rain.
- Always inspect the work area for objects that could be thrown by the trimmer line.
2.2 Segurança elétrica
- Use only the specified battery and charger for this tool.
- Não carregue as baterias em modo de espera.amp ou locais úmidos.
- Proteja a bateria do calor, da luz solar direta e do fogo.
- Nunca provoque curto-circuito nos terminais da bateria.
2.3 Segurança Pessoal
- Wear appropriate personal protective equipment (PPE), including eye protection, long pants, sturdy footwear, and hearing protection.
- Não exagere. Mantenha sempre o pé e o equilíbrio adequados.
- Evite partidas acidentais. Certifique-se de que a chave está na posição desligada antes de inserir a bateria.
- Não utilize o aparador se estiver cansado, doente ou sob o efeito de drogas ou álcool.
3. Componentes do produto
Familiarize yourself with the main components of your Scheppach C-LT300-X trimmer:
- Cabeça do aparador: Houses the cutting line and motor.
- Eixo telescópico: Allows for length adjustment for ergonomic use.
- Punho principal: With integrated safety switch.
- Alça auxiliar: Adjustable for comfortable grip and control.
- Compartimento da bateria: Para inserir a bateria de 20V.
- Plant Protection Guard: Foldable guard to protect delicate plants.
- Roda de afiação: For precise lawn edging.
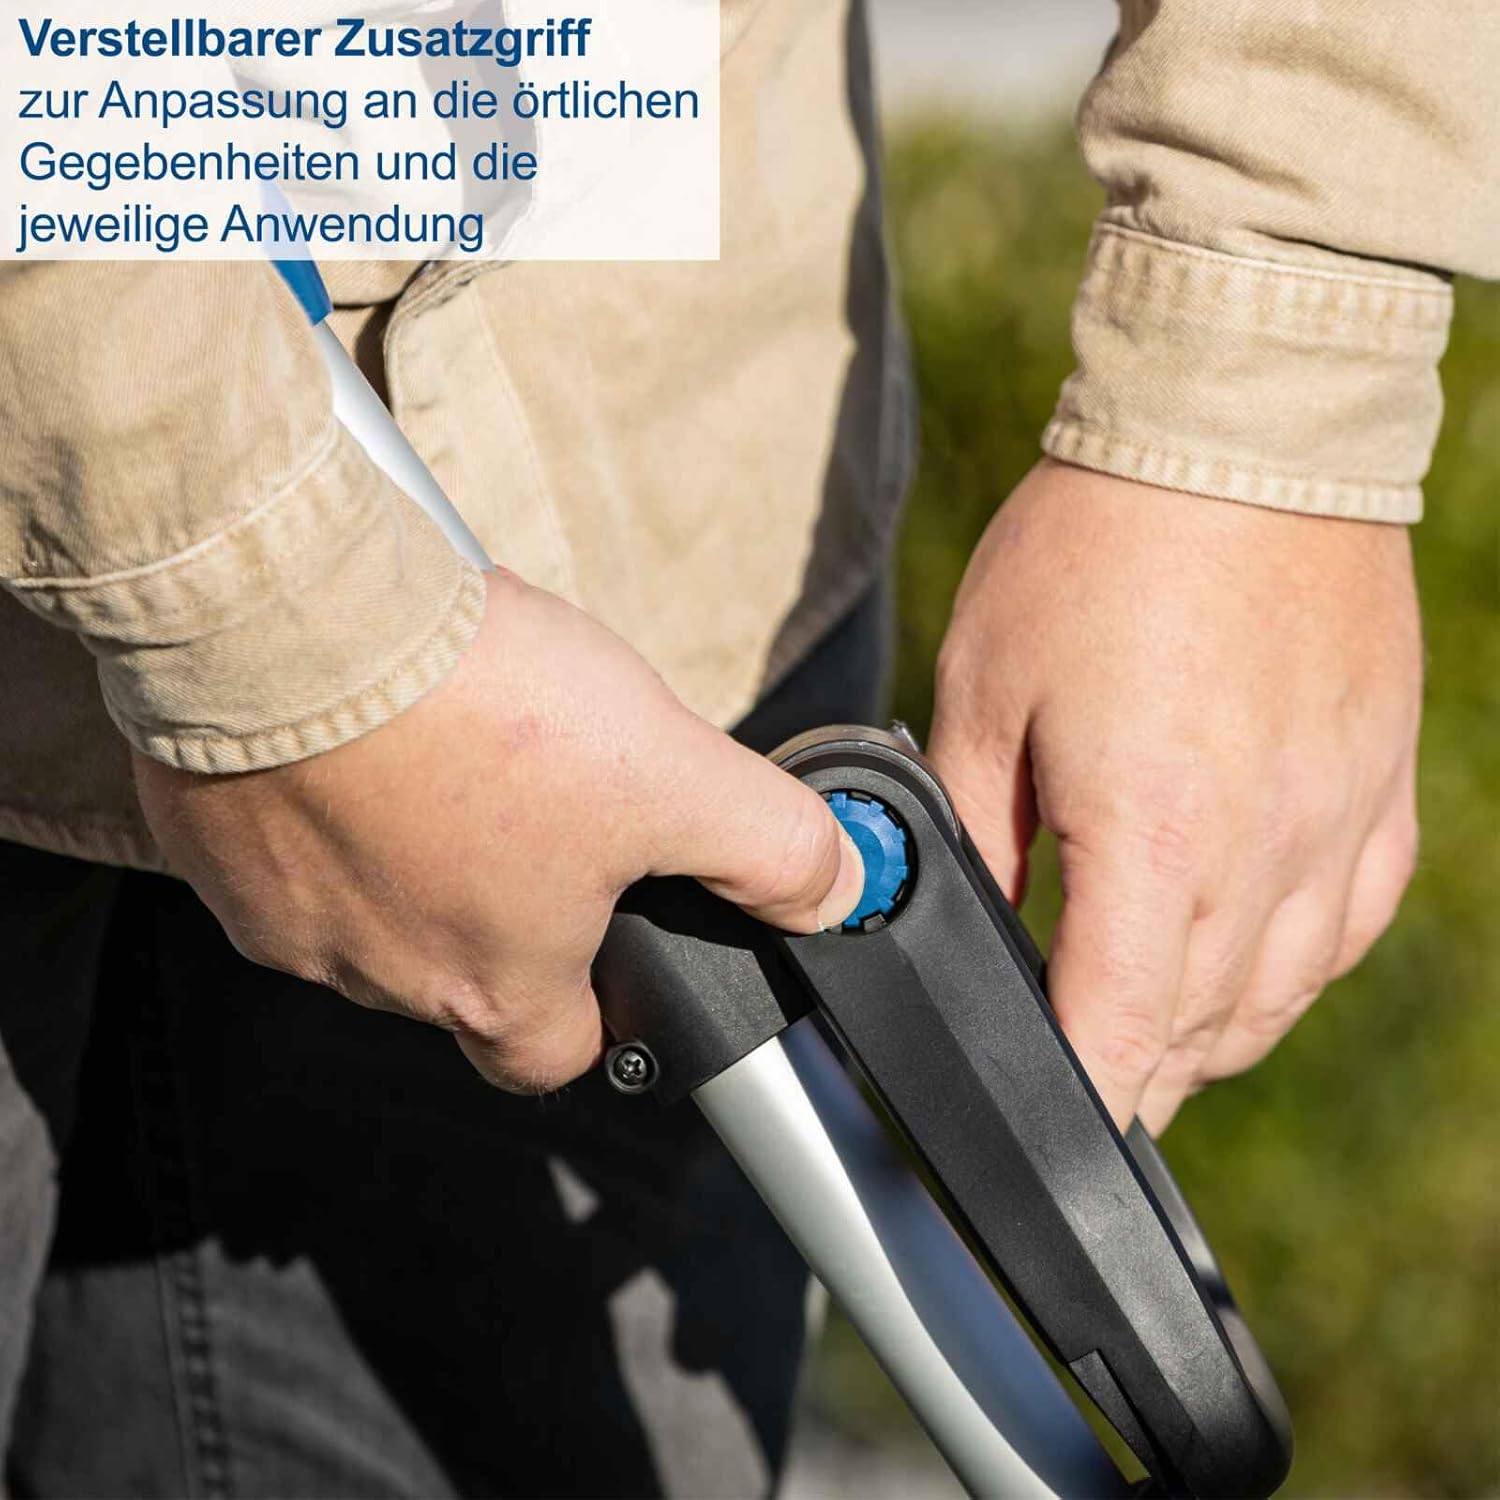
Figura 3.1: Adjustable auxiliary handle. This handle can be positioned to suit your height and working posture, providing enhanced comfort and control during operation.

Figura 3.2: Foldable plant protection guard. This guard can be deployed to prevent accidental damage to flowers, shrubs, and other delicate garden features while trimming.
4. Configuração
4.1 Montagem
Follow these steps to assemble your trimmer:
- Attach the auxiliary handle to the main shaft and secure it firmly.
- Ensure the trimmer head is securely fastened to the lower shaft.
- Adjust the telescopic shaft to your desired working height.
4.2 Carregamento e Instalação da Bateria
The trimmer operates on a 20V battery. Before first use, fully charge the battery.
- Conecte o carregador a uma tomada elétrica.
- Insert the battery pack into the charger. The indicator light will show charging status.
- Depois de totalmente carregada, remova a bateria do carregador.
- To install, slide the charged battery pack into the battery compartment on the trimmer until it clicks into place.
- Para remover, pressione o botão de liberação da bateria e deslize a bateria para fora.
4.3 Adjusting the Trimmer Head
The trimmer head can be adjusted for different cutting angles and for edging.

Figura 4.1: Tool-free motor head adjustment. The trimmer head can be easily adjusted to various angles without the need for additional tools, allowing for versatile cutting and edging.
5. Operação
5.1 Partida e Parada
- Para começar: Pressione o botão de trava de segurança e, em seguida, aperte o gatilho.
- Para parar: Solte o interruptor de gatilho.
5.2 Trimming Function
Hold the trimmer firmly with both hands. Swing the trimmer from side to side, keeping the cutting line parallel to the ground. Maintain a safe distance from obstacles and ensure the plant protection guard is in place if working near delicate plants.

Figura 5.1: Trimmer use on a slope. The adjustable features of the C-LT300-X make it ideal for maintaining grass on uneven terrain and slopes, ensuring comfortable and effective operation.
5.3 Edging Function
To switch to edging mode, rotate the trimmer head 90 degrees. Use the edging wheel to guide the trimmer along the edge of your lawn or pathway, creating a clean, precise cut.

Figura 5.2: Rotatable cutting head. The trimmer head can be rotated 90 degrees, allowing for easy conversion from trimming to precise lawn edging, even in hard-to-reach areas.
5.4 Automatic Line Feed
The trimmer features an automatic line feed system. When the line wears down, it will automatically extend more line as needed during operation. Avoid intentionally bumping the head to feed line, as this can cause premature wear.
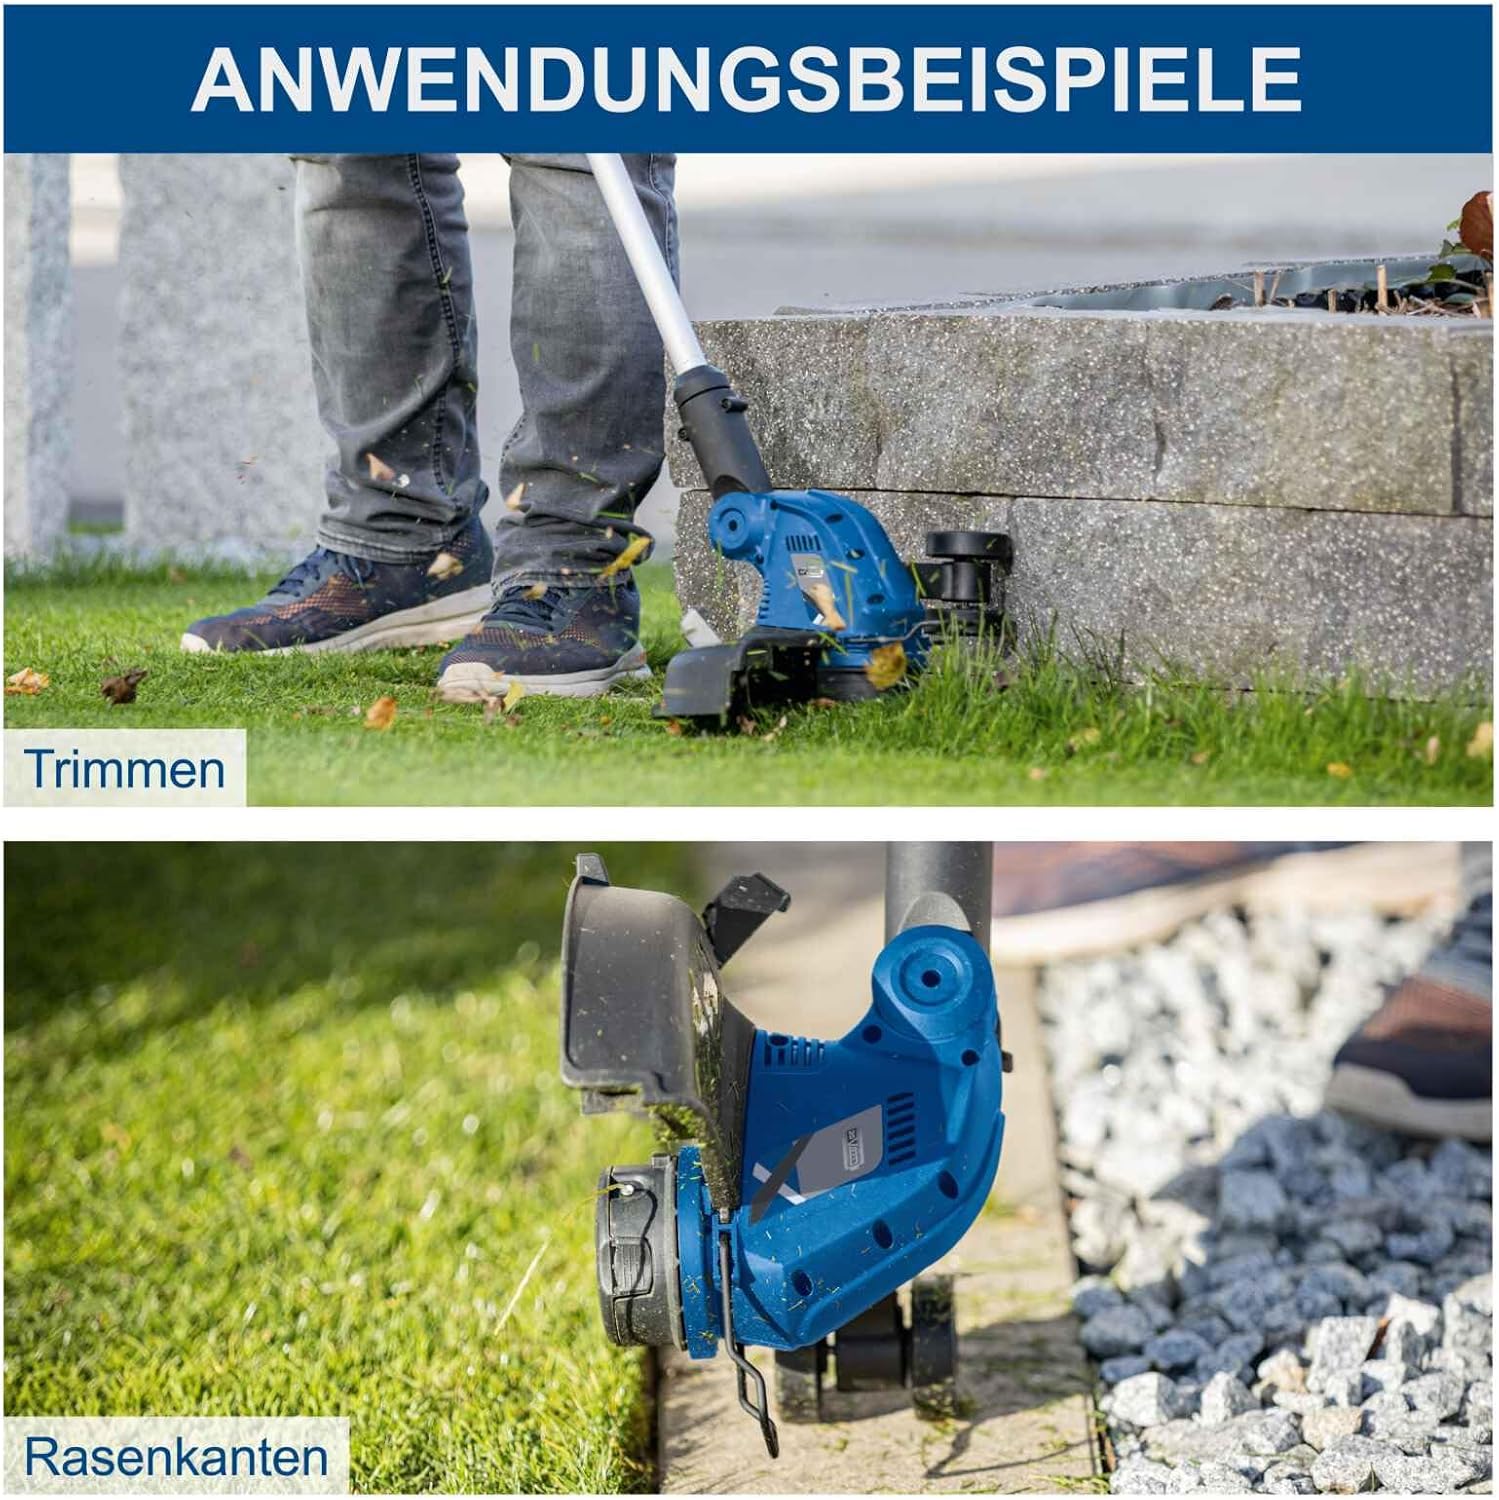
Figura 5.3: Aplicação examples. The top image shows the trimmer in use for general grass trimming, while the bottom image demonstrates its capability for precise lawn edging along a paved surface.
6. Manutenção
6.1 Limpeza
- Sempre remova a bateria antes de limpá-la.
- Clean the trimmer housing with a damp pano. Não use produtos químicos agressivos ou produtos de limpeza abrasivos.
- Remove any grass clippings or debris from the trimmer head and guard.
6.2 Substituição do carretel de fio de corte
When the trimmer line runs out, replace the spool with a new one. The process is tool-free and straightforward.
- Certifique-se de que a bateria foi removida.
- Pressione as abas na lateral da tampa do carretel e remova-a.
- Remova o carretel vazio.
- Insert a new pre-wound spool, ensuring the line is threaded through the eyelet.
- Recoloque a tampa do carretel, certificando-se de que ela se encaixe firmemente no lugar.
6.3 Armazenamento
- Guarde o aparador em local seco e seguro, fora do alcance de crianças.
- Remova a bateria antes de guardar o produto por longos períodos.
- Guarde as pilhas em local fresco e seco, longe da luz solar direta.
7. Solução De Problemas
Consulte a tabela abaixo para obter informações sobre problemas comuns e suas soluções.
| Problema | Possível causa | Solução |
|---|---|---|
| O aparador não inicia | Bateria não inserida corretamente Bateria descarregada Interruptor de segurança não ativado | Reinsira a bateria Carregar bateria Ensure safety button is pressed before trigger |
| A linha de corte da roçadeira quebra com frequência. | Incorrect line type Line worn or old Cutting against hard surfaces | Use recommended line diameter (1.6mm) Replace spool with new line Avoid contact with concrete, rocks, etc. |
| Baixo desempenho de corte | Fila muito curta Motor sobrecarregado Detritos na cabeça | Allow automatic line feed Reduce cutting load Clean trimmer head |
Se o problema persistir após tentar essas soluções, entre em contato com o suporte ao cliente.
8. Especificações técnicas
Key technical data for the Scheppach C-LT300-X trimmer:
- Modelo: C-LT300-X (5910904900)
- Fonte de energia: Battery-powered (20V IXES system)
- Largura de corte: Máx. 300 mm
- Diâmetro da linha: 1.6 mm (single nylon line)
- Telescopic Shaft Adjustment: Máx. 270 mm
- Dimensões do produto (C x L x A): 124 x 34 x 12.7 cm
- Peso do item: 4 quilos
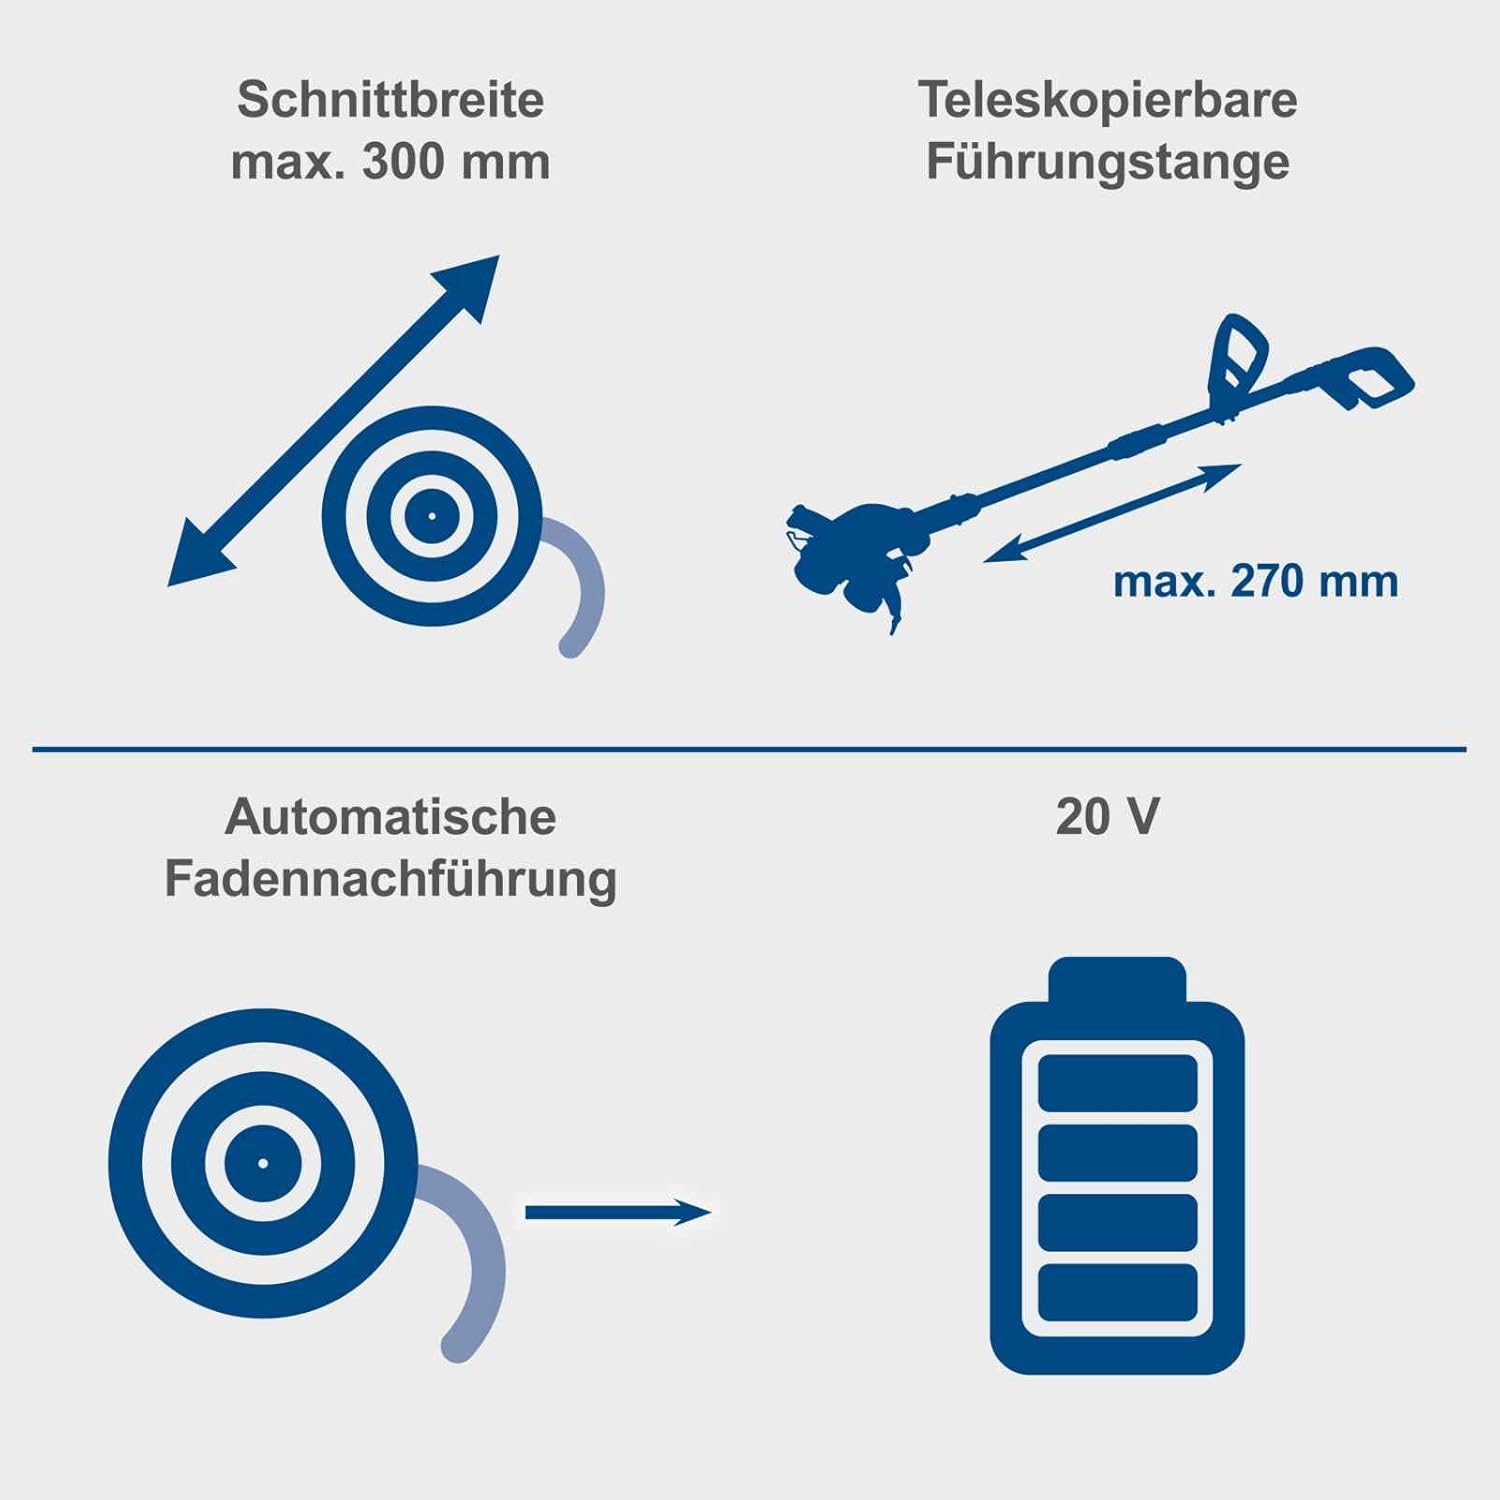
Figura 8.1: Technical specifications diagram. This visual summary highlights key dimensions and features, including the maximum cutting width of 300mm, telescopic shaft extension up to 270mm, automatic line feed, and 20V battery compatibility.
9. Garantia e Suporte
For warranty information, please refer to the warranty card included with your product or visit the official Scheppach website. If you require technical assistance, spare parts, or have any questions not covered in this manual, please contact Scheppach customer support through their official channels.


