Introdução
This manual provides comprehensive instructions for the installation, operation, maintenance, and troubleshooting of your suevery 24-inch Curved Gaming Monitor (Model: SV240QC). Please read this manual thoroughly before using the product to ensure proper functionality and to maximize your viewexperiência. Guarde este manual para referência futura.
Características do produto
- Immersive Curved Display: The 24-inch 3000R curved screen is designed to match the natural curvature of the human eye, providing an immersive visual experience. This is complemented by a Full HD (1920x1080) resolution, drawing users into the content.
- Ultra-Smooth Motion: An ultra-high 180Hz refresh rate combined with an ultra-fast 1ms (GTG) gray-to-gray response time, enhanced by FreeSync technology, effectively eliminates screen tearing, stuttering, and ghosting. This ensures seamless transitions in fast-paced games.
- Reprodução de cores precisa: With 100% sRGB color space coverage and precise reproduction of 16.7 million colors, the VA panel delivers excellent contrast and color layering. This results in vivid and realistic visuals for both gaming and multimedia.
- Flexible Connectivity and Installation: Equipped with DisplayPort (DP) and High-Definition Multimedia Interface (HDMI) ports, the monitor can easily connect to PCs, gaming consoles, laptops, and other devices. It supports VESA wall mounting, allowing for flexible placement in various environments.

Image: The suevery 24-inch Curved Gaming Monitor, showcasinSeu design elegante e tela curva.
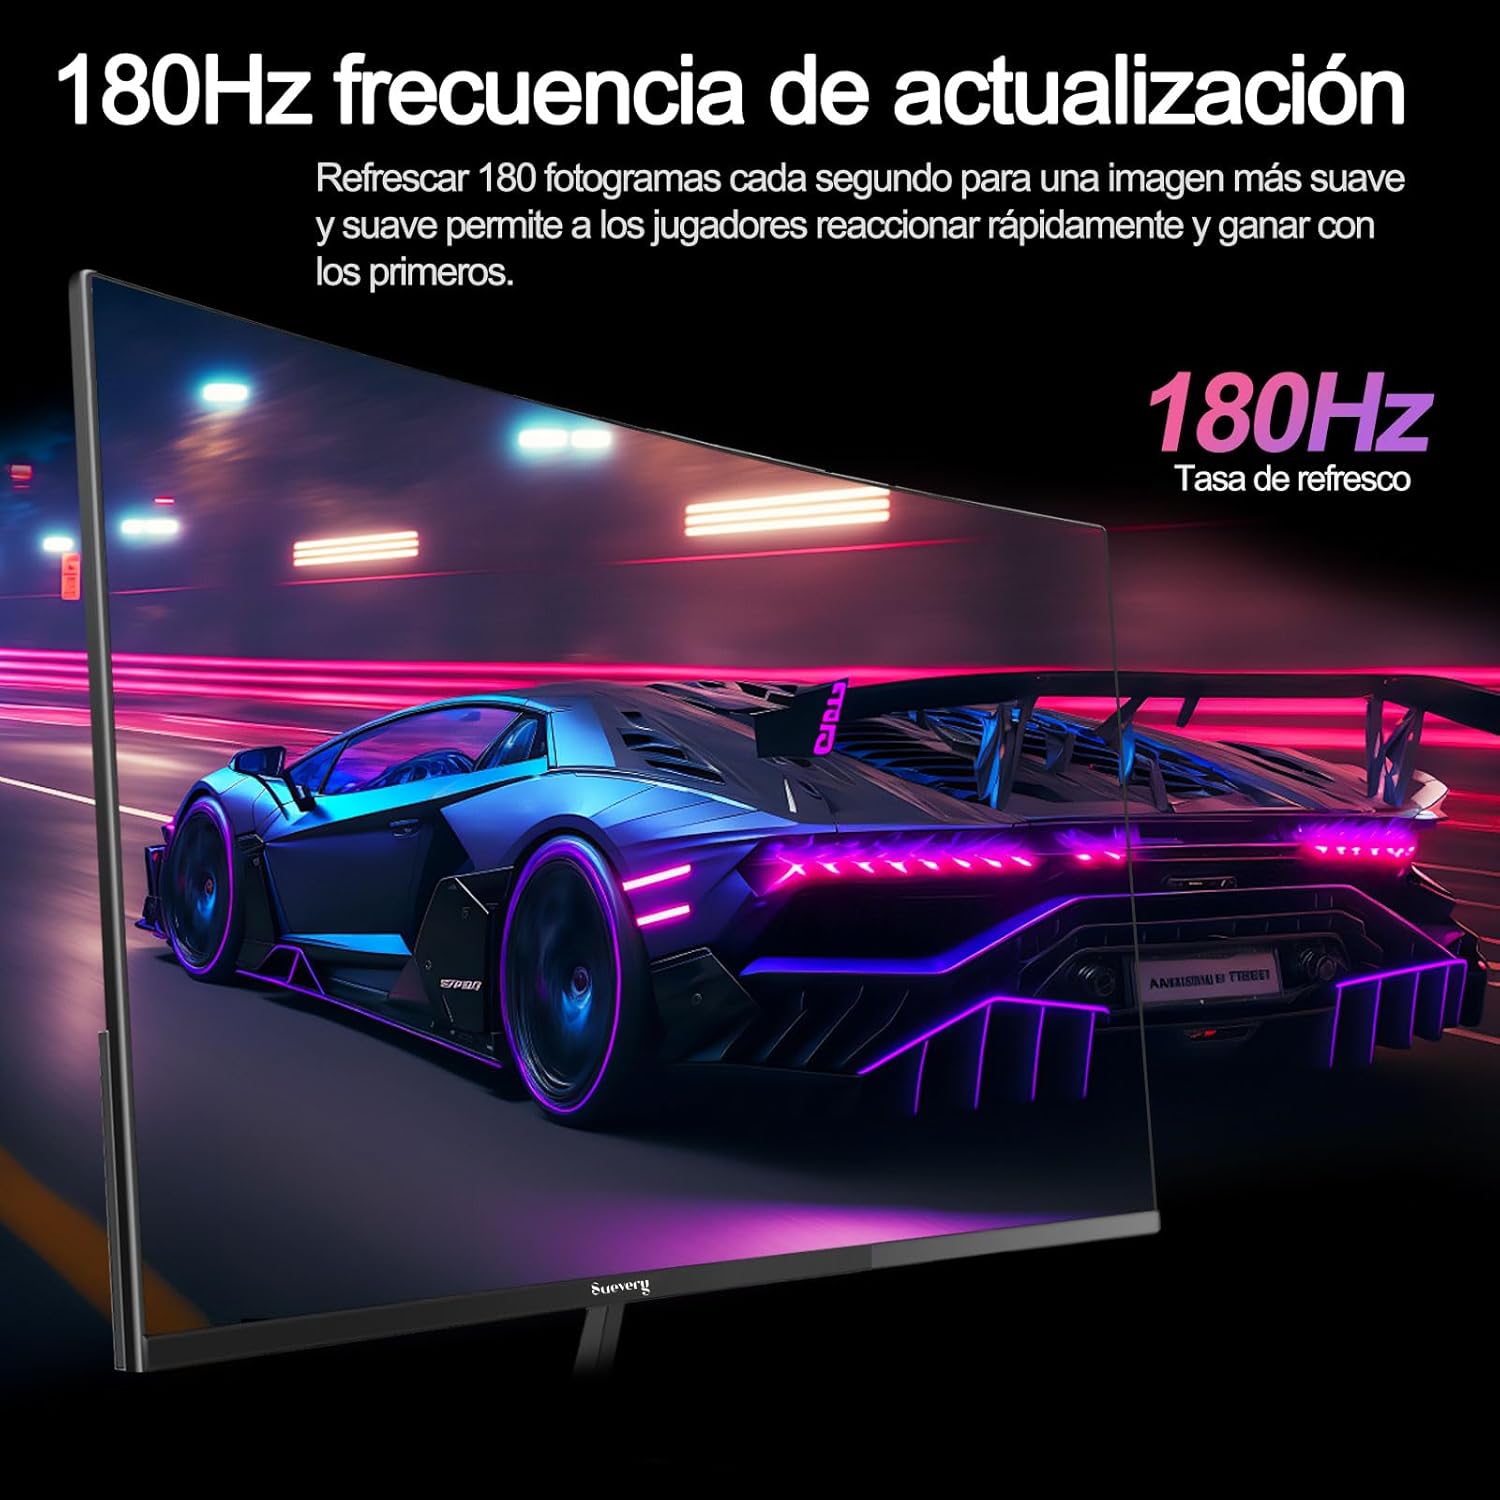
Image: A visual representation highlighting the 180Hz refresh rate, illustrating smooth motion in a racing game scene.

Image: An illustration demonstrating the monitor's wide color gamut (100% sRGB), 3000:1 contrast ratio, and 16.7 million colors for vibrant visuals.

Image: A split-screen comparison showing the visual difference with FreeSync OFF (screen tearing) and FreeSync ON (smooth image) during gameplay.
Instruções de configuração
1. Desembalagem e Montagem
- Remova cuidadosamente todos os componentes da embalagem.
- Coloque o painel do monitor com a face voltada para baixo sobre uma superfície macia e limpa para evitar arranhões.
- Attach the stand base to the stand neck, securing it with the provided screws.
- Attach the assembled stand to the back of the monitor panel. Ensure it clicks securely into place or is fastened with screws as per the design.
- Alternatively, for VESA mounting, remove the stand and attach a VESA-compatible mount (75x75mm) to the monitor's rear panel.
2. Cabos de conexão
Refer to the diagram below for port locations.

Image: A diagram illustrating the monitor's rear panel, showing the HDMI, DisplayPort (DP), USB (if applicable), and power input ports, along with VESA mount dimensions (75x75mm).
- Conexão de energia: Connect the power adapter to the monitor's power input port, then plug the power cable into a wall outlet.
- Conexão de vídeo: Connect one end of an HDMI or DisplayPort cable to the corresponding port on your monitor and the other end to your computer's graphics card or other video source. For optimal performance, especially at 180Hz, a DisplayPort connection is recommended.
- Audio (if applicable): Se o seu monitor tiver uma saída de áudio de 3.5 mm, você pode conectar alto-falantes externos ou fones de ouvido.
3. Ligação inicial
- Pressione o botão liga/desliga do monitor. A luz indicadora de energia deve acender.
- Turn on your connected computer or video source.
- The monitor should automatically detect the input signal. If not, you may need to manually select the input source using the On-Screen Display (OSD) menu.
Instruções de operação
1. Ligar/desligar
Press the power button, usually located on the back or bottom of the monitor, to turn the monitor on or off.
2. Menu de exibição na tela (OSD)
The OSD menu allows you to adjust various monitor settings. Access the OSD menu using the joystick or buttons typically found on the back or bottom of the monitor.
- Navegação: Use o joystick ou os botões direcionais para navegar pelas opções do menu.
- Seleção: Press the joystick or a dedicated button to select an option or confirm a setting.
- Saída: Use the designated 'Exit' button or move the joystick in a specific direction to close the OSD menu.
3. Ajustando configurações
As principais configurações que você pode ajustar incluem:
- Brilho contraste: Ajuste-os conforme necessário. viewambiente de trabalho.
- Configurações de cores: Modifique a temperatura da cor, o gama e os valores RGB individuais.
- Fonte de entrada: Selecione manualmente entre as entradas HDMI e DisplayPort.
- Taxa de atualização: Certifique-se de que as configurações do seu sistema operacional e da placa de vídeo estejam configuradas para utilizar a taxa de atualização de 180Hz do monitor.
- Sincronização livre: Enable FreeSync in the OSD menu and in your graphics card control panel for tear-free gaming.
- Modo de imagem: Select from preset modes (e.g., Standard, Game, Movie) or customize your own.
Manutenção
1. Limpeza da tela
- Desligue o monitor e desconecte o cabo de alimentação.
- Limpe suavemente a tela com um pano macio e sem fiapos.
- Para manchas persistentes, aplique levementeampLimpe o pano com água ou um produto de limpeza específico para telas (não borrife diretamente na tela).
- Avoid using harsh chemicals, abrasive cleaners, or alcohol-based solutions.
2. Cuidados Gerais
- Mantenha o monitor longe da luz solar direta, calor excessivo e umidade.
- Garanta ventilação adequada ao redor do monitor.
- Evite colocar objetos pesados sobre o monitor ou seus cabos.
Solução de problemas
Caso encontre problemas com seu monitor, consulte os problemas e soluções comuns a seguir:
| Problema | Solução possível |
|---|---|
| Sem imagem na tela | Ensure the power cable is securely connected and the monitor is turned on. Verify the video cable (HDMI/DP) is properly connected to both the monitor and the computer. Check if the correct input source is selected in the OSD menu. |
| Imagem piscando ou instável. | Check the video cable connection. Ensure your graphics card drivers are up to date. Verify the refresh rate setting in your operating system is set correctly (e.g., 180Hz). Enable FreeSync if supported by your graphics card. |
| As cores parecem incorretas | Ajuste as configurações de cor (brilho, contraste, temperatura de cor) no menu OSD. Restaure o monitor para as configurações de fábrica. |
| O monitor não liga. | Check the power cable and adapter connections. Try plugging the monitor into a different power outlet. |
Se o problema persistir após tentar essas soluções, entre em contato com o suporte ao cliente.
Especificações
| Recurso | Especificação |
|---|---|
| Marca | suevery |
| Número do modelo | SV240QC |
| Tamanho da tela | 24 polegadas |
| Resolução de exibição | 1920 x 1080 (Full HD) |
| Taxa de atualização | 180Hz |
| Tempo de resposta | 1ms (GTG) |
| Curvatura | 3000R |
| Gama de cores | 100% sRGB |
| Tipo de painel | VA |
| Proporção da tela | 16:9 |
| Conectividade | 1x HDMI, 1x DisplayPort (DP) |
| Compatibilidade de montagem VESA | 75x75mm |
| Dimensões do produto | 59 x 39 x 11 cm (com suporte) |
| Peso | 3.5 kg |
Garantia e Suporte
Informações de garantia
suevery provides a Garantia de 12 meses for this monitor, covering manufacturing defects and malfunctions under normal use. Please retain your proof of purchase for warranty claims.
Suporte ao cliente
If you encounter any damage, failure, or missing parts, or require technical assistance, please do not hesitate to contact suevery customer service. Our support team is available to assist you with any product-related inquiries.
For support, please refer to the contact information provided on the suevery official website ou sua plataforma de compra.