1. Introdução
This manual provides detailed instructions for the setup, operation, and maintenance of your Browning Defender Vision Pro HD Trail Camera. Designed for outdoor surveillance, this cellular game camera captures high-resolution images and videos, offering remote monitoring capabilities through its dual SIM technology and smartphone app compatibility. Please read this manual thoroughly to ensure proper use and optimal performance of your device.
2. Conteúdo da embalagem
Verifique se todos os itens listados abaixo estão incluídos em seu pacote. Caso algum item esteja faltando ou danificado, entre em contato com o suporte ao cliente.
- Browning Defender Vision Pro HD Trail Camera
- Correia da árvore
3. Câmera desligadaview
Familiarize yourself with the key components of your Browning Defender Vision Pro HD Trail Camera.
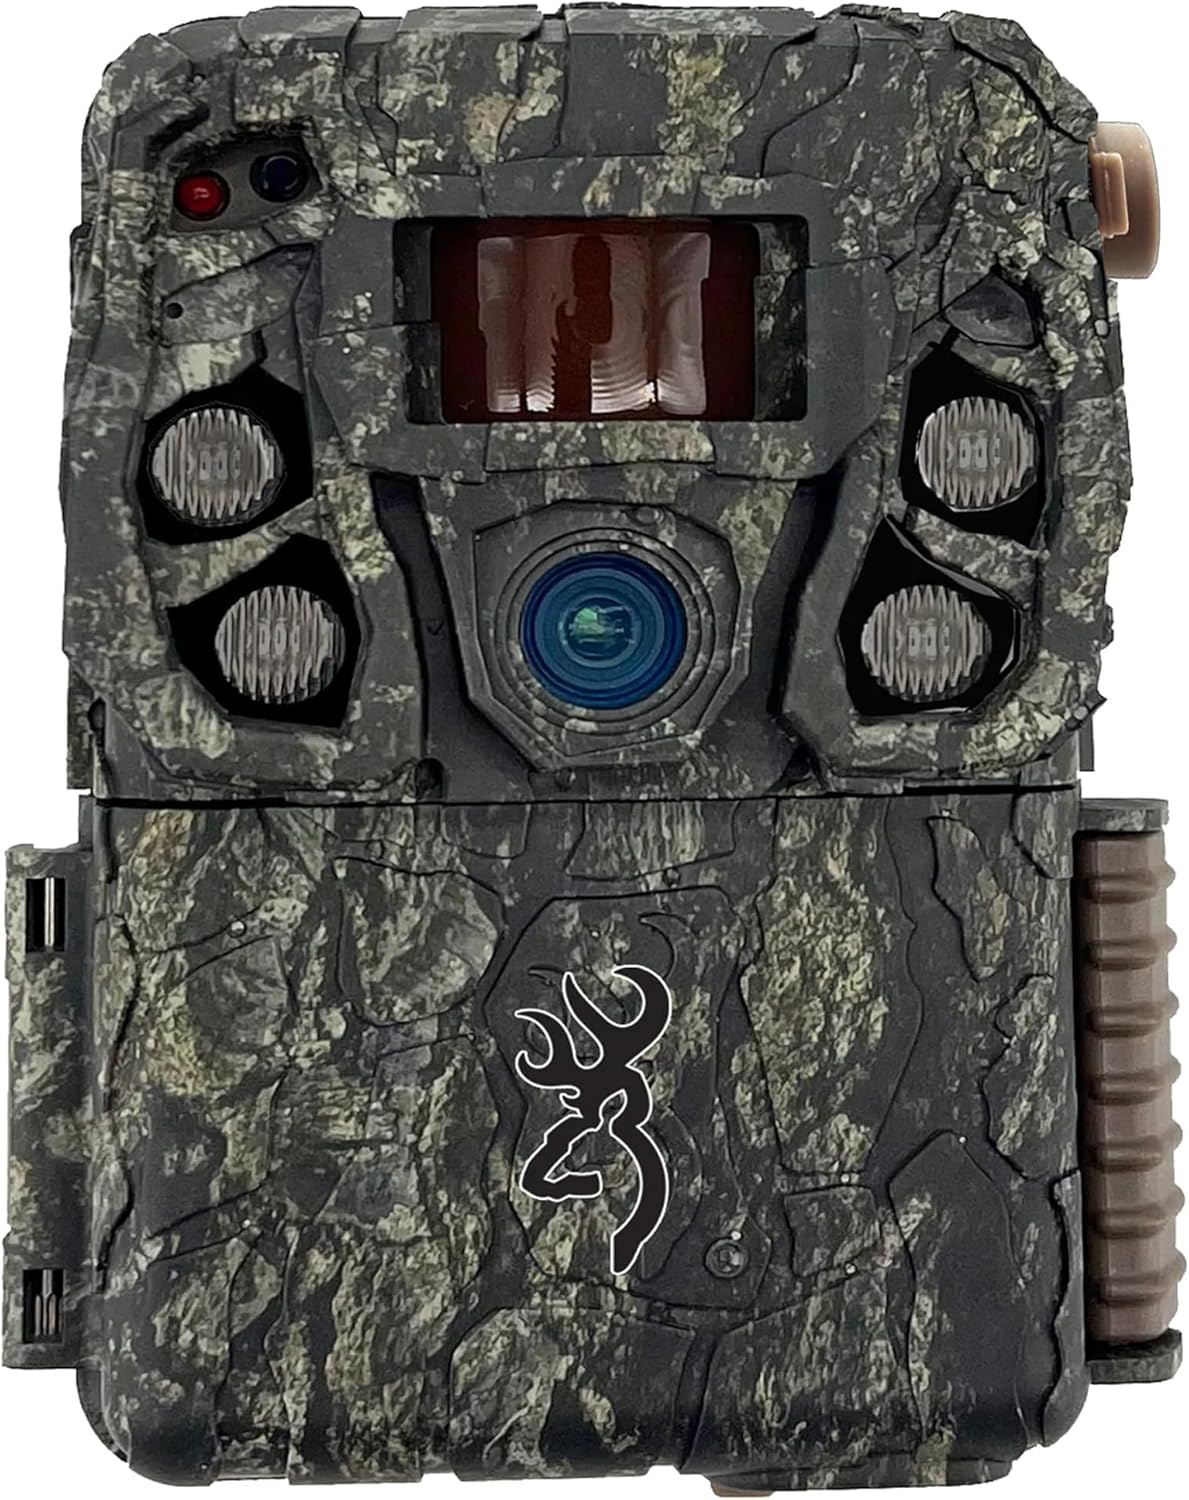
Figura 3.1: Frente View. This image displays the front of the Browning Defender Vision Pro HD trail camera in its original camo finish, showing the main lens, infrared (IR) emitters, and the passive infrared (PIR) motion sensor.

Figura 3.2: Interior View. This image shows the inside of the camera when opened, revealing the control panel with an LCD screen, navigation buttons (ON/OFF, MODE, Eject, E), and the battery compartment.

Figura 3.3: Lateral View. Esta imagem ilustra o lado profile of the trail camera, prominently featuring the attached cellular antenna and the robust casing designed for outdoor use.
4. Configuração
4.1 Instalação da bateria
- Open the camera housing.
- Insert 8 AA batteries (not included) into the battery compartment, ensuring correct polarity (+/-). The camera supports both alkaline and lithium batteries.
- Feche o compartimento da bateria com segurança.
4.2 Instalação do cartão SD
- Locate the SD card slot inside the camera housing.
- Insert an SDXC memory card (up to 512GB, not included) into the slot until it clicks into place.
- It is recommended to format the SD card using the camera's menu system before first use. Refer to Section 5.2 for formatting instructions.
4.3 Ativação do cartão SIM
The Defender Vision Pro HD camera comes with pre-installed AT&T and Verizon SIM cards. Activation is managed through the Browning mobile application.
- Download the Browning Trail Cameras mobile application from your smartphone's app store.
- Crie uma conta ou faça login.
- Follow the in-app instructions to add your camera and activate the desired cellular service (AT&T or Verizon).
4.4 Montagem da câmera
The camera can be mounted using the included tree strap or a standard ¼ inch -20 tripod socket.
- Utilizando a alça para árvores: Thread the tree strap through the designated slots on the back of the camera. Securely fasten the camera to a tree or post at the desired height and angle.
- Using a Tripod Mount: Attach the camera to any compatible mounting accessory using the ¼ inch -20 tripod socket located at the bottom of the camera.

Figure 4.1: Camera Mounting. A person is shown adjusting the Browning Defender Vision Pro HD trail camera, which is mounted on a tree, while simultaneously interacting with a smartphone to manage settings remotely.
5. Operação
5.1 Ligar/Desligar
- To power on the camera, slide the ON/OFF switch to the 'ON' position. The LCD screen will illuminate.
- To power off the camera, slide the ON/OFF switch to the 'OFF' position.
5.2 Basic Camera Settings
Access the camera's menu system using the control buttons to adjust various settings:
- Velocidade do gatilho: Ajustável de 0.135 a 0.7 segundos.
- Tempo de recuperação: Set the delay between consecutive captures (0.5 seconds for rapid recovery).
- Tiro múltiplo: Capture up to 8 images per trigger event.
- Fogo rápido: Capture up to 8 rapid-fire images.
- Picture Delay: Program a delay between detection events.
- Formato do cartão SD: Select this option to format your SD card. This will erase all data on the card.
5.3 Cellular Functions and Mobile App
The Browning Defender Vision Pro HD utilizes 4G cellular technology for remote management and data transmission.
- Gerenciamento Remoto: Use the mobile app to change camera settings, view images, and request on-demand photos or videos from anywhere.
- Photo and Video On Demand: Request immediate picture or video uploads directly from the field to your mobile device.
- Alertas: Receive notifications on your smartphone when activity is detected by the camera.
- HD All the Time: All transmitted images are in 1080p Full HD.

Figure 5.1: Mobile Application Interface. This image displays a screenshot of the Browning trail camera mobile application, showing a photo gallery, filter and sort options, and navigation tabs for home, all photos, and account management.
5.4 Tecnologia de Visão Noturna
The camera is equipped with advanced night vision capabilities:
- Illuma-Smart Technology: Automatically adjusts IR flash intensity for optimal night photos.
- IR Flash: Adjustable settings for power save, fast motion, and long range.
- Night Detection Range: Up to 110 feet for clear night captures.
5.5 GPS Tagged Images
Images captured by the camera are automatically tagged with GPS coordinates, providing location data for each photo.
6. Manutenção
6.1 Substituição da bateria
Regularly check the battery meter via the camera's LCD screen or the mobile app. Replace all 8 AA batteries when the power level is low to ensure continuous operation.
6.2 Gerenciamento de cartão SD
Reavaliar periodicamenteview and manage the contents of your SD card. Format the card regularly to maintain optimal performance and prevent data corruption. Always back up important images and videos before formatting.
6.3 Limpeza
To ensure clear images and proper sensor function:
- Gently clean the camera lens and PIR sensor window with a soft, lint-free cloth.
- Limpe a câmera casing com anúncioamp pano para remover sujeira ou detritos. Evite usar produtos químicos agressivos.
7. Solução De Problemas
If you encounter issues with your camera, refer to the following troubleshooting steps:
7.1 A câmera não liga
- Certifique-se de que as pilhas estejam inseridas corretamente, respeitando a polaridade.
- Replace old batteries with a fresh set of 8 AA batteries.
- Verify the ON/OFF switch is fully in the 'ON' position.
7.2 SD Card Errors
- Ensure the SD card is not locked. The lock switch on the side of the SD card should be in the unlocked position.
- Format the SD card using the camera's menu system (refer to Section 5.2).
- Try a different, new SDXC card (up to 512GB). Ensure it is formatted to FAT32 or exFAT.
7.3 No Cellular Transmission
- Check the signal strength indicator on the camera's LCD or in the mobile app. Relocate the camera to an area with better cellular coverage if necessary.
- Verify that your SIM card is activated and your data plan is current through the Browning mobile application.
- Ensure the external antenna is securely connected.
7.4 Qualidade de imagem/vídeo ruim
- Clean the camera lens and IR emitters with a soft cloth.
- Check camera settings for resolution and flash mode.
- Ensure subjects are within the optimal detection and flash range (up to 80ft detection, 110ft night illumination).
7.5 Problemas de detecção de movimento
- Adjust the detection range setting in the camera menu.
- Ensure there are no obstructions (e.g., branches, tall grass) directly in front of the PIR sensor that could cause false triggers or block detection.
8. Especificações
Detailed technical specifications for the Browning Defender Vision Pro HD Trail Camera.
| Recurso | Especificação |
|---|---|
| Nome do modelo | Defender Vision Pro HD |
| Resolução Estática Efetiva | 24 MP |
| Resolução de captura de vídeo | 1080p HD (1920x1080) |
| Formato de captura de vídeo | MOV |
| Velocidade do Gatilho | 0.135 - 0.7 seconds (Adjustable) |
| Tempo de recuperação | 0.5 segundos |
| Faixa de detecção | Up to 80 feet (Adjustable) |
| Night Illumination Range | Até 110 pés |
| Tipo de Flash | Infravermelho (IV) |
| Tecnologia de Conectividade | Wireless, Cellular (4G LTE) |
| Dispositivos compatíveis | Smartphone |
| Fonte de energia | 8 AA Batteries (not included), 12V External Power Jack |
| SD Card Capacity (Max) | 512GB SDXC |
| Tipo de montagem | Tree Mount, ¼ inch -20 Tripod Socket |
| Dimensões do produto (C x L x A) | 5 x 3.5 x 2.5 polegadas |
| Peso do item | 1 libra (16 onças) |
| Características especiais | HD Resolution, Long Battery Life, Motion Sensor, Night Vision, Ultra High Gain Antenna, GPS Tagged Images, Dual SIM Connectivity, Illuma-Smart Technology |
9. Informações de garantia
For specific warranty details regarding your Browning Defender Vision Pro HD Trail Camera, please refer to the warranty card included with your product or visit the official Browning Trail Cameras website. Warranty terms and conditions are provided by the manufacturer and may vary.
10. Suporte
If you require further assistance or have questions not covered in this manual, please contact Browning Trail Cameras customer support:
- Telefone: 888-618-4496
- Website: www.browningtrailcameras.com


