Produto acimaview
The Baseus 4-in-1 Car Jump Starter and Air Inflator is a versatile and essential tool for roadside emergencies and daily convenience. It integrates four critical functions: a powerful jump starter for vehicles, an efficient air compressor for tires and inflatables, a portable power bank for charging electronic devices, and a bright LED flashlight for illumination.
 uma frente view of the Baseus 4-in-1 device, showcasing its digital display indicating 100% charge, and control buttons below.
Principais características
- Funcionalidade 4 em 1: Combines a power bank, car jump starter, air inflator, and flashlight.
- Alto desempenho: 6000mAh capacity / 3.7V / 22.2Wh power bank with 150 PSI air compressor.
- Jump Start Capability: 12V start voltage, 600A peak current, capable of jump starting a car up to 50 times on a full charge.
- Inflação versátil: Includes various inflation attachments for different tire types, balls, and other inflatables.
- Visor Integrado: Built-in screen shows battery charge level for the jump starter.
- Durable Battery Cells: High-performance polymer battery cells resistant to extreme low and high temperatures.
- Low Standby Power: Very low power consumption in standby mode, retaining up to 85% charge after one year of non-use.
- Proteções de segurança: Built-in protection prevents damage to connected devices.
- Saída USB: 5V/3A, 9V/3A, 12V/2.5A (Max) for charging external devices.
- Saída Tipo C: 45W 9V/5A (Max).
Especificações técnicas
| Recurso | Especificação |
|---|---|
| Marca | Baseus |
| Modelo | Inflator-6K |
| Tipo de Bateria | Polímero de lítio |
| Capacidade da bateria | 6000 mAh |
| Capacidade nominal de saída | 3700 mAh |
| Entrada (Tipo C) | 5V-2.4A |
| Saída (USB-A) | 5V-3A (máx.) |
| Volume inicialtage | 12V |
| Iniciar atual | 600A |
| Pico de corrente | 600A |
| Pressão do compressor de ar | 150 PSI |
| Temperatura de operação | Até 35°C |
| Dimensões | 10 x 5 x 5 cm |
| Peso | 50 gramas |
Conteúdo da embalagem
Verifique se todos os itens estão presentes na embalagem:
- 1 x Baseus 4-in-1 Car Jump Starter and Air Inflator
- 4 x Inflation Nozzles (for various tire types and inflatables)
- 1 x cabo de carregamento tipo C
- 1 x Smart Ignition Clip (Jump Start Clamps)
Informações de segurança
Read all safety warnings and instructions carefully before using this product. Failure to follow the warnings and instructions may result in electric shock, fire, and/or serious injury.
- Não desmonte, modifique ou tente reparar o dispositivo.
- Mantenha o dispositivo longe de água, umidade e altas temperaturas.
- Não utilize o dispositivo se ele estiver danificado ou tiver sofrido uma queda.
- Ensure correct polarity (+ to +, - to -) when connecting jump start clamps to a vehicle battery. Incorrect connection can cause damage.
- Mantenha fora do alcance de crianças.
- Usar em uma área bem ventilada.
- Avoid over-inflating tires or other items. Follow recommended pressure levels.
- Do not store the device in direct sunlight or in extreme temperatures.
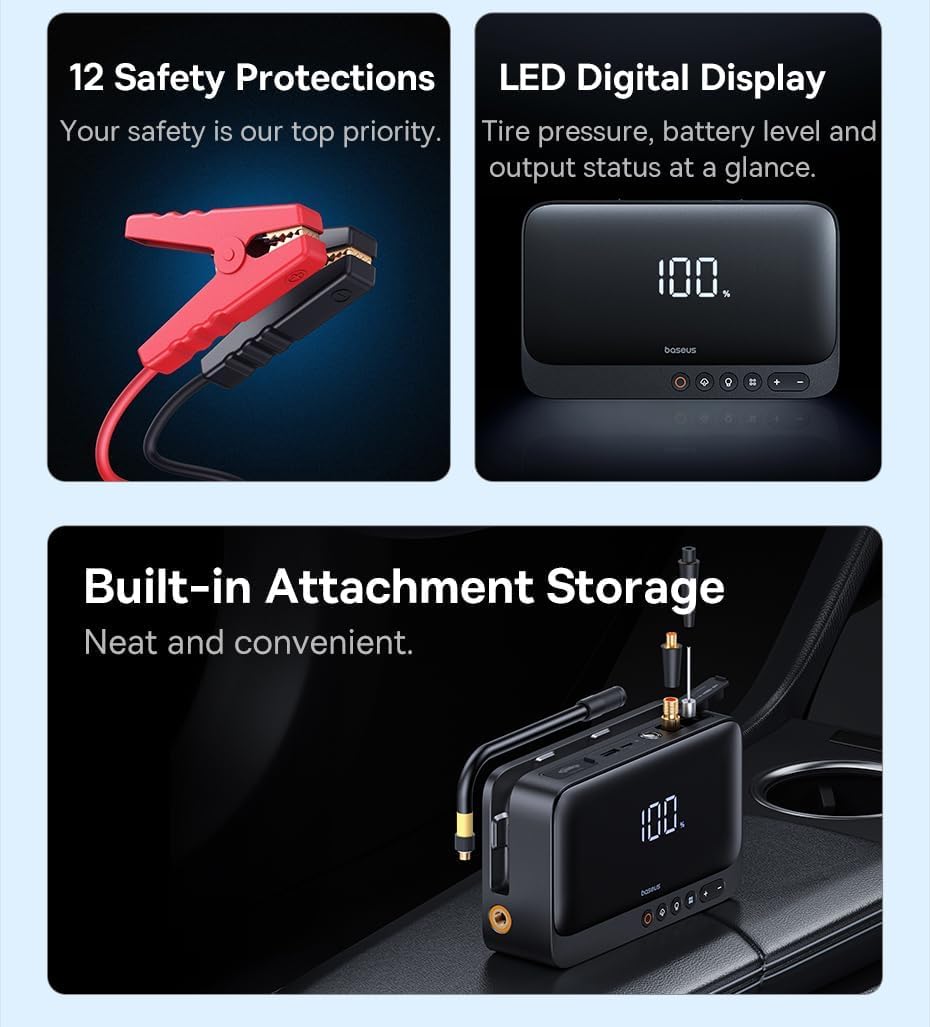 This image highlights the smart safety protections integrated into the jump starter clamps, designed to prevent overcharging, overheating, and short circuits, ensuring safe operation.
Configurar
Carregando o dispositivo
Before first use, fully charge the device. It is recommended to fully charge the device after each use to ensure it is ready for emergencies.
- Connect the provided Type-C cable to the device's input port.
- Connect the other end of the Type-C cable to a suitable USB power adapter (not included).
- The digital display on the device will show the charging progress. Charge until the display indicates 100%.
 The device can be charged using the provided Type-C cable. Ensure the device is fully charged before use for optimal performance.
Operação
Dar partida em um veículo
Use this function to start a dead car battery. Ensure the device has at least 50% charge before attempting a jump start.
- Connect the smart ignition clip (jump start clamps) to the designated jump start port on the device.
- Anexar o VERMELHO clamp (+) to the positive terminal of the car battery.
- Anexar o PRETO clamp (-) to the negative terminal of the car battery.
- Certifique-se de ambosamps are securely connected to prevent arcing.
- Ligue o motor do veículo.
- Assim que o veículo ligar, remova imediatamente o clamps from the car battery, starting with the black (-) clamp, então o cl vermelho (+)amp.
- Disconnect the smart ignition clip from the device.
This image demonstrates the correct connection of the jump starter clamps to a car battery, showing the device ready to initiate a jump start.
Using the Air Inflator
The built-in air compressor can inflate car tires, bicycle tires, and various sports equipment. Refer to the item's recommended pressure before inflating.
- Select the appropriate inflation nozzle from the included accessories and securely attach it to the air hose.
- Connect the air hose to the device's inflation port.
- Connect the nozzle to the valve of the item to be inflated.
- Use the digital display and control buttons (+ e -) to set the desired pressure (PSI/Bar).
- Press the start button (often indicated by a fan icon) to begin inflation. The device will automatically stop when the preset pressure is reached.
- Disconnect the nozzle and air hose from the item and the device.
 The device actively inflating a car tire, with its digital display showing the current pressure reading, demonstrating its powerful inflation capability.
Usando como um banco de energia
The device can charge your mobile phones, tablets, and other USB-powered devices via its USB-A output port.
- Connect your device's USB charging cable to the USB-A output port on the Baseus 4-in-1 device.
- The device will automatically begin charging the connected electronic device.
- Monitor the charging status on your connected device.
The device is shown charging a smartphone, highlighting its function as a portable power bank for various electronic devices.
Usando a lanterna LED
The integrated LED flashlight provides illumination for various situations, including emergencies.
- Press the flashlight button (usually indicated by a light bulb icon) to turn on the LED light.
- Press the button again to cycle through different modes (e.g., steady light, SOS signal, emergency beacon).
- Press and hold the button to turn off the flashlight.
Manutenção
A manutenção adequada garante a longevidade e o desempenho ideal do seu dispositivo.
- Limpeza: Limpe o dispositivo com um pano macio e seco. Não utilize produtos químicos agressivos ou materiais abrasivos.
- Armazenar: Guarde o dispositivo em local fresco e seco, longe da luz solar direta e de temperaturas extremas.
- Cuidados com a bateria: If the device is not in regular use, charge it every 3-6 months to maintain battery health and prevent deep discharge.
- Manutenção Portuária: Keep all ports (charging, USB, jump start) free of dust and debris.
Solução de problemas
If you encounter issues with your Baseus 4-in-1 device, refer to the table below for common problems and solutions.
| Problema | Possível causa/solução |
|---|---|
| Dispositivo não liga. | Check the battery level. Recharge the device if the battery is low. |
| Vehicle not jump starting. | Ensure the jump start clamps are correctly connected (positive to positive, negative to negative). Verify the device has sufficient charge (at least 50%). The vehicle battery might be severely damaged and require professional assistance. |
| Air inflator not working or not reaching desired pressure. | Check that the inflation nozzle is securely attached to the item and the air hose is firmly connected to the device. Verify the preset pressure is correctly set. Ensure the device has sufficient power. |
| Device not charging external devices (power bank function). | Ensure the USB charging cable is securely connected to both the device and the external device. Verify the Baseus device has sufficient charge. Try a different USB cable. |
Garantia e Suporte
This Baseus product comes with a standard manufacturer's warranty. For detailed warranty information, technical support, or service inquiries, please refer to the warranty card included in your package or visit the official Baseus website. Guarde o recibo de compra para reclamações de garantia.


