1. Instruções importantes de segurança
Leia atentamente todas as instruções antes de usar este aparelho. Guarde este manual para futuras consultas.
- Não toque em superfícies quentes. Use alças ou botões.
- Para evitar incêndios, choques elétricos e ferimentos, não mergulhe o cabo, os plugues ou o aparelho em água ou qualquer outro líquido.
- É necessária supervisão rigorosa quando qualquer aparelho for usado por crianças ou perto delas.
- Desligue da tomada quando não estiver em uso e antes de limpar. Deixe esfriar antes de colocar ou retirar peças e antes de limpar o aparelho.
- Não utilize nenhum aparelho com cabo ou plugue danificado, ou após o aparelho apresentar mau funcionamento ou ter sido danificado de alguma forma. Entre em contato com o serviço de atendimento ao cliente para verificação, reparo ou ajuste.
- O uso de acessórios não recomendados pelo fabricante do aparelho pode resultar em incêndio, choque elétrico ou ferimentos às pessoas.
- Não utilize ao ar livre.
- Não deixe o cabo pendurado na borda da mesa ou do balcão, nem toque em superfícies quentes.
- Não coloque sobre ou perto de um queimador a gás ou elétrico quente, nem em um forno aquecido.
- Sempre conecte primeiro o plugue ao aparelho e, em seguida, ligue o cabo na tomada. Para desconectar, gire qualquer controle para a posição "desligado" e, em seguida, retire o plugue da tomada.
- Não utilize o aparelho para outro fim que não o pretendido.
- A jarra deve ser usada apenas com este aparelho. Nunca deve ser usado em um topo de gama.
- Não coloque uma garrafa térmica quente sobre uma superfície fria ou molhada.
- Não utilize uma jarra rachada ou com a alça solta ou enfraquecida.
- Não limpe a jarra com produtos de limpeza, esponjas de lã de aço ou outro material abrasivo.
2. Produto acabadoview
The Taurus Verona 12 Filter Coffee Maker is designed for convenient and efficient coffee brewing. Familiarize yourself with its components:
- Tanque de água: Visible reservoir for water, with level markings.
- Cesta de filtro: Holds the reusable filter and coffee grounds.
- Filtro Reutilizável: An eco-friendly alternative to paper filters, easy to clean.
- Jarra de vidro: Graduated, heat-resistant carafe for collecting brewed coffee.
- Placa de aquecimento: Keeps coffee warm for up to 40 minutes after brewing.
- Botão de energia: On/Off switch for operation.
- Dosing Spoon: For accurate measurement of coffee grounds.
- Stainless Steel Frontal: Enhances durability and aesthetic appeal.

This image displays the complete coffee maker unit, highlighting its sleek design and the glass carafe filled with freshly brewed coffee.

This image emphasizes the aesthetic features of the coffee maker, specifically the stainless steel accents and the durable glass carafe.

This image illustrates the reusable filter, a key component for brewing and an environmentally friendly feature of the coffee maker.
3. Configuração
- Desembalagem: Carefully remove all packaging materials from the coffee maker. Retain packaging for future transport or storage if needed.
- Limpeza Inicial: Before first use, wash the glass carafe, reusable filter, and filter basket in warm, soapy water. Rinse thoroughly and dry. Wipe the exterior of the appliance with a damp pano.
- Primeiro ciclo de preparo (limpeza): Fill the water tank to the maximum level with cold water. Do not add coffee grounds. Place the empty filter basket with the reusable filter into position and close the lid. Place the empty carafe on the warming plate. Plug the appliance into a suitable power outlet and press the power button to start a brewing cycle. Allow the full cycle to complete. Discard the water from the carafe. This process cleans the internal components.
- Colocação: Coloque a cafeteira sobre uma superfície plana, estável e resistente ao calor, longe da borda da bancada. Certifique-se de que haja ventilação adequada ao redor do aparelho.
4. Instruções de operação
Preparando café
- Encha o tanque de água: Open the lid and fill the water tank with fresh, cold water up to the desired level indicated by the markings on the side. The maximum capacity is 12 cups.
- Adicione borra de café: Place the reusable filter into the filter basket. Add the desired amount of ground coffee into the filter. A general guideline is one level scoop (using the provided dosing spoon) per cup, but adjust to your personal preference.
- Posicione a garrafa: Certifique-se de que a garrafa de vidro esteja posicionada corretamente na placa de aquecimento.
- Comece a preparar: Close the lid securely. Plug the coffee maker into a power outlet. Press the power button to start the brewing process. The indicator light will illuminate.
- Servindo: Once brewing is complete, the coffee maker will automatically switch to the "keep warm" function. You can pour coffee at any time during or after brewing.

This image demonstrates the process of filling the water tank, highlighting its visible design for easy monitoring of water levels.

This image shows the precise method of adding coffee grounds using the included dosing spoon, ensuring consistent flavor.
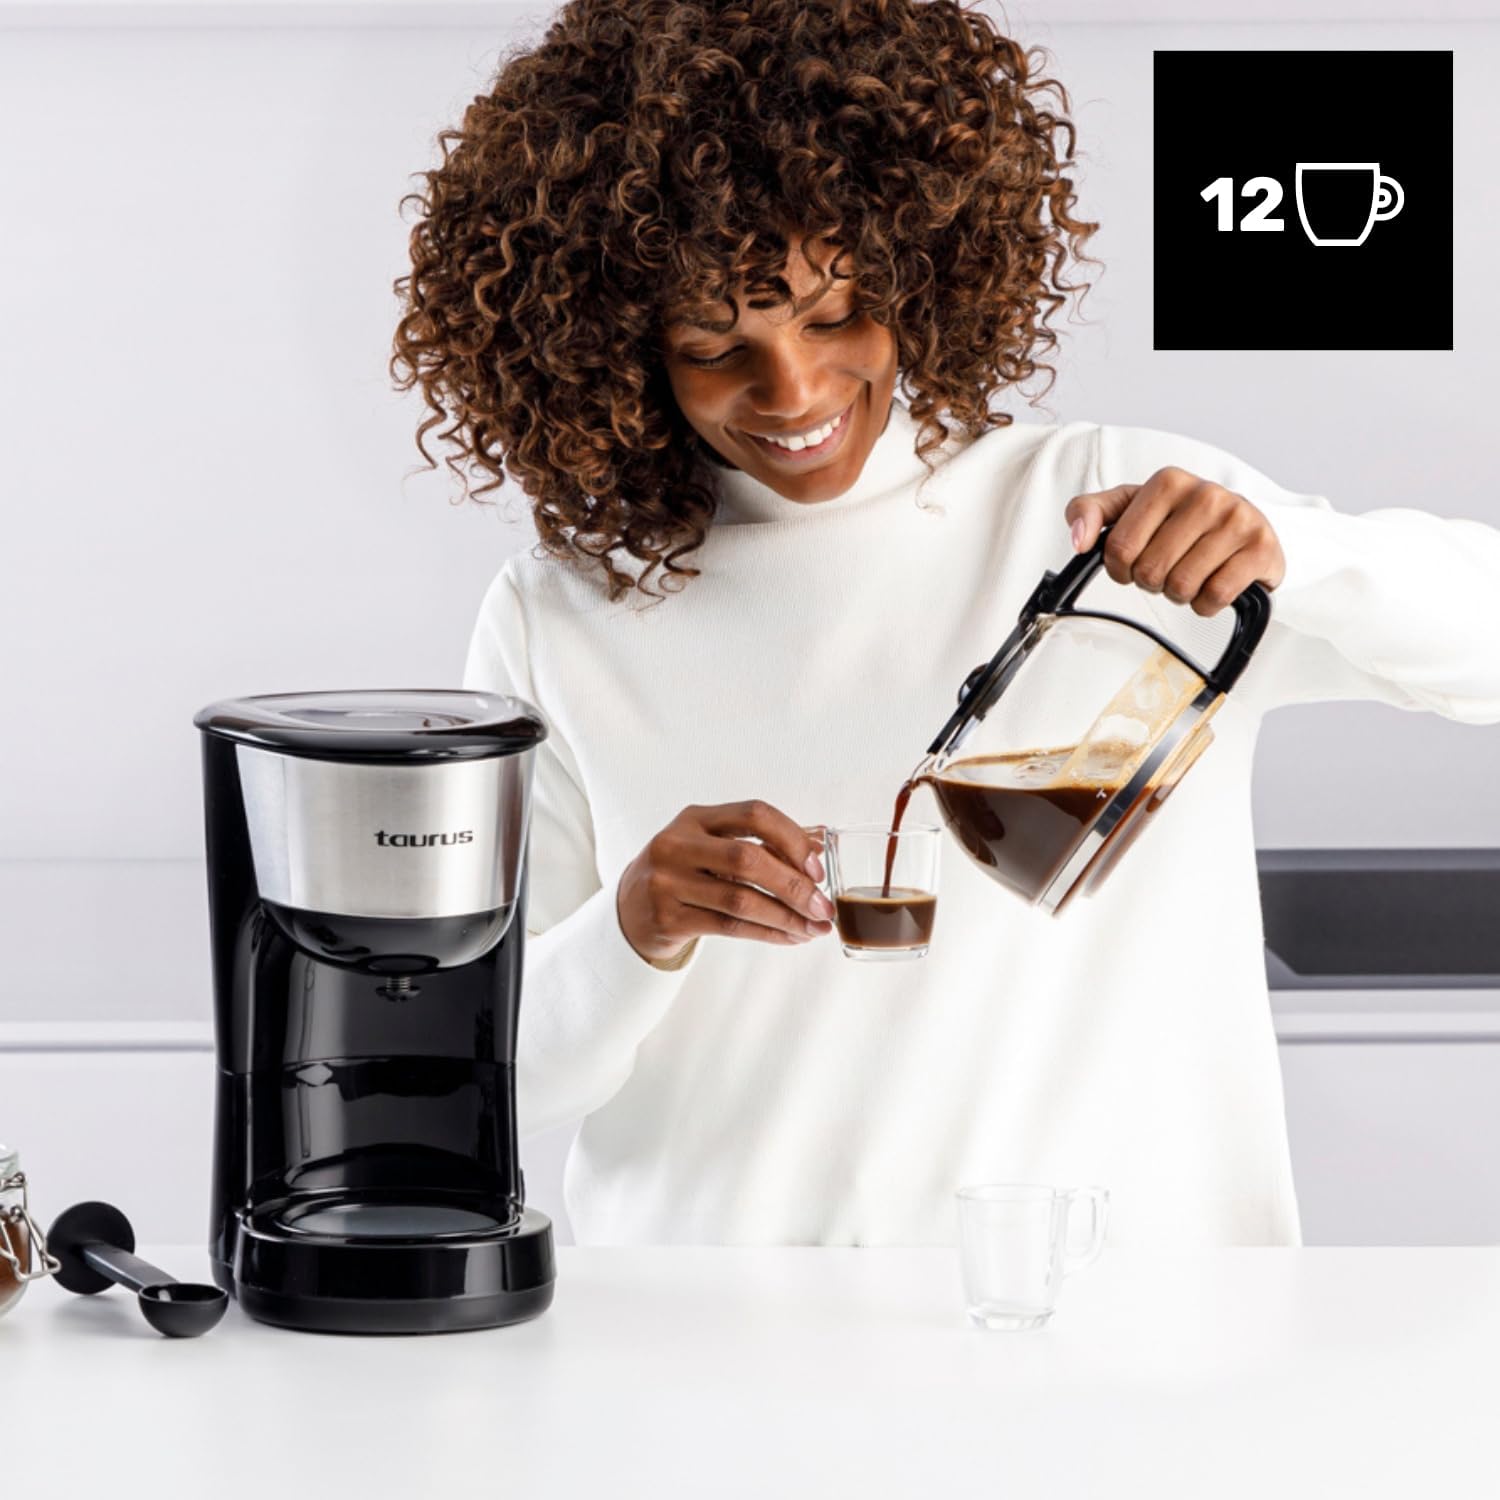
This image depicts the final step of the brewing process, showing coffee being served from the carafe.
Função Manter Aquecido
The warming plate will keep your coffee at an optimal serving temperature for approximately 40 minutes after brewing. After this period, the appliance will automatically shut off for safety and energy saving.

This image highlights the warming plate feature, ensuring your coffee remains hot and ready to enjoy.
5. Limpeza e Manutenção
A limpeza regular garante o desempenho ideal e prolonga a vida útil da sua cafeteira.
Limpeza diária
- Desconecte: Desligue sempre a cafeteira da tomada e deixe-a esfriar completamente antes de limpá-la.
- Motivos para descarte: Remove the filter basket and reusable filter. Discard used coffee grounds.
- Componentes de lavagem: Wash the glass carafe, reusable filter, and filter basket in warm, soapy water. Rinse thoroughly and dry. These parts are generally top-rack dishwasher safe, but hand washing is recommended for longevity.
- Limpe o exterior: Limpe as superfícies externas da cafeteira com um pano macio e seco.amp pano. Não utilize produtos de limpeza abrasivos ou esponjas de aço. Nunca mergulhe a unidade principal em água ou qualquer outro líquido.
Descalcificação
Mineral deposits (limescale) can build up in your coffee maker over time, affecting performance and coffee taste. Descale your appliance every 2-3 months, or more frequently if you have hard water.
- Preparar a solução descalcificante: Mix 1 part white vinegar with 2 parts water, or use a commercial descaling solution designed for coffee makers, following the product's instructions.
- Encha o tanque de água: Pour the descaling solution into the water tank up to the 12-cup mark.
- Ciclo de execução: Place the empty carafe on the warming plate. Start a brewing cycle without coffee grounds.
- Preparo parcial: After about half of the solution has brewed through, turn off the coffee maker and let it stand for 15-20 minutes to allow the solution to work.
- Ciclo completo: Turn the coffee maker back on to complete the brewing cycle. Discard the solution from the carafe.
- Ciclos de enxágue: Run at least two full cycles with fresh, cold water to thoroughly rinse out any remaining descaling solution.
6. Solução De Problemas
| Problema | Possível causa | Solução |
|---|---|---|
| O café não se prepara. | Appliance not plugged in; power button not pressed; water tank empty. | Ensure the appliance is plugged in and the power button is pressed. Check if the water tank has enough water. |
| O café está muito fraco. | Not enough coffee grounds; coffee grounds too coarse; too much water. | Increase the amount of coffee grounds. Use finer ground coffee. Ensure correct water-to-coffee ratio. |
| O café transborda do filtro. | Too many coffee grounds; filter basket not seated correctly; carafe not on warming plate. | Reduce coffee grounds. Ensure filter basket is properly in place. Verify carafe is correctly positioned on the warming plate. |
| O café tem um gosto ruim. | Appliance needs cleaning/descaling; stale coffee; incorrect water temperature. | Clean and descale the coffee maker. Use fresh coffee beans. Ensure fresh, cold water is used. |
7. Especificações
- Marca: Touro
- Modelo: VERONA (DC1000XC)
- Poder: 1000 W
- Volumetage: 230 V
- Capacidade: 12 xícaras
- Dimensões (C x L x A): 25.8 x 18.5 x 32 cm
- Peso: 1.66 kg
- Material: Aço inoxidável, plástico
- Características especiais: Pure Coffee Technology, Reusable Filter, Warming Plate (40 min auto-off)
8. Garantia e Suporte
This Taurus appliance is covered by a manufacturer's warranty in accordance with the legal provisions in force in your country. For detailed information regarding warranty terms and conditions, please refer to the warranty card included with your product or visit the official Taurus website.
For technical support, spare parts, or any questions regarding the operation of your Taurus Verona 12 Filter Coffee Maker, please contact Taurus customer service. Contact details can typically be found on the official Taurus website ou na embalagem do produto.
Always ensure you have your product model number (VERONA or DC1000XC) and purchase date available when contacting support.


