1. Introdução e maisview
The Aveek 4 Channel Mixer is a compact, low-noise stereo audio mixer designed for precision sub-mixing of multiple audio inputs. Ideal for microphones, guitars, bass, and stage setups, it offers effortless multi-channel mixing with crystal clear, distortion-free sound. Its durable metal casing and flexible DC 5V power supply make it suitable for various environments, from home studios to live events.

Figura 1: Frente view of the Aveek 4 Channel Mixer, showing input and output controls.
2. O que está na caixa
- 1 x Aveek Audio Mixer
- 1 x adaptador AC / DC
- 1 x Manual do Usuário
- 1 x cabo tipo C
3. Principais características
- Effortless Multi-Channel Mixing: Simplifies managing multiple inputs from various instruments.
- Crystal Clear, Low-Noise Sound: Equipped with 5 ROHM low-noise, high-quality operational amplifiers for distortion-free audio.
- Stereo/Mono Easy Switching: Offers flexible audio configurations using 1/4" TRS stereo or 1/4" TS mono connectors.
- Design compacto e durável: Construído com uma estrutura metálica robusta.asing and independent volume controls for each channel.
- Flexible DC 5V Power Supply: Ready for various environments with an included power adapter.
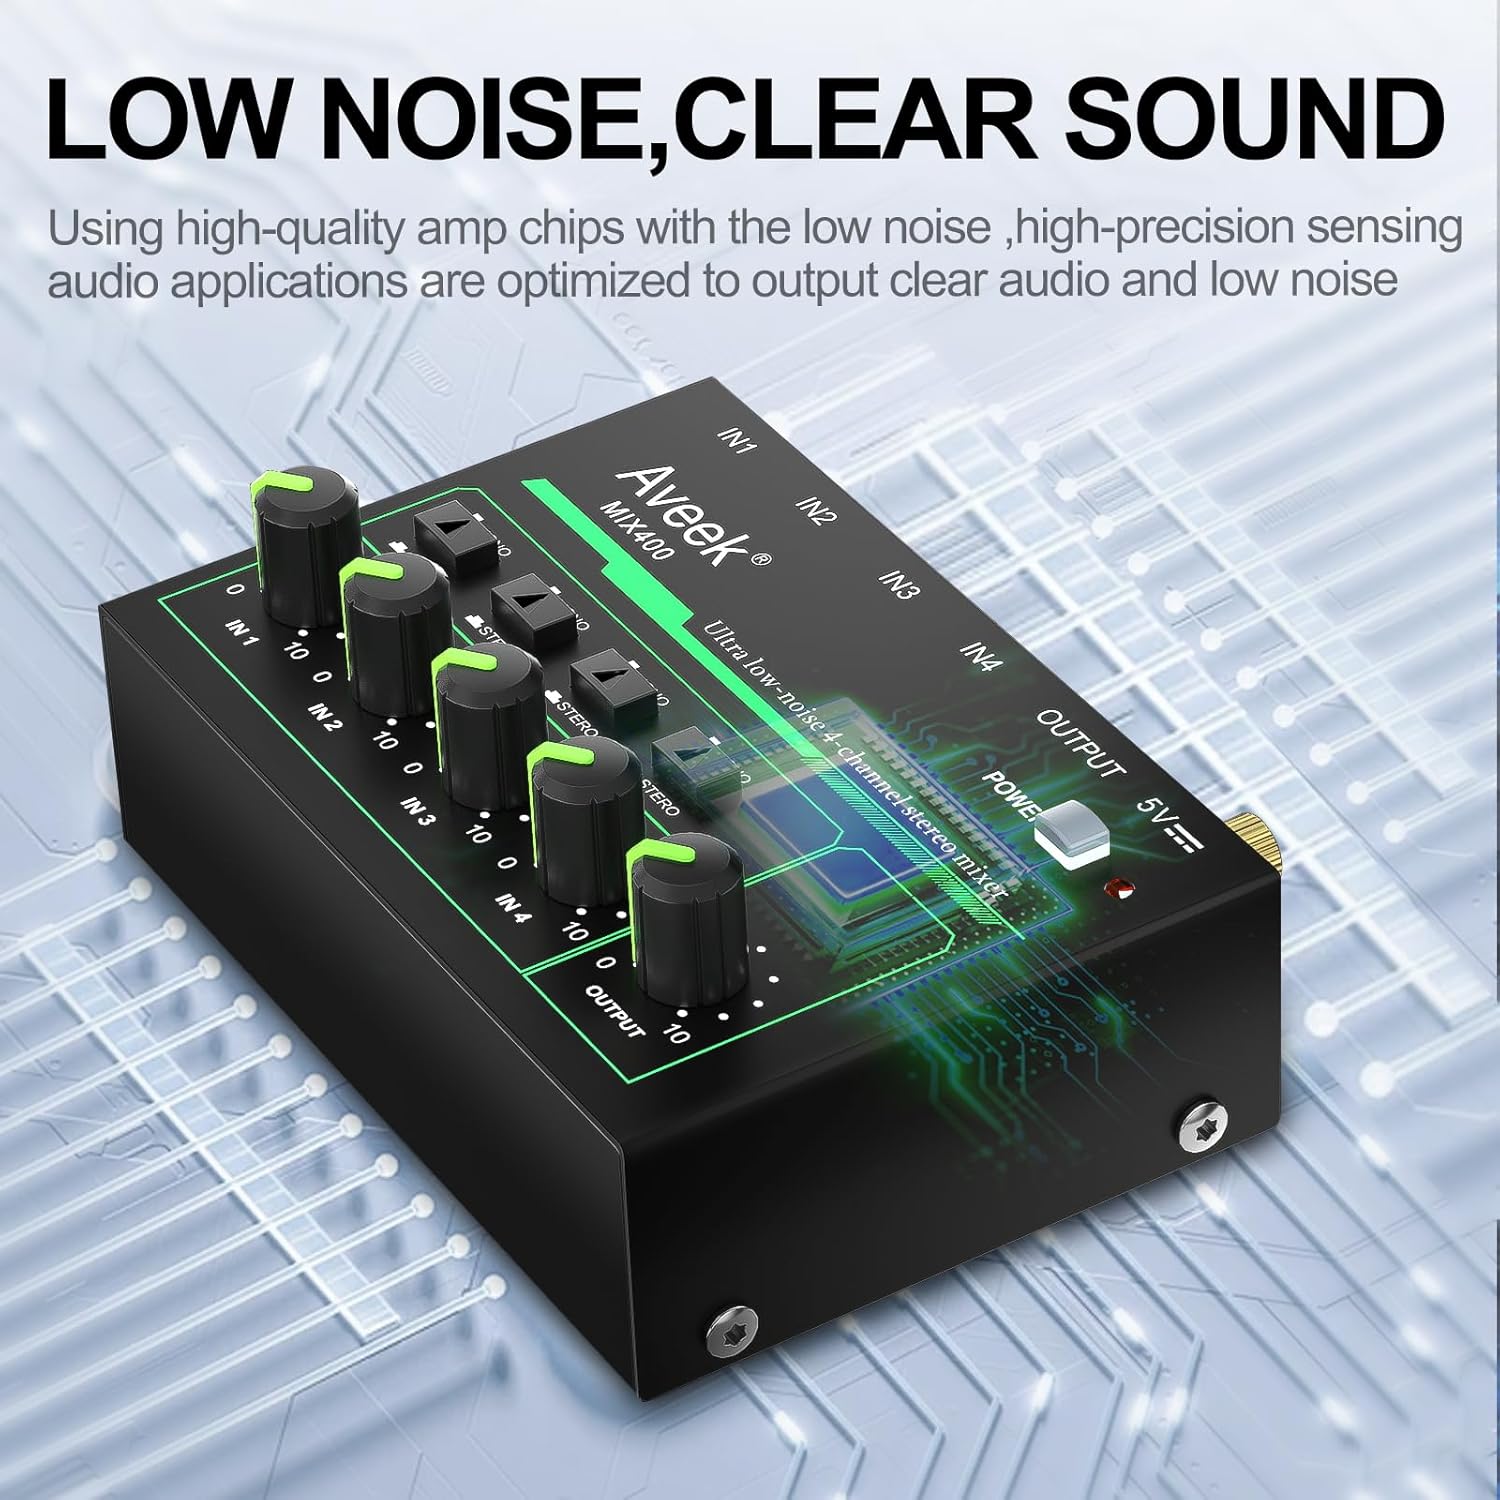
Figura 2: interno view highlighting the low-noise circuitry.
4. Guia de configuração
Follow these steps to set up your Aveek 4 Channel Mixer:
- Conexão de energia: Connect the included Type-C cable to the DC 5V/2A port on the mixer and the USB end to the AC/DC adapter. Plug the adapter into a power outlet. The power indicator light will illuminate.
- Conexões de entrada: Connect your audio sources (e.g., microphones, keyboards, guitars, electronic drums) to the IN1, IN2, IN3, and IN4 input jacks using 1/4" TRS stereo or 1/4" TS mono cables (cables not included).
- Conexão de saída: Connect the OUTPUT jack of the mixer to your amplifier, speaker, or recording device using a 1/4" TRS or TS cable.
- Aterramento (opcional): If experiencing hum or noise, connect a ground wire to the GND screw terminal on the mixer and to a suitable ground point in your setup.
Vídeo de demonstração de configuração
Video 1: A step-by-step guide to setting up the Aveek 4 Channel Mixer, including power and audio connections.
Vídeo de unboxing e configuração inicial
Video 2: Unboxing the Aveek 4 Channel Mixer and initial setup procedures.

Figura 3: Detalhado view of the 1/4" TRS (stereo) and TS (mono) input and output connections.

Figura 4: Examples of suitable equipment for connection, such as line-in devices, dynamic microphones, electronic organs, electric guitars, and electronic drums.
5. Instruções de operação
Once your mixer is set up, you can begin mixing your audio sources:
- Controle individual de volume: Each input channel (IN1-IN4) has an independent volume knob. Rotate these knobs clockwise to increase the volume for that specific channel and counter-clockwise to decrease it.
- Stereo/Mono Switching: Above each input volume knob, there is a switch to select between MONO and STEREO modes. Use STEREO mode with 1/4" TRS cables for stereo signals. For mono signals, use 1/4" TS connectors and select MONO mode.
- Master Output Control: The 'OUTPUT' knob controls the overall volume of the mixed signal. Adjust this to achieve the desired output level for your ampmais vital ou dispositivo de gravação.
Fim Operacionalview Vídeo
Video 3: A demonstration of the Aveek Mini Passive Mixer's unboxing and setup, including a brief overview of its operational features.

Figure 5: Close-up of the mono/stereo switches and individual input volume controls, along with the master output volume.
6. Especificações
| Especificação | Detalhe |
|---|---|
| Marca | Aveek |
| Número do modelo | 4 |
| Número de canais | 4 |
| Dimensões do produto | 4.41 x 3.07 x 1.3 polegadas |
| Peso do item | 14.1 onças (0.4 quilogramas) |
| Material do corpo | Alumínio |
| Tipo de conector | 1/4-Inch Stereo & Mono |
| interface de hardware | Áudio de 1/4 de polegada |
| Fonte de energia | Elétrico com fio |
| Volumetage | 5 Volts |
| País de origem | China |

Figure 6: Dimensions and robust aluminum housing of the mixer.
7. Manutenção
To ensure the longevity and optimal performance of your Aveek 4 Channel Mixer, follow these maintenance guidelines:
- Limpeza: Use a soft, dry cloth to clean the exterior of the mixer. Avoid using liquid cleaners or abrasive materials, as they may damage the finish or internal components.
- Armazenar: Quando não estiver em uso, guarde a batedeira em local fresco e seco, longe da luz solar direta, temperaturas extremas e alta umidade.
- Manuseio: Handle the mixer with care. Avoid dropping it or subjecting it to strong impacts, which can damage the internal circuitry or external casing.
- Gerenciamento de cabos: Ensure all cables are connected securely and are not under strain. Avoid bending cables sharply or placing heavy objects on them.
8. Solução De Problemas
If you encounter issues with your Aveek 4 Channel Mixer, refer to the following common problems and solutions:
- Sem energia:
- Ensure the AC/DC adapter is securely plugged into both the mixer and a working power outlet.
- Check if the power indicator light on the mixer is illuminated. If not, try a different power outlet.
- Sem saída de som:
- Verify that all input and output cables are correctly connected and fully inserted into their respective jacks.
- Check the volume knobs for each input channel and the master OUTPUT knob. Ensure they are turned up sufficiently.
- Confirm that your connected amplifier or speaker is powered on and its volume is adjusted appropriately.
- Ensure the MONO/STEREO switches are set correctly for your cables (TRS for Stereo, TS for Mono).
- Zumbido ou ruído:
- Ensure proper grounding by connecting a wire to the GND terminal on the mixer.
- Verifique se há conexões de cabo soltas.
- Try using different cables or power outlets to rule out interference.
- Ensure all connected devices are properly grounded.
- Som distorcido:
- Reduce the volume levels of individual input channels or the master OUTPUT to prevent clipping.
- Ensure the input signals are not too strong for the mixer.
9. Garantia e Suporte
Aveek products are designed for reliability and performance. For specific warranty information, please refer to the warranty card or documentation included with your product at the time of purchase. If you require technical support, have questions about product functionality, or need assistance with troubleshooting beyond this manual, please contact Aveek customer service through the official channels provided on the product packaging or the brand's website.
Guarde o comprovante de compra para eventuais solicitações de garantia.


