1. Introdução
Thank you for choosing the VECYS Bottom Loading Water Dispenser. This manual provides important information regarding the installation, operation, maintenance, and troubleshooting of your new appliance. Please read it thoroughly before use and retain it for future reference.
This water dispenser is designed to provide hot, cold, and room temperature water from 3 or 5-gallon water bottles, featuring a convenient bottom-loading design, child safety lock, and a self-cleaning function.
2. Informações de segurança
WARNING: To reduce the risk of injury and property damage, you must read this entire guide before assembling, installing, and operating the dispenser.
- Always place the dispenser on a level surface.
- Do not operate the dispenser with a damaged power cord or plug.
- Ensure the dispenser is properly grounded.
- Mantenha o dispensador longe da luz solar direta e de fontes de calor.
- Não mergulhe o dispensador, o cabo ou a ficha em água ou outros líquidos.
- Desligue o dispensador da tomada antes de limpá-lo ou realizar qualquer manutenção.
- The hot water faucet is equipped with a child safety lock. Always engage the lock when not in use to prevent accidental hot water dispensing.
- Este aparelho não se destina ao uso por pessoas (incluindo crianças) com capacidades físicas, sensoriais ou mentais reduzidas, ou com falta de experiência e conhecimento, a menos que tenham recebido supervisão ou instruções sobre o uso do aparelho de uma pessoa responsável por sua segurança.
3. Produto acabadoview
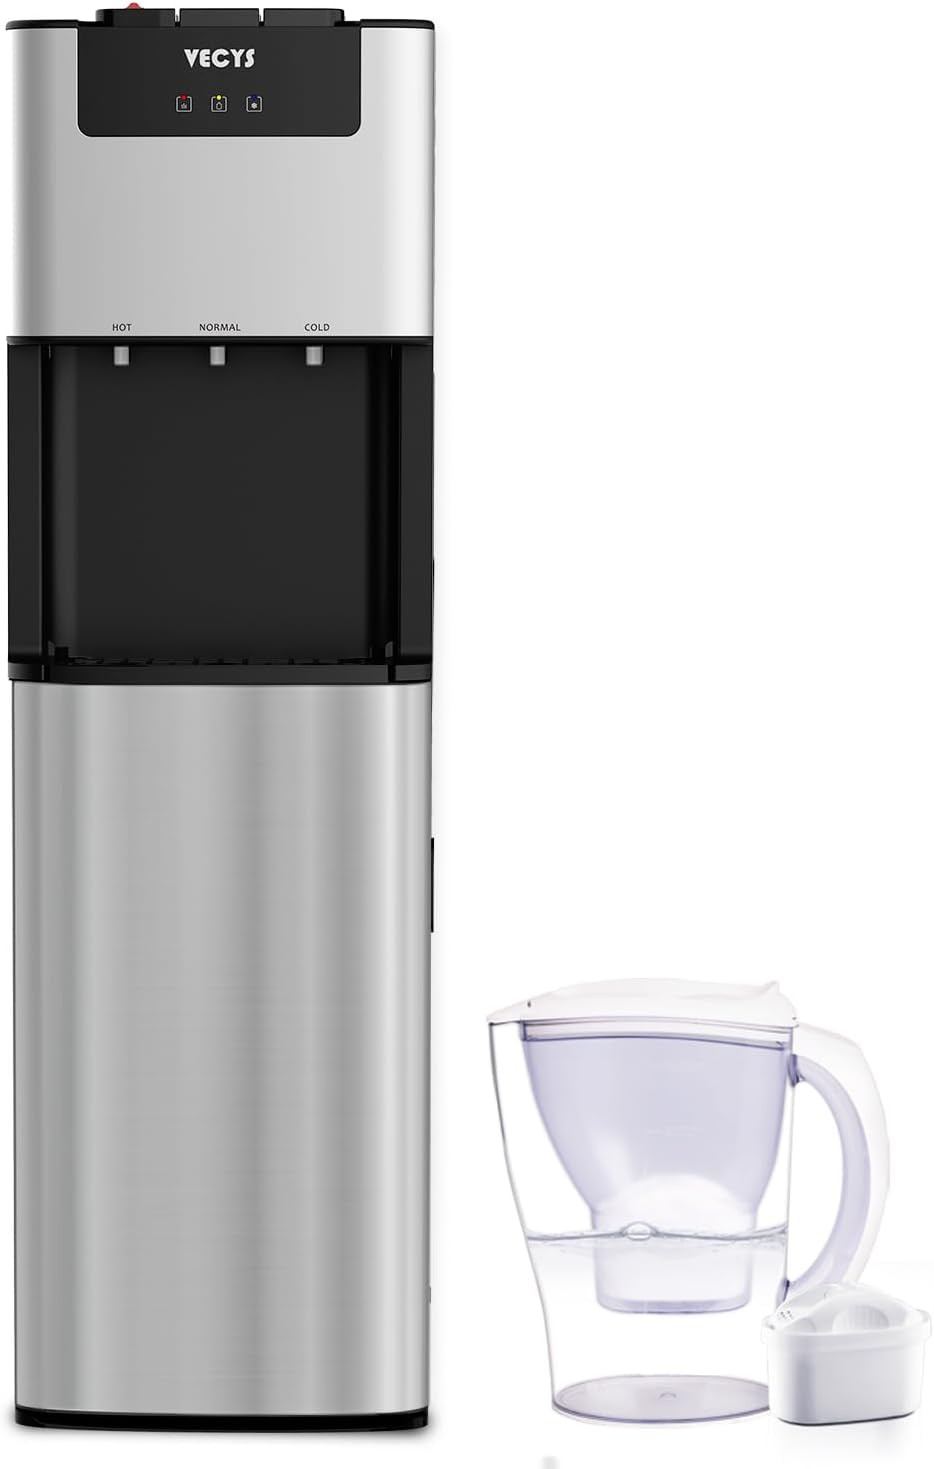
Figura 3.1: Frente view of the VECYS Bottom Loading Water Dispenser.
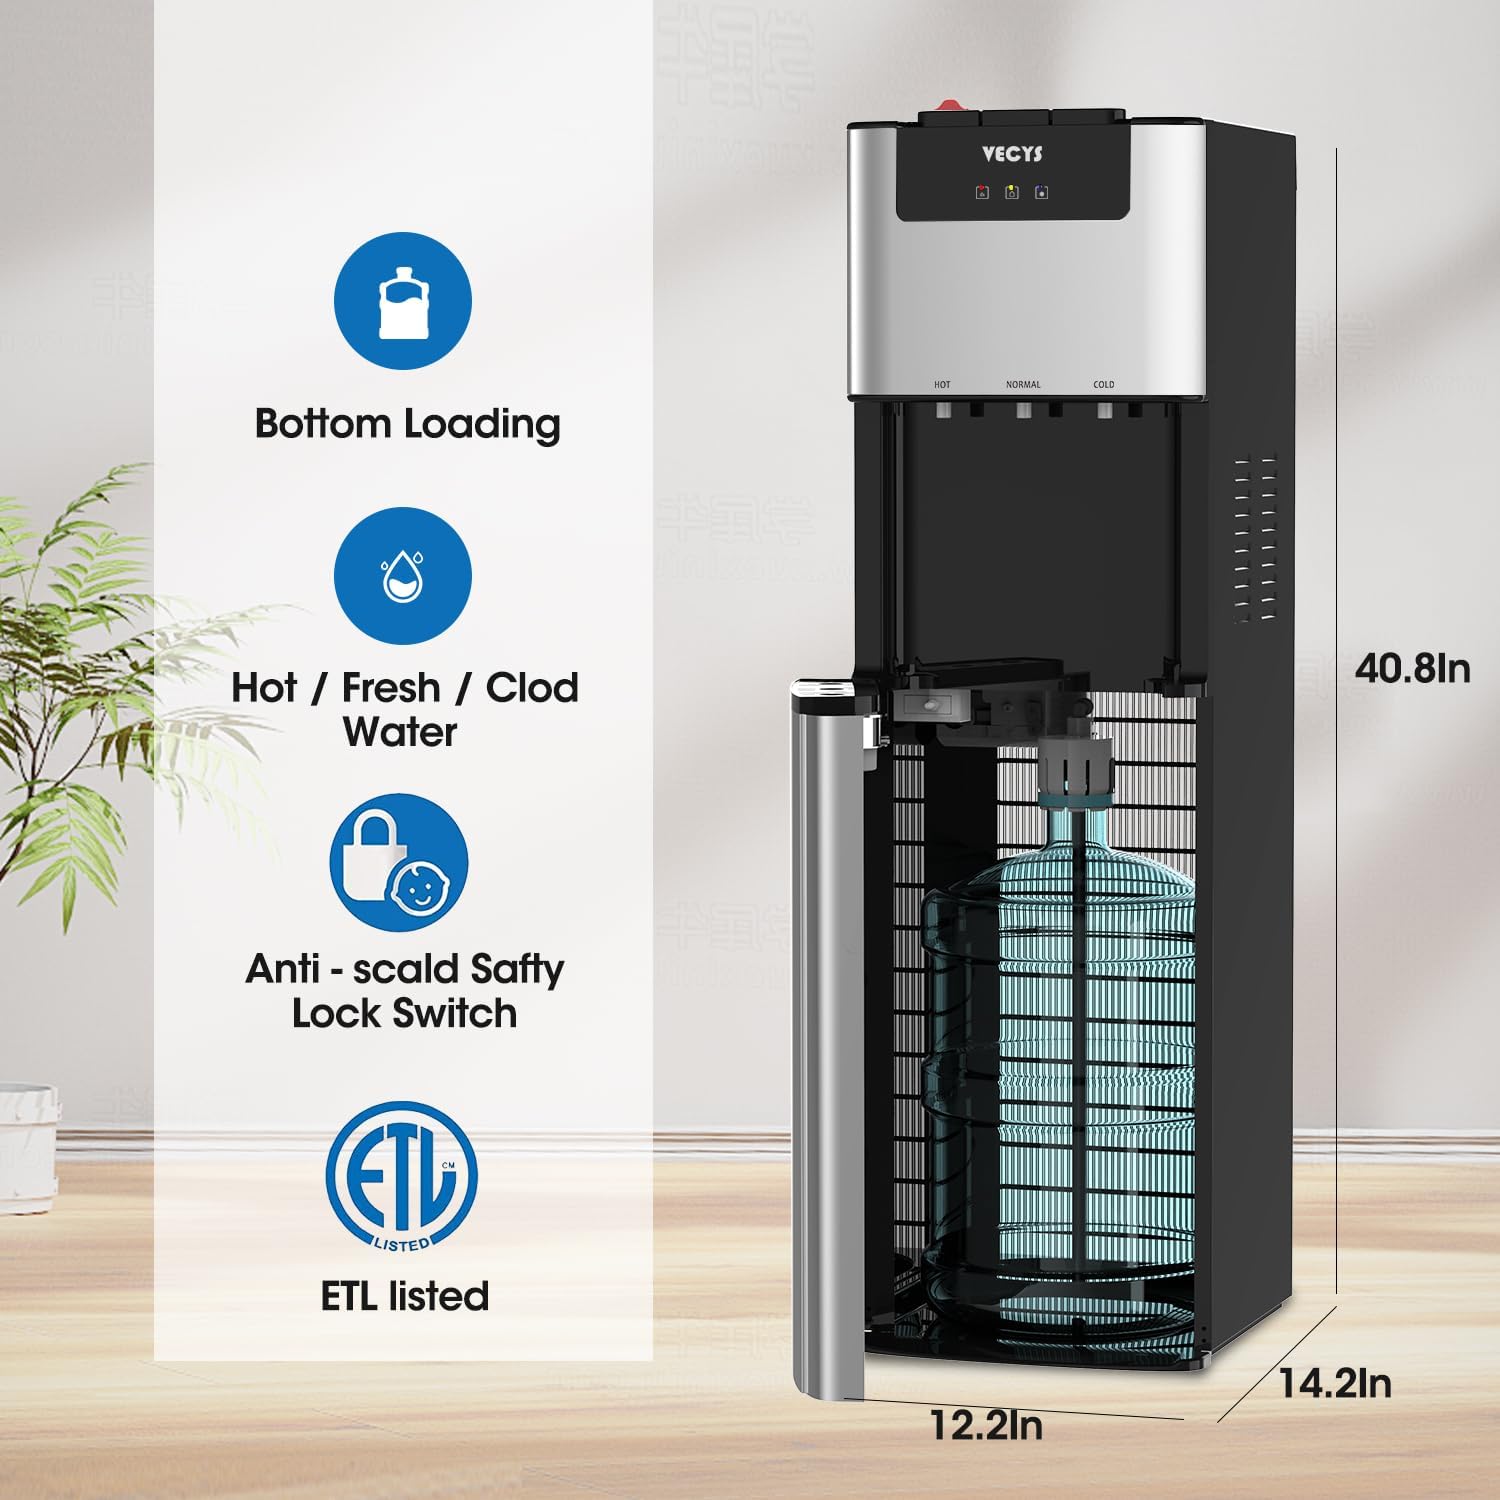
Figura 3.2: Lateral view of the VECYS Water Dispenser showing key features and dimensions (40.8in H x 14.2in W x 12.2in D).
Componentes principais:
- Painel de controle: Features LED indicators for power, heating, and cooling status.
- Dispensing Faucets: Separate faucets for hot, room temperature, and cold water.
- Trava de segurança para crianças: Located on the hot water faucet.
- Bandeja de gotejamento: Removível para facilitar a limpeza.
- Bottom Loading Compartment: Houses the 3 or 5-gallon water bottle.
- Cabo de alimentação: Para ligação elétrica.
4. Configuração
4.1 Desembalagem
- Retire cuidadosamente o dispensador da embalagem.
- Inspecione a unidade para verificar se há danos causados pelo transporte. Se estiver danificada, não a utilize e entre em contato com o suporte ao cliente.
- Remove all packaging materials, including any protective films or tapes.
4.2 Posicionamento

Figure 4.1: The water dispenser can be placed in various indoor environments such as offices or homes.
- Place the dispenser on a hard, level surface that can support its weight when full.
- Ensure there is at least 4 inches of clearance from the back and sides of the dispenser to a wall to allow for proper ventilation.
- Avoid placing the dispenser in direct sunlight or near heat-generating appliances.
- Do not place the dispenser in an enclosed area or cabinet.
4.3 Water Bottle Installation (Bottom Loading)
- Abra a porta inferior do compartimento do dispensador.
- Remove the cap from a new 3 or 5-gallon water bottle.
- Insert the water intake tube (probe) into the opening of the water bottle. Ensure the tube reaches the bottom of the bottle.
- Slide the water bottle into the lower cabinet.
- Feche a porta do gabinete com segurança.
4.4 Initial Priming and First Use
- After installing the water bottle, plug the dispenser into a grounded electrical outlet.
- Allow the dispenser to sit for at least 5 minutes before turning on the heating or cooling functions. This allows water to fill the internal reservoirs.
- Dispense water from all three faucets (hot, room temperature, cold) until water flows steadily. This purges any air from the lines.
- Turn on the hot and cold water switches located on the back of the unit (if applicable). The corresponding LED indicators on the front panel will illuminate.
- Allow approximately 15-20 minutes for the water to reach optimal hot and cold temperatures before first use.
5. Instruções de operação
5.1 Distribuição de água
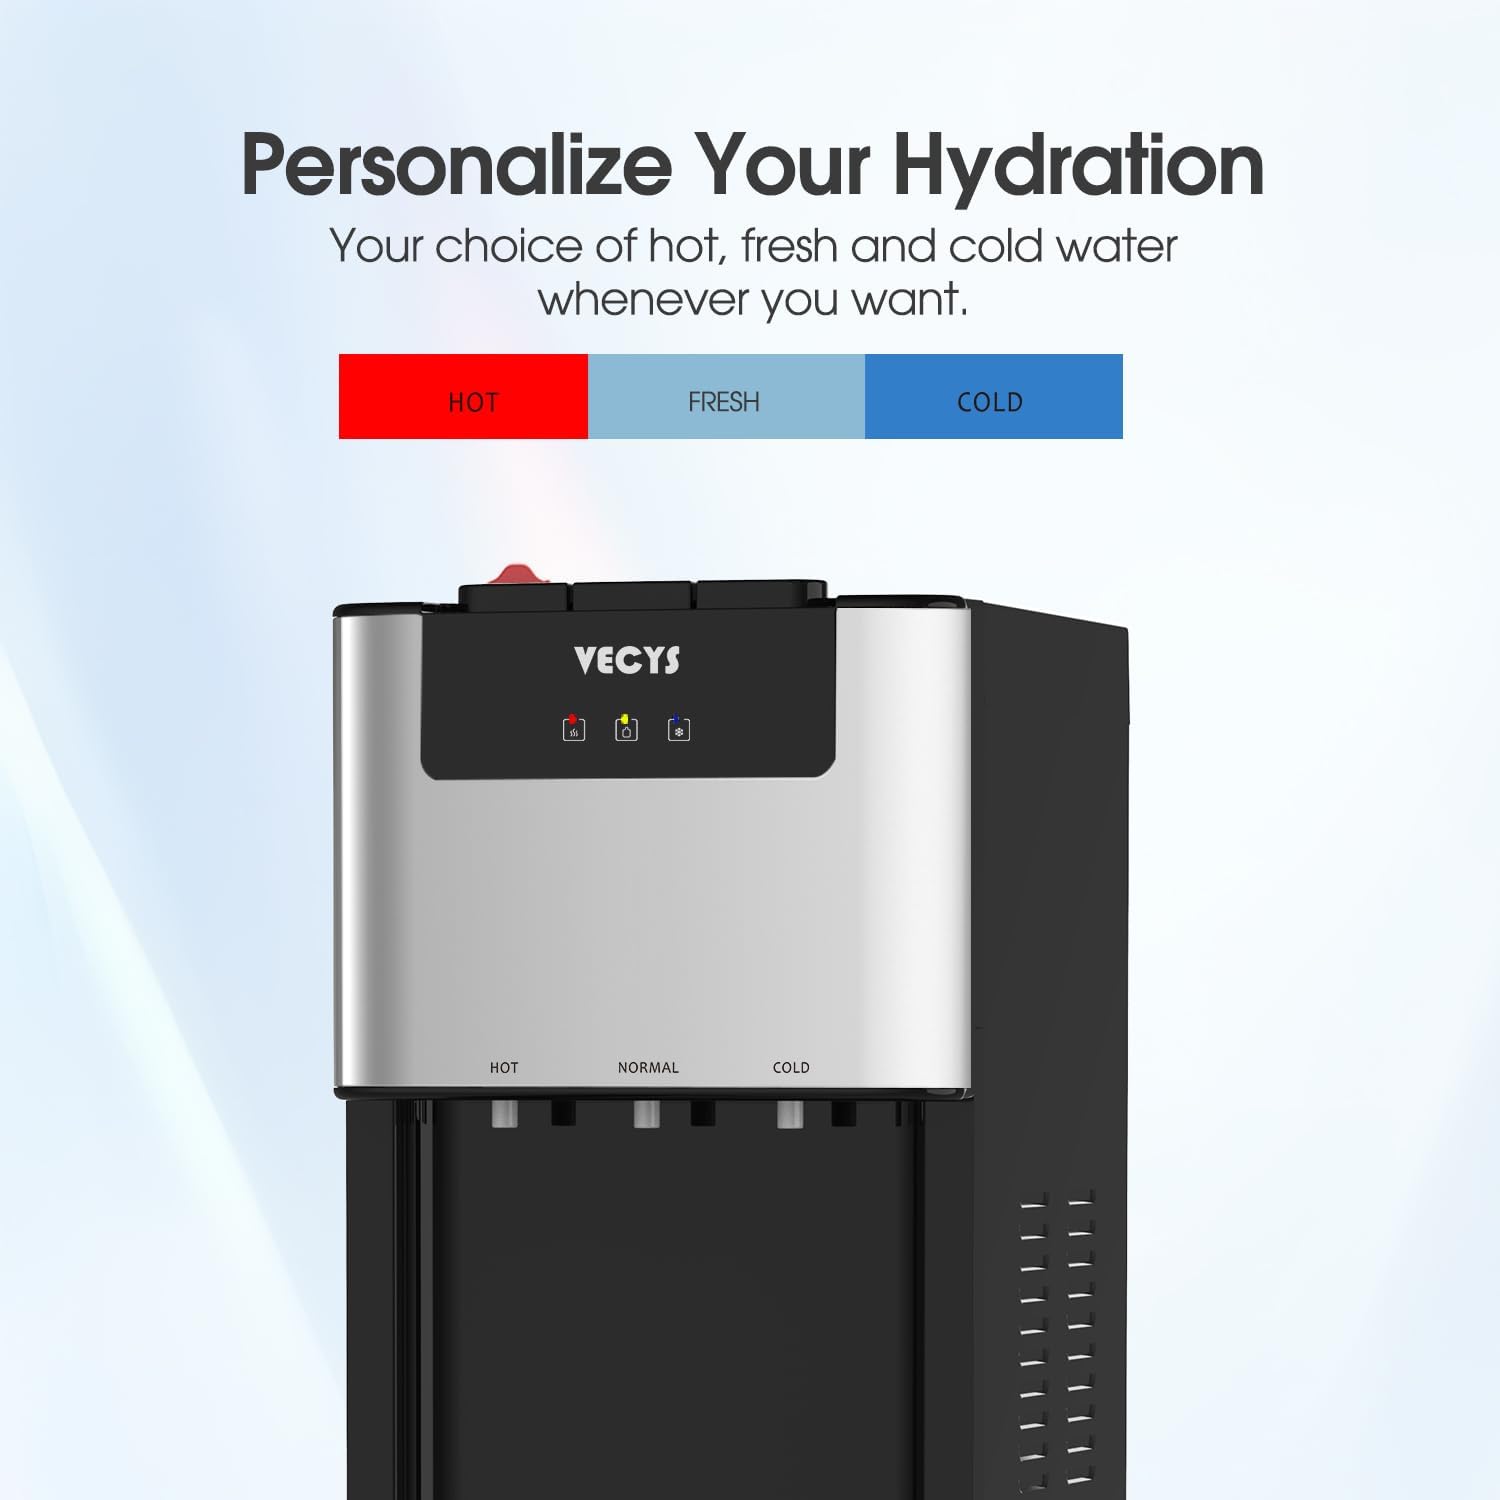
Figure 5.1: The dispenser offers hot, normal (room temperature), and cold water options.

Figure 5.2: Visual representation of hot water for beverages, fresh (room temperature) water, and cold water for refreshment.
- Água quente: Push the child safety lock button inward, then press the hot water lever. Release the lever to stop dispensing.
- Água à temperatura ambiente: Press the room temperature water lever. Release the lever to stop dispensing.
- Água fria: Press the cold water lever. Release the lever to stop dispensing.
5.2 Trava de segurança para crianças

Figure 5.3: The child safety lock (red button) and LED indicators for heating and chilling.
The hot water faucet is equipped with a two-step child safety lock. To dispense hot water, you must first push the red safety button inward and then press the hot water lever. This mechanism helps prevent accidental burns.
5.3 Indicadores LED
The control panel features LED lights that indicate the status of the dispenser:
- Indicador de energia: Acende quando a unidade é ligada.
- Indicador de aquecimento: Illuminates when the hot water heating element is active.
- Indicador de resfriamento: Illuminates when the cold water cooling system is active.
- Water Bottle Empty Indicator: Illuminates when the water bottle in the bottom compartment is empty and needs replacement.
6. Manutenção
6.1 Função de autolimpeza
This dispenser features an interior UV light for a self-clean function. Refer to the specific instructions provided with your unit for activating this cycle. Regular use of the self-clean function helps maintain water quality and prevent bacterial growth.
6.2 Limpeza externa
- Unplug the dispenser from the power outlet before cleaning.
- Limpe as superfícies exteriores com um pano macio, damp pano. Não use produtos de limpeza abrasivos ou solventes.
- Remove and empty the drip tray regularly. Wash it with mild soap and water, then rinse thoroughly and dry before reinserting.
6.3 Draining the Unit
If the dispenser will not be used for an extended period or needs to be moved, it should be drained:
- Desligue o dispensador e retire a garrafa de água.
- Place a bucket under the drain plug located at the back of the unit.
- Remova o bujão de drenagem para permitir que toda a água escorra dos reservatórios.
- Após drenar a água, recoloque o bujão de drenagem firmemente.
7. Solução De Problemas
| Problema | Possível causa | Solução |
|---|---|---|
| Sem distribuição de água | Water bottle empty or not properly installed. Air lock in system. | Replace water bottle. Ensure intake tube is fully inserted. Dispense from all faucets to clear air. |
| Sem água quente | Hot water switch off. Heating element malfunction. | Ensure hot water switch on back is ON. Allow time for heating. If problem persists, contact support. |
| Sem água fria | Cold water switch off. Cooling system malfunction. | Ensure cold water switch on back is ON. Allow time for cooling. If problem persists, contact support. |
| Vazamento de água | Water bottle cracked. Drain plug loose. | Check water bottle for cracks. Tighten drain plug. |
| Ruído incomum | Compressor cycling (normal). Unit not level. | Ensure unit is on a level surface. If noise is excessive or continuous, contact support. |
8. Especificações
| Recurso | Especificação |
|---|---|
| Número do modelo | BY607WP |
| Marca | VECYS |
| Cor | Branco |
| Material | Plástico, Aço Inoxidável |
| Capacidade | 3-5 Gallons (water bottle) |
| Dimensões do produto | 17.1"P x 14"L x 46.6"A |
| O quetage | 500 watts |
| Tipo de instalação | Freestanding |
| Local de acesso | Fundo |
| Número de configurações | 3 (Hot, Room Temp, Cold) |
| Classificação de temperatura superior | 212 Degrees Fahrenheit (Hot) |
| Classificação de temperatura mais baixa | 42 Degrees Fahrenheit (Cold) |
| Fonte de energia | Elétrico com fio |
| Peso do item | 38.9 libras |
| Certificações | Aprovado pela ETL |
9. Garantia e Suporte
The VECYS Bottom Loading Water Dispenser (Model BY607WP) is backed by a Garantia de 1 ano from the date of purchase. This warranty covers manufacturing defects and ensures the product's reliability under normal use.
For warranty claims, technical assistance, or any questions regarding your product, please contact VECYS customer support. Please have your model number (BY607WP) and proof of purchase available when contacting support.


