1. Introdução
This manual provides essential instructions for the safe and efficient operation of your RadioShack Home Projector. Please read this manual thoroughly before using the device and retain it for future reference.
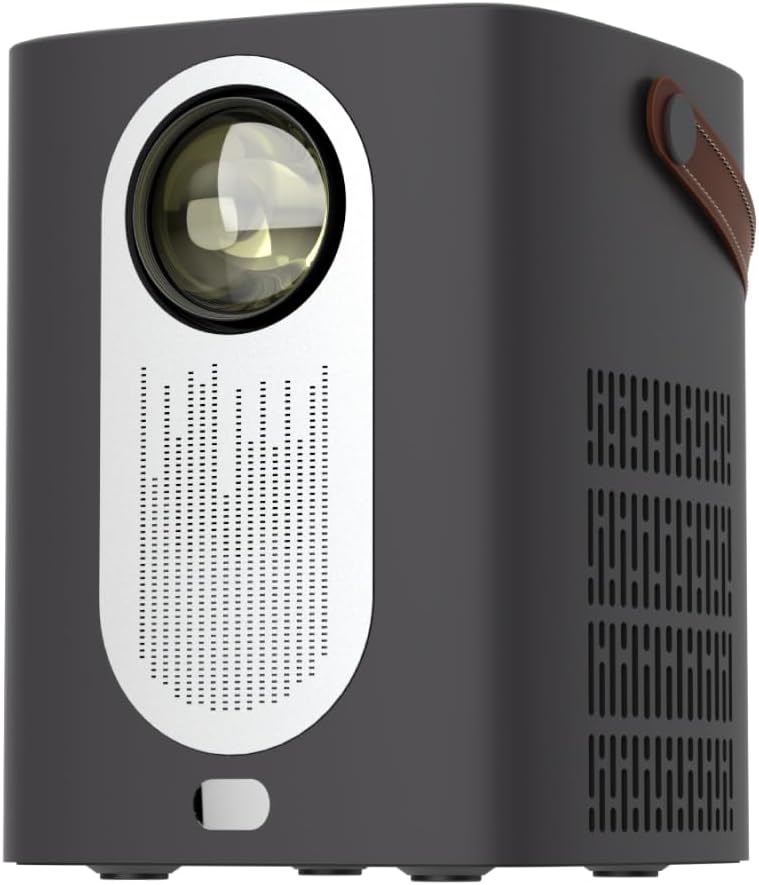
Imagem 1.1: Frente view of the RadioShack Home Projector, showcasing sua lente e grade do alto-falante.
2. Conteúdo da embalagem
Verifique se todos os itens estão presentes na embalagem:
- 1 x RadioShack Home Projector
- 1 x Controle Remoto
- 1 x Cabo de alimentação
- 1 x Manual do Usuário (este documento)

Image 2.1: Illustration of the package contents, including the projector, remote control, power cable, and user manual.
3. Produto acabadoview
3.1. Principais características
- Tela de alta resolução: Supports full HD resolution for clear and detailed images.
- Bright and Long-Lasting: Features impressive brightness and a durable light source.
- Conectividade versátil: Includes Bluetooth, WiFi, Android Miracast, and iOS Cast for streaming.
- Aprimorado Viewing: Digital focus and keystone correction for optimal image alignment.
- Compacto e portátil: Lightweight design with a handle for easy transport.
3.2. Portas e Controles
Familiarize yourself with the projector's input/output ports and controls.

Imagem 3.1: Traseira view of the projector showing USB input for media playback, AV input for DVD players, and HDMI input for various devices like video game consoles, streaming sticks, cell phones, tablets, and laptops.

Imagem 3.2: Lateral view illustrating the compact dimensions (approximately 7 inches tall, 5.3 inches wide) and the integrated leather handle for portability.
4. Guia de configuração
4.1. Ligação inicial
- Conecte o cabo de alimentação ao projetor e a uma tomada elétrica adequada.
- Press the power button located on the top of the projector or on the remote control to turn on the device. The indicator light will illuminate.
- The RadioShack logo will appear on the projection surface, indicating successful power-on.
Video 4.1: A short demonstration showing the unboxing, connecting the power cable, powering on the projector, and the initial display of the RadioShack logo.
4.2. Posicionamento e foco
- Place the projector on a stable, flat surface, ensuring the lens is unobstructed.
- Adjust the distance from the projection surface (wall or screen) to achieve the desired image size.
- Use the digital focus adjustment (refer to the remote control or on-screen menu) to sharpen the image.
- Utilize keystone correction if the image appears trapezoidal, to achieve a rectangular projection.
5. Instruções de operação
5.1. Dispositivos de conexão
O projetor suporta múltiplas fontes de entrada:
- HDMI: Connect devices such as laptops, gaming consoles, streaming boxes, or Blu-ray players using an HDMI cable. Select HDMI as the input source from the projector's menu.
- USB: Insert a USB drive to play compatible video or audio files. Select USB as the input source.
- AV: Connect older devices like DVD players using an AV cable. Select AV as the input source.
- Bluetooth: Pair with Bluetooth audio devices for wireless sound output.
- WiFi / Casting: Connect to a Wi-Fi network to enable Android Miracast or iOS Cast for screen mirroring from compatible smartphones and tablets.

Image 5.1: A couple enjoying content projected by the RadioShack Home Projector, demonstrating its use in a home cinema setting.
5.2. Funções de controle remoto
O controle remoto incluído permite uma operação conveniente:
- Poder: Ligar/desligar o projetor.
- Fonte: Select input sources (HDMI, USB, AV, etc.).
- Navegação: Arrow keys to navigate menus, OK button to confirm.
- Volume: Ajuste o nível de saída de áudio.
- Foco/Keystone: Access digital focus and keystone correction settings.

Image 5.2: The RadioShack Home Projector placed on a table next to its remote control, ready for use.
6. Manutenção
- Limpeza da lente: Use um pano macio e sem fiapos, próprio para lentes ópticas, para limpar delicadamente a lente do projetor. Evite materiais abrasivos ou produtos químicos agressivos.
- Limpeza do Exterior: Limpe a parte externa do projetor com um pano macio e seco. Não utilize produtos de limpeza líquidos diretamente no aparelho.
- Ventilação: Ensure the projector's ventilation openings are clear of dust and obstructions to prevent overheating.
- Armazenar: Quando não estiver em uso por longos períodos, guarde o projetor em local fresco e seco, longe da luz solar direta e de temperaturas extremas.
7. Solução De Problemas
| Problema | Possível causa | Solução |
|---|---|---|
| Nenhuma imagem exibida | Cabo de alimentação desconectado; fonte de entrada incorreta selecionada; tampa da lente colocada. | Verifique a conexão de energia; selecione a fonte de entrada correta (HDMI, USB, AV); remova a tampa da lente. |
| A imagem está borrada | Foco não ajustado; projetor muito perto/longe da tela. | Adjust digital focus; reposition projector for optimal distance. |
| Sem som | Volume too low; external audio device not connected/paired; incorrect audio output selected. | Increase volume; ensure Bluetooth device is paired or wired audio is connected; check audio output settings. |
| Controle remoto não funciona | Pilhas descarregadas; obstrução entre o controle remoto e o projetor. | Replace remote control batteries; ensure clear line of sight to the projector's IR receiver. |
8. Especificações
- Marca: Rádio Shack
- Modelo: Home Projector (ASIN: B0DP1GFG9L)
- Resolução da tela: 1280 x 720 (Supports Full HD)
- Tecnologia de conectividade: AV, HDMI, USB, Bluetooth, WiFi (Android Miracast, iOS Cast)
- Características especiais: Portable, Digital Focus, Keystone Correction
- Uso recomendado: Cinema em casa
- Dimensões do produto: 5.31 x 5.31 x 7.09 polegadas
- Peso do item: 3.91 libras

Image 8.1: The projector displaying content, highlighting its support for full HD resolution and high-quality sound.
9. Garantia e Suporte
For warranty information and technical support, please refer to the official RadioShack webou entre em contato com o serviço de atendimento ao cliente. Guarde o comprovante de compra como prova de aquisição.
Suporte online: www.radioshack.com