1. Introdução
This instruction manual provides comprehensive guidelines for the assembly, operation, and maintenance of your MELLCOM 8 x 12 FT Resin Outdoor Storage Shed. Please read this manual thoroughly before beginning assembly or use to ensure proper installation and safe operation. Retain this manual for future reference.
Informações de segurança
- Use sempre equipamento de segurança adequado, incluindo luvas e proteção ocular, durante a montagem.
- Certifique-se de que a área de reunião esteja livre de obstruções e perigos.
- Não tente montar o galpão em condições de vento forte ou clima adverso.
- A level and solid foundation is crucial for the stability and longevity of the shed.
- Mantenha crianças e animais de estimação afastados da área de montagem.
- Two people are recommended for assembly to ensure safety and efficiency.
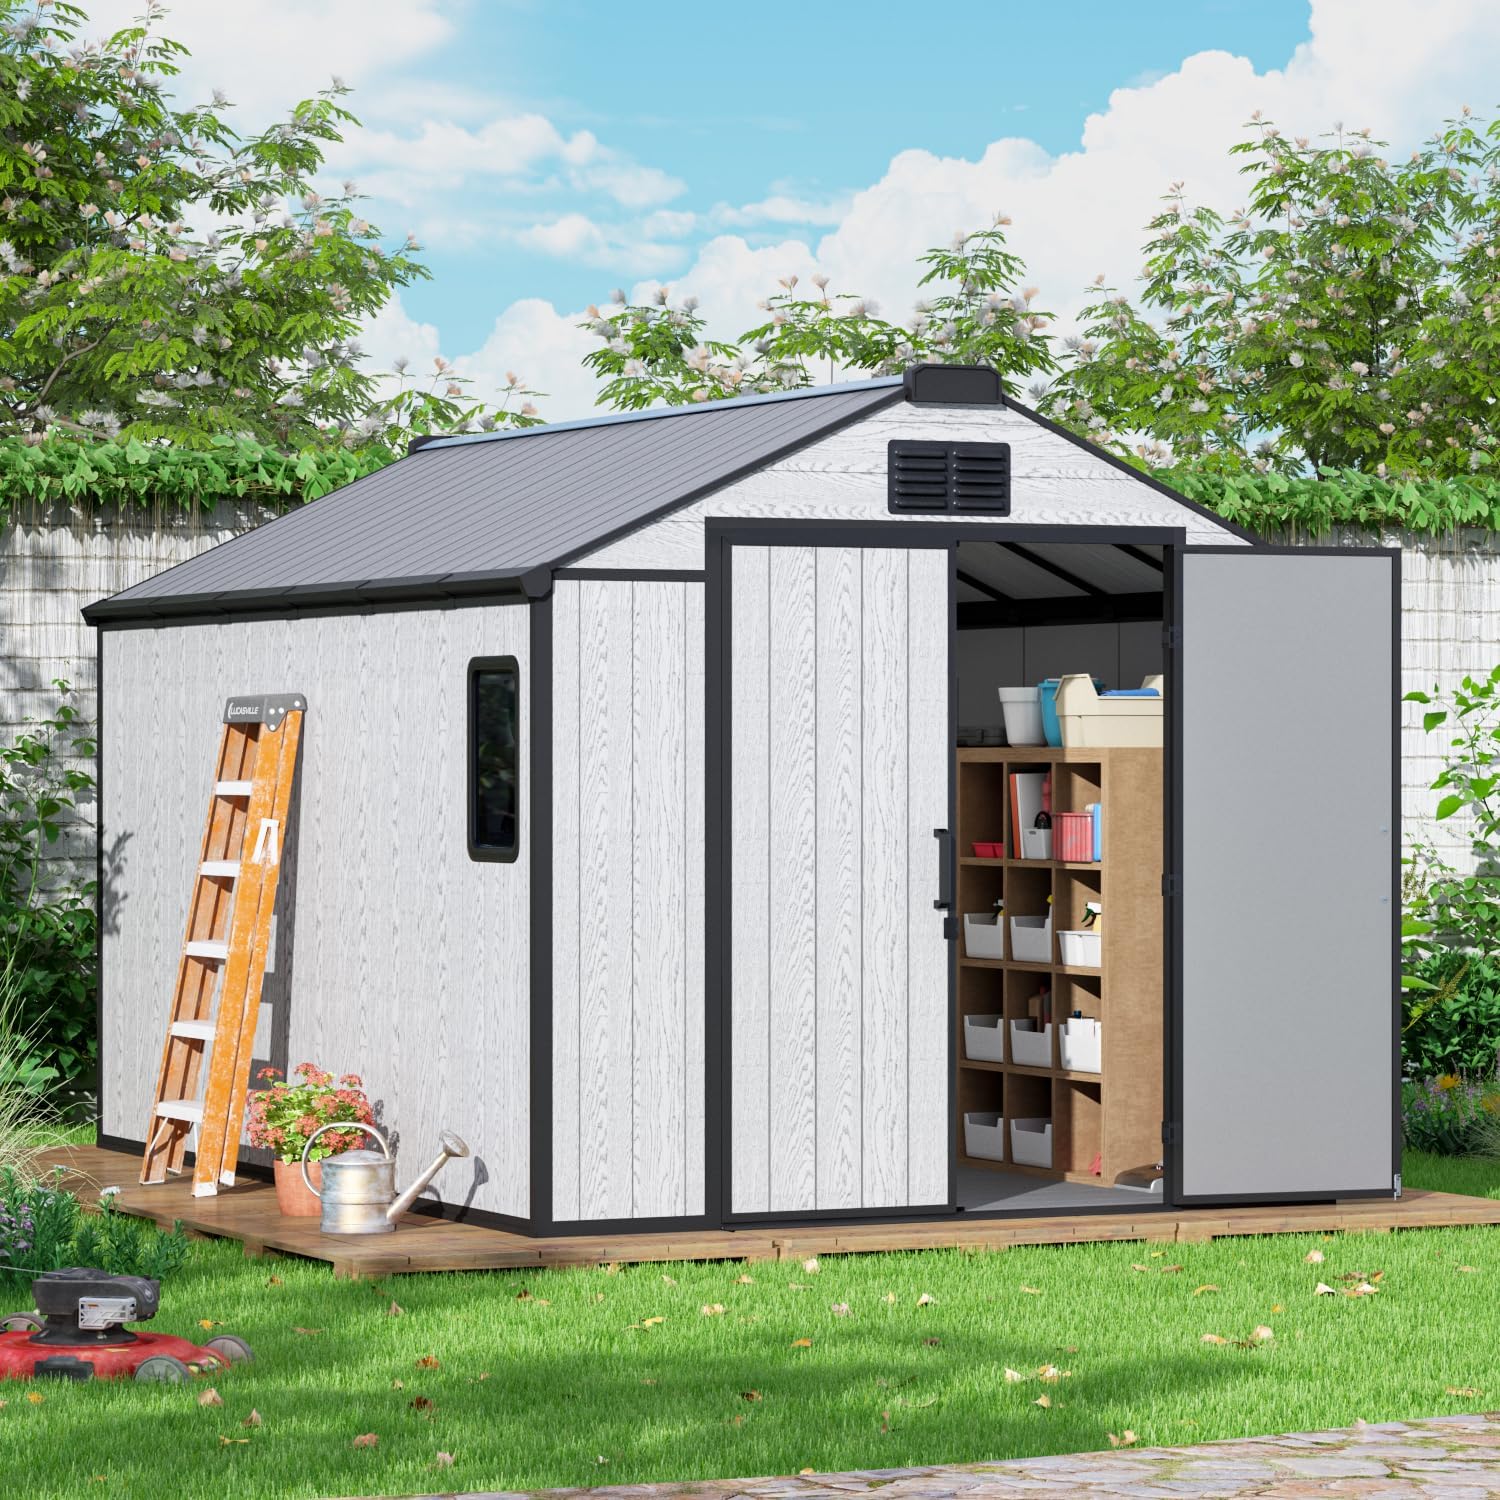
Figure 1.1: MELLCOM 8 x 12 FT Resin Outdoor Storage Shed. This image shows the assembled shed in a garden environment, highlighting its design and size.
2. Produto acabadoview e Características
The MELLCOM Resin Outdoor Storage Shed is designed for durable and versatile outdoor storage. Constructed from high-quality, recyclable resin, it offers excellent resistance to weather elements.
Principais características:
- Recyclable Resin Material: Made from 16mm thick double-layer PP recyclable resin panel, providing waterproof, snowproof, and UV-resistant properties. This material resists cracking and rusting, unlike iron or wood.
- Good Appearance and Practical Structure: Features a wood grain exterior, thickened steel frame, ventilation vents, a light-transmitting roof panel, and hidden roof drains for practical, all-weather use.
- Versatile and Spacious Storage Space: Ofertas ample storage for various items such as bicycles, gardening tools, pool supplies, and patio furniture.
- High-Density Resin Structure: Engineered to withstand a snow load capacity of 30 PSF and wind loads up to 35 MPH.
- Rain Gutter Design: Integrated rain gutters ensure efficient water runoff, protecting the shed's contents.
- Estrutura durável: Reinforced with stainless steel tubes for enhanced structural integrity.
- Included Floor: Comes with a floor, providing a complete storage solution.
- Window for Bright Light: Features a window to allow natural light into the shed.
- Saídas de ar: Equipped with air vents to maintain proper ventilation and keep contents dry.
Dimensões:

Figure 2.1: Shed Dimensions. This diagram illustrates the overall dimensions of the 8 x 12 FT shed, including height, width, and depth, and indicates a storage capacity of 583 cubic feet.
- Dimensões do produto (C x L x A): 137.72" x 94.17" x 90"
- Largura da porta: 54.25 polegadas
- Porta Altura: 70.86 polegadas
- Capacidade de armazenamento: Approximately 583 cubic feet (for 8'x12' model)

Figure 2.2: Versatile Interior Space. This image demonstrates the spacious interior of the shed, capable of accommodating a wide range of items such as bicycles, lawnmowers, and various tools on shelves.

Figure 2.3: Impact Resistant Resin Panel. This image highlights the reinforced 16mm thick resin panel, designed to resist heavy snow, strong winds, and rain, protecting stored items from moisture and damage.
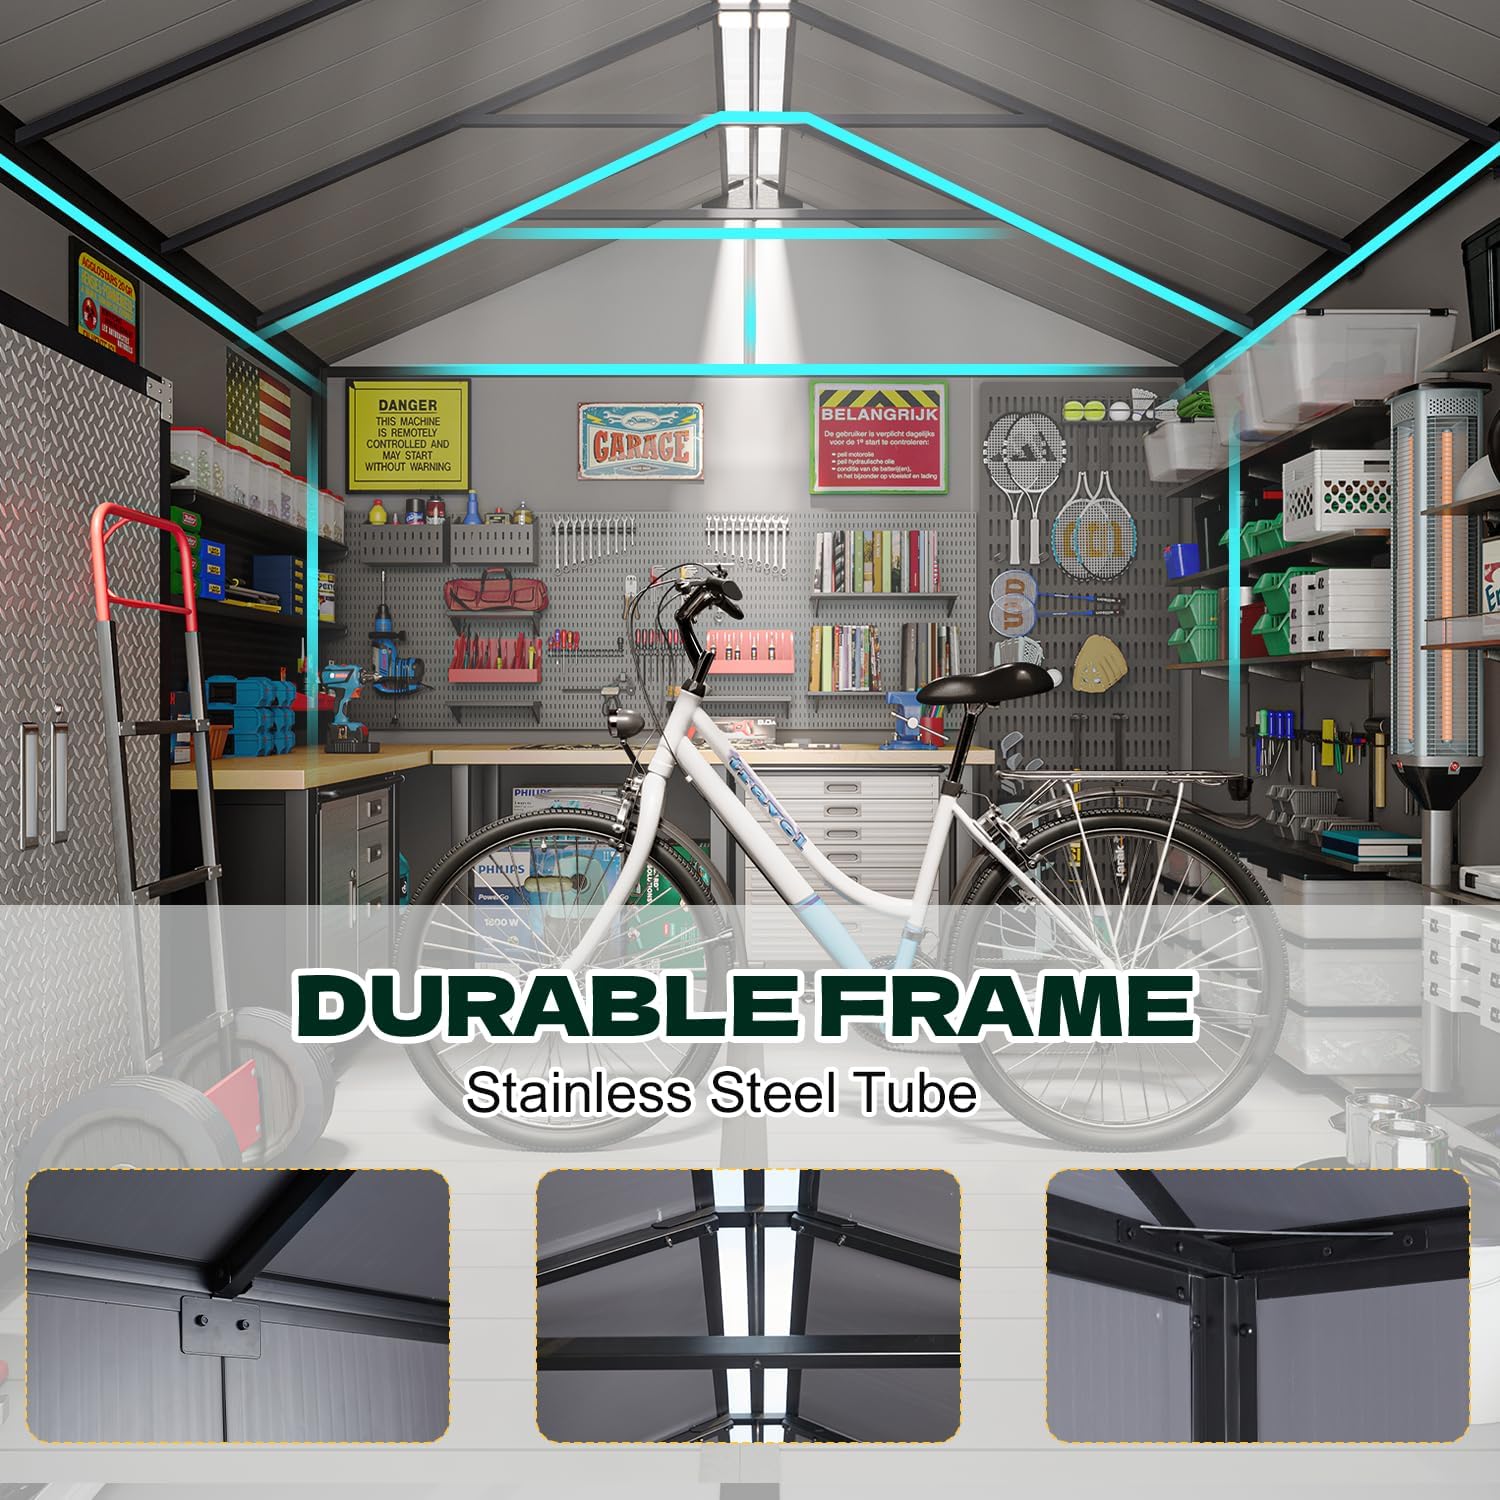
Figure 2.4: Rain Gutter Design. This illustration shows the shed's roof with an integrated rain gutter system, indicating its UV-resistant, water-resistant, and easy-to-clean premium panel.

Figure 2.5: Design Advantages. This comparison highlights key design advantages such as air vents for dryness, a window for natural light, and an included floor, contrasting them with common shortcomings in other sheds.
3. Instruções de Instalação e Montagem
The MELLCOM storage shed features a one-piece panel plug-in structure designed for easier and faster assembly, potentially reducing installation time by 30% compared to traditional sheds. It is highly recommended that two people perform the assembly.
3.1 Foundation Preparation
A solid, level foundation is essential for the stability and longevity of your shed. This can be a concrete slab, a wooden deck, or a properly prepared gravel base. Ensure the foundation is perfectly level before starting assembly.
The sturdy design includes expansion bolts and 8-inch ground nails that anchor into concrete or soil, providing additional stability. Ensure your chosen foundation allows for secure anchoring.

Figure 3.1: Stability and Features. This image illustrates the anchor kit for stability, ventilation for airflow, top light transmission, and the fixed door latch, all contributing to the shed's robust design.
3.2 Passos de Montagem
Follow these general steps for assembly. Refer to the detailed diagrams and instructions provided in your physical manual for specific part identification and placement.

Figure 3.2: Installation Steps Overview. This diagram provides a visual guide to the main assembly sequence: Step 1: Assemble the bottom, Step 2: Assemble the support rods, Step 3: Assemble the sides, Step 4: Assemble the roof, Step 5: Assemble the door.
- Step 1: Assemble the Bottom. Begin by laying out and connecting the base components on your prepared level foundation.
- Step 2: Assemble the Support Rods. Install the vertical support rods into the designated slots on the base. Ensure they are securely fastened.
- Step 3: Assemble the Sides. Attach the side panels to the support rods, utilizing the plug-in structure. Work systematically around the shed.
- Step 4: Assemble the Roof. Carefully position and secure the roof panels. Ensure all connections are tight to prevent leaks.
- Step 5: Assemble the Door. Install the door frame and hang the doors. Adjust as necessary for smooth operation and secure closure.
Observação: The manual covers installation processes for all sizes. Please focus on the sections relevant to your 8 x 12 FT model. For detailed visual guidance, refer to the specific diagrams and instructions in your product's included manual.
4. Instruções de operação
4.1 Operação da Porta
The shed features double doors for easy access. To open, disengage the latch mechanism and pull the doors outwards. To close, push the doors firmly together and engage the latch to secure them. Ensure the doors are fully closed and latched to protect contents from weather and unauthorized access.
4.2 Ventilação
The shed is equipped with ventilation vents to promote airflow and reduce condensation. Ensure these vents remain unobstructed to maintain proper air circulation within the shed.
4.3 Capacidade de armazenamento
Utilize the spacious interior for organizing your items. Consider adding shelving or hooks to maximize vertical storage space. Distribute weight evenly to maintain shed stability.
5. Manutenção
Regular maintenance will ensure the longevity and optimal performance of your MELLCOM storage shed.
- Limpeza: Clean the exterior of the shed periodically with mild soap and water. Avoid abrasive cleaners or harsh chemicals that could damage the resin material. Rinse thoroughly with clean water.
- Inspeção: Regularly inspect the shed for any signs of damage, loose fasteners, or wear. Pay attention to the roof, walls, doors, and foundation anchors.
- Ventilação: Ensure the ventilation vents are clear of debris (leaves, dirt, etc.) to maintain proper airflow.
- Door Hinges and Latches: Lubricate door hinges and latches annually with a silicone-based lubricant to ensure smooth operation.
- Remoção de neve: While the shed is designed for snow load, heavy accumulation should be removed to prevent excessive stress on the roof structure.
6. Solução De Problemas
| Problema | Possível causa | Solução |
|---|---|---|
| As portas não fecham ou não se alinham corretamente. | Uneven foundation; loose hinges; warped panels. | Ensure the foundation is level. Check and tighten all hinge screws. If panels are warped, contact customer support. |
| Vazamento de água dentro do galpão. | Improperly sealed roof/wall panels; clogged rain gutters; damaged panels. | Inspect all panel connections and roof seams for proper sealing. Clear any debris from rain gutters. Check for cracks or damage in panels. |
| O galpão parece instável ou bambo. | Uneven foundation; insufficient anchoring; loose frame connections. | Verify the foundation is level. Ensure all ground anchors are securely installed. Tighten all frame bolts and screws. |
| Condensação dentro do galpão. | Ventilação deficiente; alta umidade. | Ensure ventilation vents are clear and unobstructed. Consider adding a dehumidifier if humidity is consistently high. |
7. Especificações
| Atributo | Detalhe |
|---|---|
| Marca | MELLCOM |
| Número do modelo | XWSS328-N3 |
| Cor | Cinza |
| Material | Resin (16mm double-layer PP), Iron (frame) |
| Dimensões do produto (P x L x A) | 137.72" x 94.17" x 90" |
| Estilo | Moderno |
| Nível de resistência à água | Resistente à água |
| Estilo de porta | Portas francesas |
| Montagem necessária | Sim |
| Largura da porta | 54.25 polegadas |
| Altura da porta | 70.86 polegadas |
| Capacidade de carga de neve | 30 pés quadrados |
| Capacidade de carga de vento | Até 35 MPH |
8. Garantia e Suporte
For specific warranty information regarding your MELLCOM 8 x 12 FT Resin Outdoor Storage Shed, please refer to the warranty card included with your product packaging or contact MELLCOM customer service directly.
If you encounter any issues during assembly, operation, or maintenance, or if you require replacement parts, please contact MELLCOM customer support. They are available to provide assistance and answer any questions you may have.
MELLCOM Customer Service: Please refer to the contact information provided in your product packaging or visit the official MELLCOM website para detalhes de suporte.


