Introdução
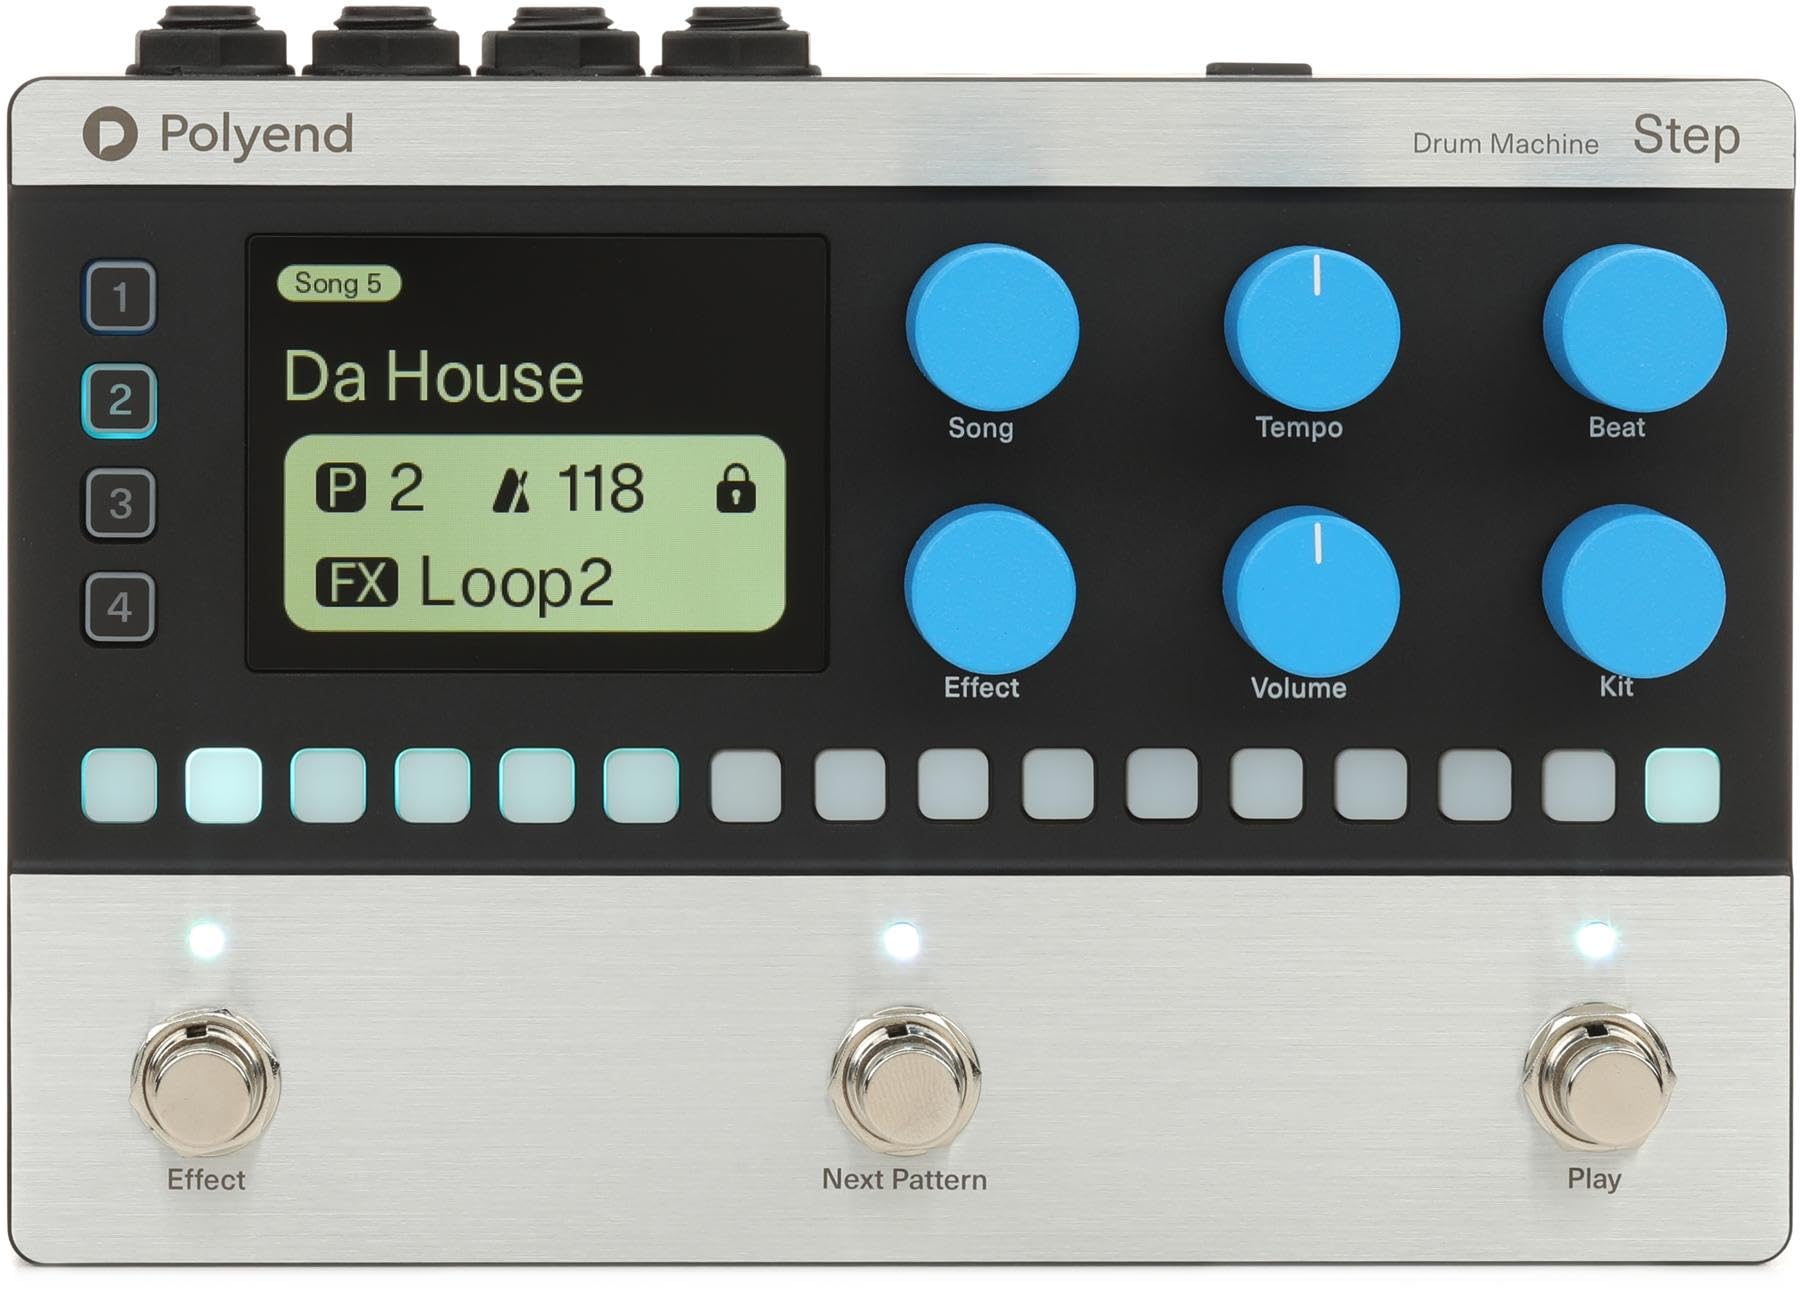
The Polyend Step is a programmable 4-track drum machine pedal designed to provide rhythmic backing for musicians and guitar players. It offers a versatile and easy-to-use solution for practice, songwriting, and live performances. With a wide array of samples, customizable sequencing, and intuitive controls, the Polyend Step allows you to create unique and dynamic drum parts.
Principais características
- Programmable 4-track Drum Machine Pedal with 2,000+ Sampos
- 16-step Sequencing for detailed rhythm creation
- 350 Rhythms to choose from across various genres
- Stereo I/O for flexible connectivity
- 200+ Kits for diverse sound palettes
Guia de configuração
Follow these steps to set up your Polyend Step Drum Machine Pedal:
- Conexão de energia: Connect a 9V 200mA center-negative power supply to the power input port on the pedal.
- Conexão de entrada: Connect your instrument (e.g., guitar) to the L (MONO) or R 1/4" input jacks. For mono signals, use the L (MONO) input.
- Conexão de saída: Connect the L (MONO) or R 1/4" output jacks to your amplifier, audio interface, or mixer. For mono output, use the L (MONO) output.
Instruções de operação
Sobre os controlesview
- Tela de exibição: Shows current style, tempo, BPM, and other functional status information.
- GROUP/SAVE Knob: Switches to the group page, toggles parameters, adjusts values, and enters the slot save interface when held. In Tap Tempo mode, it adjusts BPM.
- SETTING/VOLUME Knob: Switches to the setting page, toggles parameters, adjusts values, and enters/exits global settings when held. It also adjusts the drum machine volume.
- FILL/TAP Footswitch (Left): Activates the fill function with a single tap. Enters Tap Tempo mode when held, allowing you to adjust playback speed by tapping.
- STOP/PLAY Footswitch (Right): Starts or stops drum machine playback.
Operação básica
- Iniciando a reprodução: Tap the STOP/PLAY footswitch (right) to begin playing the selected drum pattern. The LED will flash red and blue at the current BPM.
- Parando a reprodução: Tap the STOP/PLAY footswitch (right) again to stop playback. The LED will flash white.
- Activating Fill: During playback, tap the FILL/TAP footswitch (left) to activate a drum fill.
- Adjusting Tempo (Tap Tempo): Hold the FILL/TAP footswitch (left) for one second to enter Tap Tempo mode. Tap the footswitch repeatedly to set the desired BPM. The LED will flash according to the new BPM.
- Changing Rhythm Patterns: Use the GROUP/SAVE knob to navigate through different rhythm patterns and banks. Turn the knob to select a new pattern.
- Ajustando o volume: Use the SETTING/VOLUME knob to adjust the overall volume of the drum machine.
- Accessing Global Settings: Hold the SETTING/VOLUME knob to enter global settings, where you can adjust frequency response and other parameters.
Especificações
| Recurso | Detalhe |
|---|---|
| Nome do modelo | Etapa |
| Estilo | Moderno |
| Tipo de conector | Macaco de 3.5 mm, Macaco de 6.35 mm |
| Tecnologia de Conectividade | MIDI, Audio Jacks |
| Fonte de energia | Battery Powered (requires 9V 200mA center-negative power supply) |
| Entrada para fones de ouvido | Conector de 3.5 mm |
| Fabricante | Poliendro |
| Peso do item | 2.83 libras |
| Dimensões do produto | 11.4 x 5.65 x 3.6 polegadas |
| ASIN | B0F4MPRD1J |
| Número do modelo do item | RM |
| Material do corpo | Metal or Plastic |
| Nome da cor | preto |
| Tipo de material | Metal, Plástico |
| Nível de habilidade | Todos |
| Tamanho | 5.65 x 11.4 x 3.6 polegadas |
Manutenção
- Limpeza: Use um pano macio e seco para limpar a parte externa do pedal. Evite produtos de limpeza abrasivos ou solventes.
- Armazenar: Guarde o pedal em local fresco e seco, longe da luz solar direta e de temperaturas extremas.
- Manuseio: Handle the pedal with care to prevent damage to knobs, switches, and jacks.
Solução de problemas
- Sem som: Ensure all cables (power, input, output) are securely connected. Check the volume settings on the pedal and your connected audio equipment. Verify the power supply meets the required specifications (9V 200mA center-negative).
- Comportamento inesperado: If the pedal behaves unexpectedly, try disconnecting and reconnecting the power supply to perform a soft reset. If issues persist, consult the manufacturer's support resources.
- Footswitch Unresponsive: Ensure the footswitches are clean and free from debris. If a footswitch is still unresponsive, contact customer support.
Garantia e Suporte
For warranty information, technical support, or service inquiries, please refer to the official Polyend webou entre em contato diretamente com o serviço de atendimento ao cliente. Guarde o comprovante de compra para eventuais solicitações de garantia.


