1. Introdução
This manual provides detailed instructions for the installation, operation, and maintenance of your Hawkrown H05 Bathroom Exhaust Fan. This unit integrates a powerful exhaust fan with a humidity sensor, odor sensor, 3CCT LED light, 7 LED color options, and remote control functionality. Please read this manual thoroughly before installation and use to ensure safe and efficient operation.
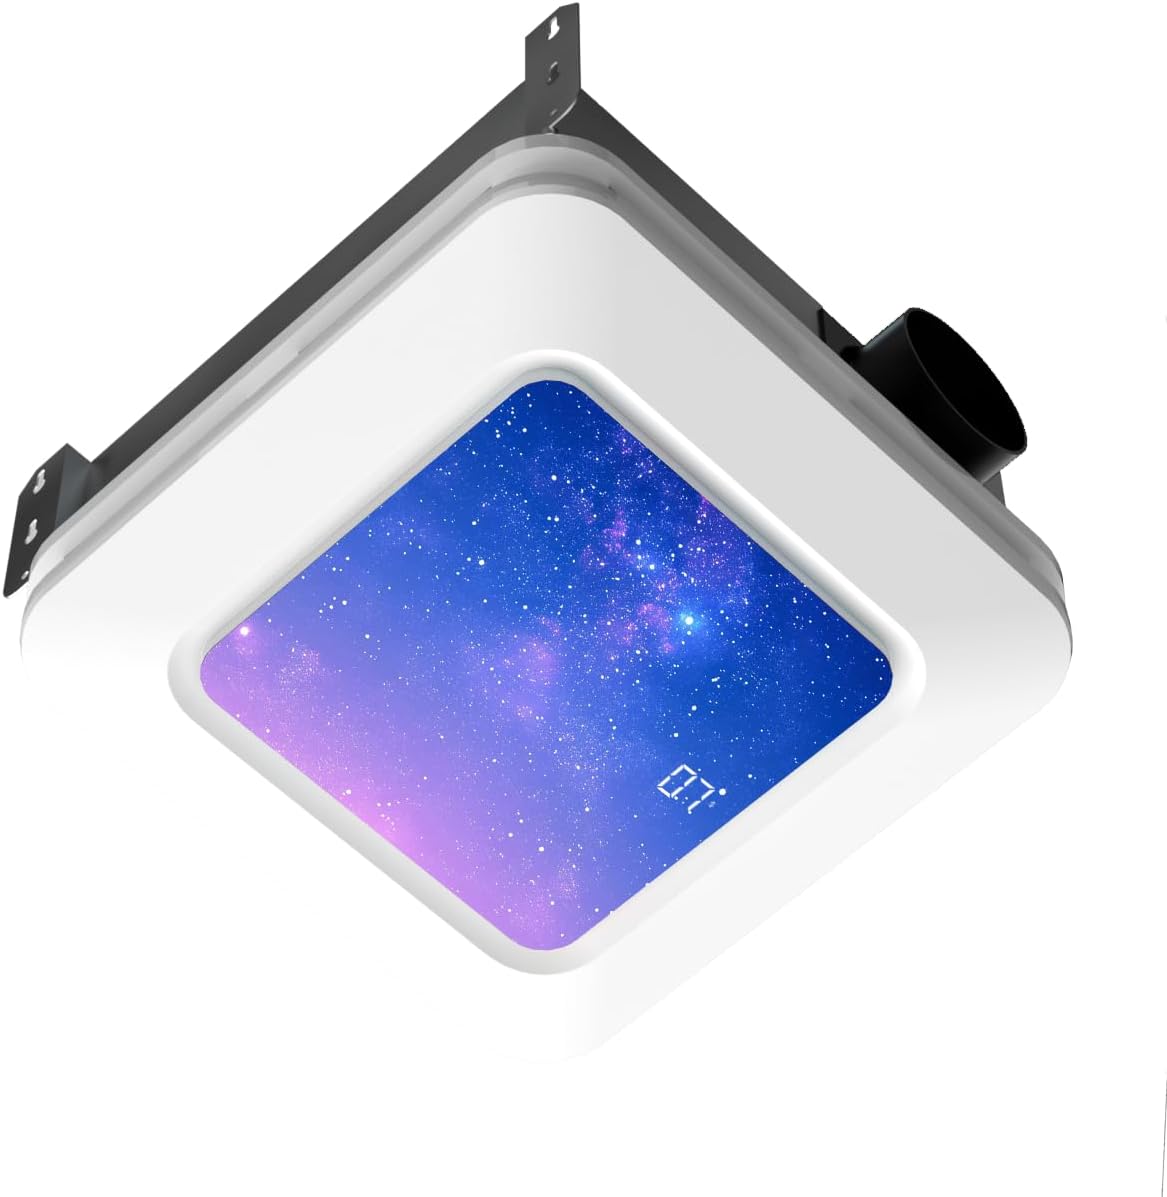
Image 1.1: Hawkrown H05 Bathroom Exhaust Fan with LED light and digital display.
2. Informações de segurança
- Always disconnect power at the circuit breaker before installing, servicing, or cleaning the unit.
- A instalação deve ser realizada por um eletricista qualificado, em conformidade com todos os códigos elétricos locais e nacionais.
- Wear appropriate personal protective equipment, including gloves and eye protection, during installation.
- Certifique-se de que a unidade esteja devidamente aterrada para evitar choque elétrico.
- Do not use this fan in areas where it may be exposed to water spray from a shower or bathtub unless specifically rated for such use.
- Mantenha crianças e animais de estimação afastados da área de instalação.
- Não introduza os dedos ou objetos estranhos na grelha da ventoinha.
3. Conteúdo da embalagem
Verifique se todos os componentes estão presentes antes de iniciar a instalação:
- Main Exhaust Fan Unit
- Painel de luz LED
- Controle remoto
- Ventilation Pipe (Flexible Duct)
- Metal Hoop (Duct Clamp)
- Self-tapping Screws and Washers
- Fita adesiva
- Abraçadeiras de cabo
- Manual de instruções

Image 3.1: All components included in the Hawkrown H05 package.
4. Especificações
| Recurso | Especificação |
|---|---|
| Marca | Hawkrown |
| Nome do modelo | H05 |
| Capacidade de fluxo de ar | 230 CFM |
| Nível de ruído | 1.0 Sone |
| Fonte de energia | AC |
| Volumetage | 120 Volts (CA) |
| O quetage | 36 watts |
| Dimensões do produto | 10.62"P x 10.98"L x 7.08"A |
| Ceiling Opening Requirement | 11.22" x 11.22" |
| Tipo de montagem | Montagem no teto |
| Características especiais | Digital Display, Remote Controlled, Humidity Sensor, Odor Sensor, 3CCT LED Light, 7 LED Colors |
5. Guia de instalação
For a visual guide, please refer to the official installation video below. Professional installation is recommended.
Video 5.1: Official Hawkrown Humidity Sensor Exhaust Fan Installation Guide. This video demonstrates the step-by-step process for installing the exhaust fan, including preparing the ceiling, connecting the ductwork, and securing the unit.
5.1. Preparação
- Certifique-se de que a energia esteja desligada no disjuntor.
- Gather all necessary tools: measuring tape, utility knife, screwdriver, power drill, safety gloves, and eye protection.
- Desembale todos os componentes e verifique se correspondem à lista de conteúdo da embalagem.

Image 5.1.1: Product dimensions and required ceiling opening (11.22" x 11.22").
5.2. Abertura do teto
- Measure and cut an 11.22 x 11.22 inch hole in the ceiling. Use a ruler to ensure accuracy.
- Ensure there is at least 11 inches of roof-to-ceiling clearance for proper installation.
5.3. Conexão da rede de dutos
- Slip the metal hoop over the flexible ventilation pipe.
- Expand the ventilation pipe and align it with the air outlet of the main unit, then slip it over the outlet.
- Tighten the metal hoop with power tools to secure the connection.
- For additional security, fix the air duct with adhesive tape and then use cable ties or hoops for fixation.
5.4. Fiação elétrica
- Always unplug the power before connecting terminals.
- Connect the wires: Green to green (Ground), White to white (Neutral), Black to black (Live).
- The socket wire is a power cord and cannot be used as a control wire. Control is handled by the remote.
- The intermediate terminal block can be used as an intermediate medium. Pull it gently to ensure it is fully secured.

Image 5.4.1: Electrical wiring connections.
5.5. Montagem da Unidade
- Insert one side of the ventilation pipe into the ceiling first. Insert it diagonally from the side.
- Push the air duct into the pre-reserved ventilation pipeline at home and wind it with adhesive tape to make sure there is no air leakage.
- Position the main unit correctly, connect the corresponding motherboard cables, press the spring clips on both sides, and sequentially press them into the pre-reserved spring slots of the main unit.
- If installing directly on attic or frame wooden beams, use long self-tapping screws and washers at the installation auxiliary feet. Install the four holes in sequence to ensure stable installation.
- Organize the cables, and the installation is complete.
5.6. Emparelhamento de controle remoto
- After powering on the unit, within 30 seconds, long-press the standby button (power button) on the remote for 3 seconds.
- A long "Beep" sound indicates successful pairing. If unsuccessful, unplug and retry.
6. Instruções de operação
The Hawkrown H05 is controlled via the included wireless remote. The remote has a maximum range of 19 ft, with an ideal working distance within 6 ft.

Image 6.1: Remote Control Functions.
6.1. Ligar/desligar
- Pressione o Ligar/Desligar botão para ligar ou desligar a unidade.
6.2. Ventilation (Fan) Control
- Pressione o Ventilador botão para ligar ou desligar o ventilador.
- The fan operates at 230 CFM with a quiet 1.0 Sone noise level.

Image 6.2.1: 230 CFM Powerful Exhaust Fan in action.

Image 6.2.2: 1.0 Sone Whisper-Quiet Operation.
6.3. Humidity and Odor Sensing (Purification)
- Short Press Purification Button: Turns purification mode (humidity/odor sensing) ON/OFF.
- Long Press Purification Button (≥2s): Cycles through humidity levels 30% → 60% → 80%.
- When the bathroom humidity reaches the selected level, the fan automatically turns on.
- The fan also automatically starts ventilation when unpleasant odors are detected.
- A green indicator light on the panel provides real-time feedback on the system's working status.
- Observação: Ventilation and purification are two independent modes that cannot be activated simultaneously; only one can be switched on at a time.

Image 6.3.1: Humidity & Odor Sensor functionality.
6.4. Controle de Iluminação
- Short Press Lamp Botão: Turns the main LED lamp ligado/desligado.
- Pressione longamente Lamp Botão: Customizes the color temperature (3000K Warm, 4500K Natural, 6500K Cool).
- +/- Buttons (Long Press): Adjusts brightness (stepless dimming).
- The unit also features a nightlight mode (200lm).

Image 6.4.1: Stepless Light Control: Brightness & Color Temperature.
6.5. Controle de iluminação RGB
- Short Press RGB Button: Turns RGB modes ON/OFF.
- Long Press RGB Button: Switches between 3 RGB dynamic lighting modes (Aurora, Breathing, Blinking) and 7 static LED colors.

Image 6.5.1: RGB Dynamic Lighting Modes.

Image 6.5.2: 7 LED Color Options.
6.6. Função de temporizador
- Short Press Timer Button: Turns the timer ON/OFF.
- Long Press Timer Button: Cycles through automatic shutoff times from 1 to 4 hours in 1-hour increments. This helps save energy.
7. Manutenção
Regular maintenance ensures optimal performance and longevity of your exhaust fan.
- Cleaning the Grille and Light Panel: Periodically wipe the exterior grille and light panel with a soft, damp pano. Não use produtos de limpeza abrasivos ou solventes.
- Limpeza das pás do ventilador: If accessible, gently clean the fan blades with a soft brush or cloth to remove dust and debris. Ensure power is disconnected before attempting this.
- Inspeção de dutos de ar: Inspecione anualmente a tubulação de ar para verificar se há bloqueios, dobras ou desconexões que possam impedir o fluxo de ar.
- Conexões elétricas: Periodically check electrical connections for tightness and signs of wear. Ensure power is disconnected before inspection.
8. Solução De Problemas
Consulte os seguintes problemas comuns e suas soluções:
- O aparelho não liga:
- Ensure all connectors are securely reattached. Match wire colors: Green to green, white to white, black to black.
- Reconecte o cabo de alimentação.
- Check the circuit breaker for tripped circuits.
- Fan not working:
- Check if the fan is in purification (auto) mode. It only activates when indoor humidity reaches the preset level (30%/60%/80%) or when odors are detected.
- In manual mode, press the ventilator button to turn ventilation on/off.
- Remote control is paired but not working:
- Try pressing the standby button first, then long-press any function button.
- Certifique-se de que o controle remoto tenha pilhas novas.
- Insufficient airflow:
- Check for obstructions in the ductwork or fan grille.
- Ensure the ductwork is properly sealed and free of leaks.

Image 8.1: Usage Guidelines and Troubleshooting Tips.
9. Garantia e Suporte
The Hawkrown H05 Bathroom Exhaust Fan is certified by UL and FCC, ensuring safe and reliable use. Hawkrown provides 24-hour online customer service and a worry-free after-sales guarantee.
For any questions, issues, or warranty claims, please contact Hawkrown customer service through the retailer where the product was purchased or visit the official Hawkrown website para suporte.


