1. Introdução
Thank you for choosing the Neretva 20-in-1 Bread Maker. This appliance is designed to simplify your bread-making process, offering a variety of programs for different bread types, doughs, and even yogurt. Please read this manual thoroughly before operating the bread maker to ensure safe and efficient use. Keep this manual for future reference.
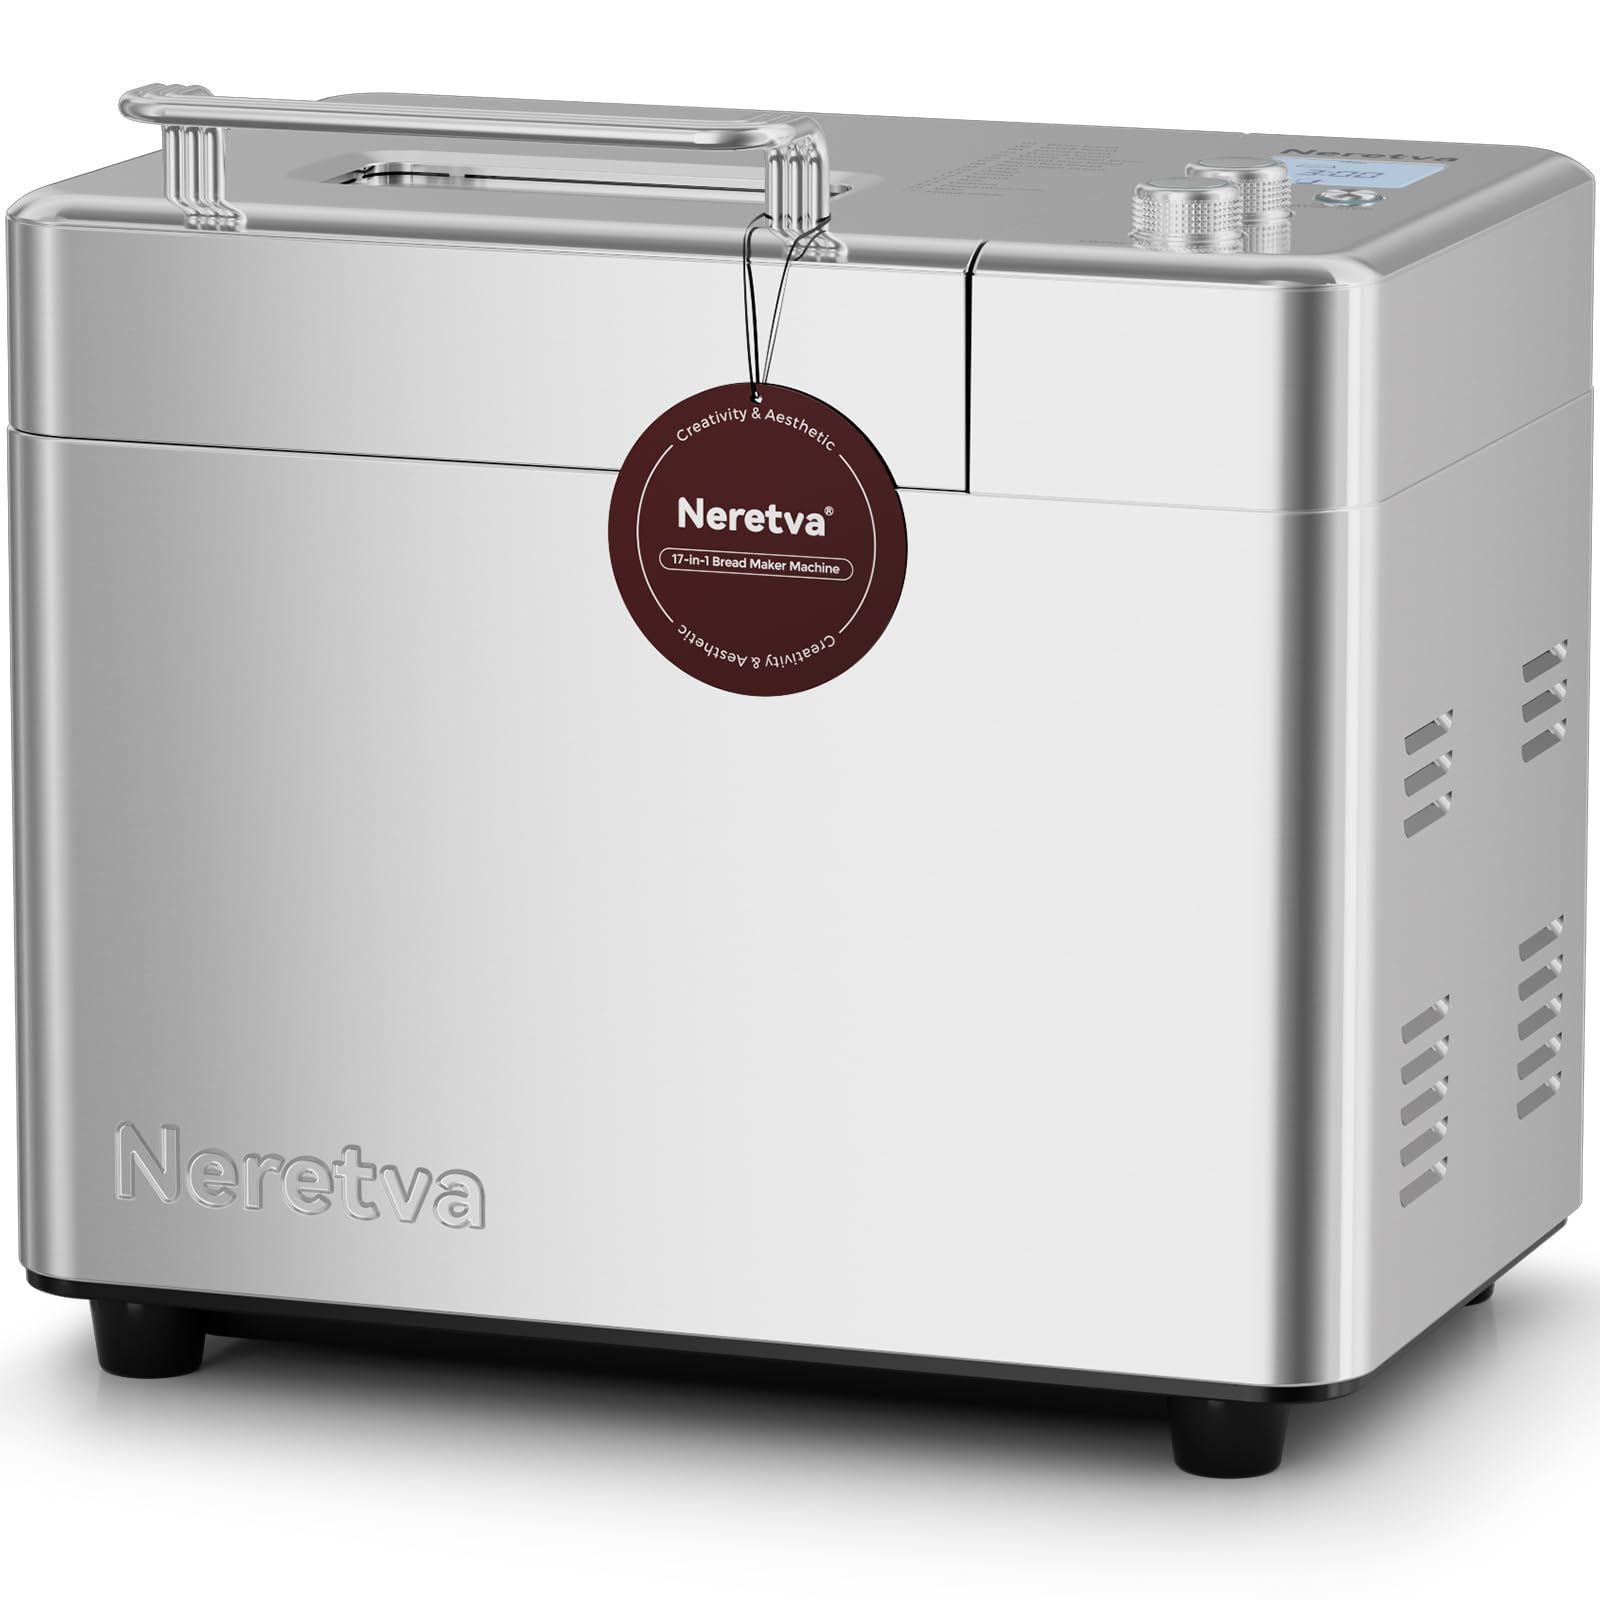
Image: The Neretva 20-in-1 Bread Maker, showcasing its sleek design and user-friendly control panel.
2. Instruções importantes de segurança
Ao usar aparelhos elétricos, precauções básicas de segurança devem sempre ser seguidas, incluindo as seguintes:
- Leia todas as instruções cuidadosamente.
- Não toque em superfícies quentes. Use alças ou botões.
- To protect against electric shock, do not immerse cord, plugs, or the bread maker housing in water or other liquid.
- É necessária supervisão rigorosa quando qualquer aparelho for usado por crianças ou perto delas.
- Desligue da tomada quando não estiver em uso e antes de limpar. Deixe esfriar antes de colocar ou retirar peças.
- Não opere nenhum aparelho com o cabo ou plugue danificado, ou após o aparelho apresentar mau funcionamento ou ter sido danificado de qualquer forma.
- O uso de acessórios não recomendados pelo fabricante do aparelho pode causar ferimentos.
- Não utilize ao ar livre.
- Não deixe o cabo pendurado na borda da mesa ou do balcão, nem toque em superfícies quentes.
- Não coloque sobre ou perto de um queimador a gás ou elétrico quente, nem em um forno aquecido.
- Deve-se ter extremo cuidado ao mover um aparelho que contenha óleo quente ou outros líquidos quentes.
- Para desconectar, gire qualquer controle para a posição 'desligado' e, em seguida, retire o plugue da tomada.
- Não utilize o aparelho para outro fim que não o pretendido.
3. Produto acabadoview
Principais características:
- 20-in-1 Programs: Versatile settings for various bread types, doughs, jams, cakes, and yogurt.
- Elementos de aquecimento duplos: Ensures even baking and consistent crust development.
- Capacidade de 2 lb: Ideal for families, allowing for larger loaves.
- Non-Stick Ceramic Pan: Durable and easy to clean, promoting healthier baking.
- Dispensador automático de frutas e nozes: Adiciona automaticamente os ingredientes no momento ideal durante o ciclo de cozimento.
- Design compacto: Space-saving footprint for any kitchen countertop.
Componentes:
- Alojamento da Unidade Principal
- Painel de controle com display LCD
- Tampa com Viewjanela de ing
- Baking Pan (Non-Stick Ceramic)
- Pá de amassar
- Automatic Fruit & Nut Dispenser
- Measuring Cup and Spoon (accessories)

Image: The Neretva Bread Maker showcasing the variety of items that can be made using its 17 program menus, including different types of bread, pastries, and other food items.

Imagem: Uma imagem interna view of the bread maker highlighting the dual heating elements, which ensure even heat distribution for thorough and efficient baking.

Imagem: Uma imagem detalhada view of the automatic fruit and nut dispenser, demonstrating its function in adding ingredients at the correct stage of the baking process.
4. Configuração
4.1 Desembalagem
- Retire cuidadosamente a máquina de fazer pão e todos os acessórios da embalagem.
- Remova quaisquer materiais de embalagem, adesivos ou etiquetas.
- Verifique se todas as peças estão presentes e sem danos.
4.2 Antes do primeiro uso
- Limpe a parte externa da máquina de fazer pão com o produto.amp pano.
- Wash the baking pan, kneading paddle, and measuring accessories with warm, soapy water. Rinse thoroughly and dry completely.
- Ensure the baking pan is securely locked into the main unit.
4.3 Posicionamento
- Place the bread maker on a stable, flat, heat-resistant surface, away from direct sunlight and heat sources.
- Ensure there is adequate ventilation around the appliance. Do not cover the ventilation slots.
- Conecte o cabo de alimentação a uma tomada elétrica aterrada.
5. Instruções de operação
5.1 Operação básica
- Adicione Ingredientes: Place the kneading paddle into the baking pan. Add liquid ingredients first, followed by dry ingredients. Ensure yeast is added last and does not come into direct contact with liquids or salt.
- Selecione Menu: Close the lid. Use the 'Menu' button to cycle through the 20 available programs. The selected program number will be displayed on the LCD screen.
- Selecione o tamanho do pão e a cor da crosta: For applicable programs, use the 'Loaf Size' and 'Crust Color' buttons to adjust settings according to your recipe and preference.
- Comece a assar: Press the 'Start/Stop' button to begin the program. The machine will beep, and the timer will start counting down.
- Retirar o pão: Once the program is complete, the machine will beep. Press and hold the 'Start/Stop' button for a few seconds to stop the machine. Carefully remove the baking pan using oven mitts. Invert the pan to release the bread.

Image: A visual guide demonstrating the three simple steps to bake bread: adding ingredients, selecting the program, and the final baked bread.
5.2 Program Functions (20-in-1)
The Neretva Bread Maker offers 20 distinct programs. Refer to the recipe book for specific ingredient quantities and program recommendations.
| No. do programa | Nome do programa | Descrição |
|---|---|---|
| 1 | Pão Básico | Para pães brancos e mistos, compostos principalmente de farinha de trigo. |
| 2 | Pão Francês | Para pães leves feitos com farinha fina. |
| 3 | Trigo | For breads with a high proportion of whole wheat flour. |
| 4 | Pão Rápido | For quick baking without yeast, using baking powder/soda. |
| 5 | Pão Doce | Para pães com alto teor de açúcar, gorduras e proteínas. |
| 6 | Não contém gluten | For gluten-free flour and recipes. |
| 7 | Fermento natural | For sourdough bread recipes. |
| 8 | Iogurte | Para fazer iogurte caseiro. |
| 9 | Geléia | Para fazer geleias e conservas caseiras. |
| 10 | Bolo | Para fazer bolos e pães rápidos. |
| 11 | Massa | For preparing dough for rolls, pizza, or pasta without baking. |
| 12 | Amassar | For kneading dough only. |
| 13 | Assar | For baking only, useful for additional browning or pre-baked items. |
| 14 | Pão de Arroz | Para pães feitos com farinha de arroz. |
| 15 | Pão de Milho | For breads made with corn flour. |
| 16 | Pão de centeio | For breads made with rye flour. |
| 17 | French Dough | For preparing French-style dough. |
| 18 | Massa de pizza | For preparing pizza dough. |
| 19 | Fio dental de carne seca | Special program for making dried meat floss. |
| 20 | Personalizado | Allows manual setting of kneading, rising, and baking times. |
5.3 Using the Automatic Dispenser
The automatic dispenser is designed to add fruits, nuts, or other small ingredients at the optimal time during the kneading cycle, preventing them from being over-processed. Open the dispenser lid and add your desired ingredients before starting the program. The dispenser will automatically open and release the ingredients at the appropriate time.
5.4 Função de temporizador de atraso
The delay timer allows you to program the bread maker to finish baking at a later time, up to 15 hours. After selecting your program, loaf size, and crust color, press the 'Timer' buttons to adjust the delay time. Then press 'Start/Stop'. The display will show the total time until the bread is ready.
6. Manutenção e Limpeza
A limpeza regular garante a longevidade e o desempenho ideal da sua máquina de fazer pão.
6.1 Cleaning the Baking Pan and Kneading Paddle
- Sempre desligue o aparelho e deixe-o esfriar completamente antes de limpá-lo.
- Remove the baking pan from the unit. Fill it with warm, soapy water and let it soak for 10-15 minutes to loosen any stuck-on dough or residue.
- Remove the kneading paddle. Clean the pan and paddle with a soft sponge. Do not use abrasive cleaners or metal scouring pads, as this can damage the non-stick ceramic coating.
- Enxágue bem e seque completamente antes de remontar ou guardar.
6.2 Limpeza do exterior e do interior
- Limpe a parte externa da máquina de fazer pão com um pano macio e seco.amp pano. Não use produtos químicos agressivos ou produtos de limpeza abrasivos.
- Clean the interior of the baking chamber with a damp pano. Certifique-se de que não restem migalhas ou resíduos.
- Nunca mergulhe a unidade principal em água ou qualquer outro líquido.
7. Solução De Problemas
If you encounter any issues with your bread maker, please refer to the following common problems and solutions:
| Problema | Possível causa | Solução |
|---|---|---|
| O pão não cresce | Expired yeast, incorrect water temperature, too much salt/sugar, wrong program. | Check yeast expiry, use lukewarm water (105-115°F / 40-46°C), verify ingredient measurements, select appropriate program. |
| O pão é muito denso. | Muita farinha, pouco líquido, amassamento insuficiente. | Measure ingredients precisely, ensure proper liquid-to-flour ratio, check kneading paddle is installed correctly. |
| Palitos de pão na panela | Pan not properly cleaned, damaged non-stick coating. | Ensure pan is clean and dry. If coating is damaged, contact support. |
| A máquina não liga | Sem estar conectado, sem energiatage, 'Start/Stop' button not pressed. | Check power connection, ensure power supply, press 'Start/Stop' button firmly. |
| Ruído incomum durante a operação | Kneading paddle loose, foreign object in pan, machine unstable. | Ensure kneading paddle is securely attached. Check for foreign objects. Place machine on a stable surface. |
Se o problema persistir após tentar essas soluções, entre em contato com o suporte ao cliente.
8. Especificações
- Número do modelo: PE9709SU
- Dimensões do produto: 13.78"D x 10.43"L x 12.8"A (35 x 26.5 x 32.5 cm)
- Peso do item: 13.11 libras (5.96 kg)
- Capacidade: 2.2 libras (aproximadamente 1 kg)
- Volumetage: 220 Volts
- Cor: Prata
- Fabricante: Neretva

Image: The Neretva bread maker on a kitchen counter, illustrating its compact size and suitability for family use.
9. Garantia e Suporte
Your Neretva Bread Maker comes with a standard manufacturer's warranty. Please refer to the warranty card included in your product packaging for specific terms and conditions.
For technical support, troubleshooting assistance, or warranty claims, please contact Neretva customer service. Contact information can typically be found on our official website ou na embalagem do produto.
Please have your model number (PE9709SU) and purchase date ready when contacting support.


