Introdução
This manual provides comprehensive instructions for the safe and efficient operation, maintenance, and troubleshooting of your SENCOR SES 1721BK Espresso & Cappuccino Coffee Maker. Please read this manual thoroughly before first use and retain it for future reference.
Instruções importantes de segurança
- Certifique-se sempre de que o aparelho esteja conectado a uma tomada aterrada com a voltagem correta.tage (230 Volts).
- Não mergulhe o aparelho, cabo de alimentação ou plugue em água ou qualquer outro líquido.
- Keep hands and cords away from hot surfaces, such as the steam wand and brewing head, during and after operation.
- Unplug the coffee maker from the power outlet before cleaning, maintenance, or when not in use.
- Este aparelho destina-se apenas ao uso doméstico. Não use ao ar livre.
- Não utilize o aparelho se o cabo ou a ficha estiverem danificados, ou se o aparelho apresentar mau funcionamento ou tiver sido danificado de alguma forma.
- As crianças devem ser supervisionadas para garantir que não brinquem com o aparelho.
- Utilize somente água fria e fresca no reservatório de água.
Produto acimaview e Componentes
Familiarize yourself with the parts of your SENCOR SES 1721BK coffee maker before operation.

Imagem: Frente view of the SENCOR SES 1721BK Espresso & Cappuccino Coffee Maker, showing the control panel, portafilter, and drip tray.
Componentes principais:
- Tanque de água: Reservatório removível para abastecimento de água potável.
- Painel de controle: Features power switch, temperature gauge, and function buttons/dial.
- Porta-filtro: Recipiente para armazenar café moído para preparo.
- Suporte para filtro: Secures the portafilter to the brewing head.
- Varinha de vapor: Para espumar leite para cappuccinos e lattes.
- Bandeja de gotejamento: Recolhe o excesso de líquido e é removível para facilitar a limpeza.
- Colher de medição: For accurate coffee ground measurement.
- Filtros: Includes filters for single and double shots.

Imagem: A hand demonstrating the removal of the water tank from the back of the SENCOR SES 1721BK coffee maker.

Imagem: Fechar-se view of the removable drip tray and cup warming plate on the SENCOR SES 1721BK coffee maker.
Configuração e primeiro uso
Desembalagem e colocação:
- Remova cuidadosamente todos os materiais de embalagem e certifique-se de que todos os componentes estejam presentes.
- Coloque a cafeteira sobre uma superfície estável, plana e resistente ao calor, longe de fontes de água e calor.
- Ensure there is adequate space around the appliance for ventilation and operation.
Limpeza Inicial:
- Wash the water tank, portafilter, filters, and measuring scoop with warm soapy water. Rinse thoroughly and dry.
- Limpe o exterior do aparelho com um panoamp pano.
First Use (Priming the System):
- Encha o reservatório de água com água fresca e fria até o nível MÁXIMO.
- Coloque uma xícara vazia sob a cabeça de infusão.
- Plug the appliance into a power outlet and turn it ON. The power indicator light will illuminate.
- Allow the machine to heat up until the temperature gauge indicates it's ready for brewing (usually in the optimal espresso range).
- Turn the function dial to the coffee brewing position and allow water to flow through the brewing head for approximately 30 seconds. This primes the pump and flushes the system.
- Turn the function dial back to the standby position.
- Repeat this process for the steam wand: place a cup under the steam wand, turn the dial to the steam position, and let steam release for a few seconds. Then turn it off.
- A máquina agora está pronta para uso.
Instruções de operação
Fazendo café expresso:
- Certifique-se de que o reservatório de água esteja cheio de água fresca.
- Selecione o filtro apropriado (dose simples ou dupla) e coloque-o no porta-filtro.
- Using the measuring scoop, add ground coffee to the filter. For a single shot, use one scoop (approx. 7g); for a double shot, use two scoops (approx. 14g).
- Levemente tamp Moa o café uniformemente. Não moa em excesso.amp.
- Encaixe o porta-filtro no grupo de extração alinhando-o e girando-o firmemente para a direita até que esteja seguro.
- Coloque uma ou duas xícaras de café expresso na bandeja de gotejamento, sob os bicos do porta-filtro.
- Turn the machine ON and wait for the temperature gauge to reach the optimal brewing range.
- Turn the function dial to the coffee brewing position. Espresso will begin to flow into the cups.
- Once the desired volume is reached (typically 25-30ml for a single shot, 50-60ml for a double shot), turn the function dial back to the standby position to stop brewing.
- Carefully remove the portafilter, discard the used coffee grounds, and rinse the portafilter and filter.
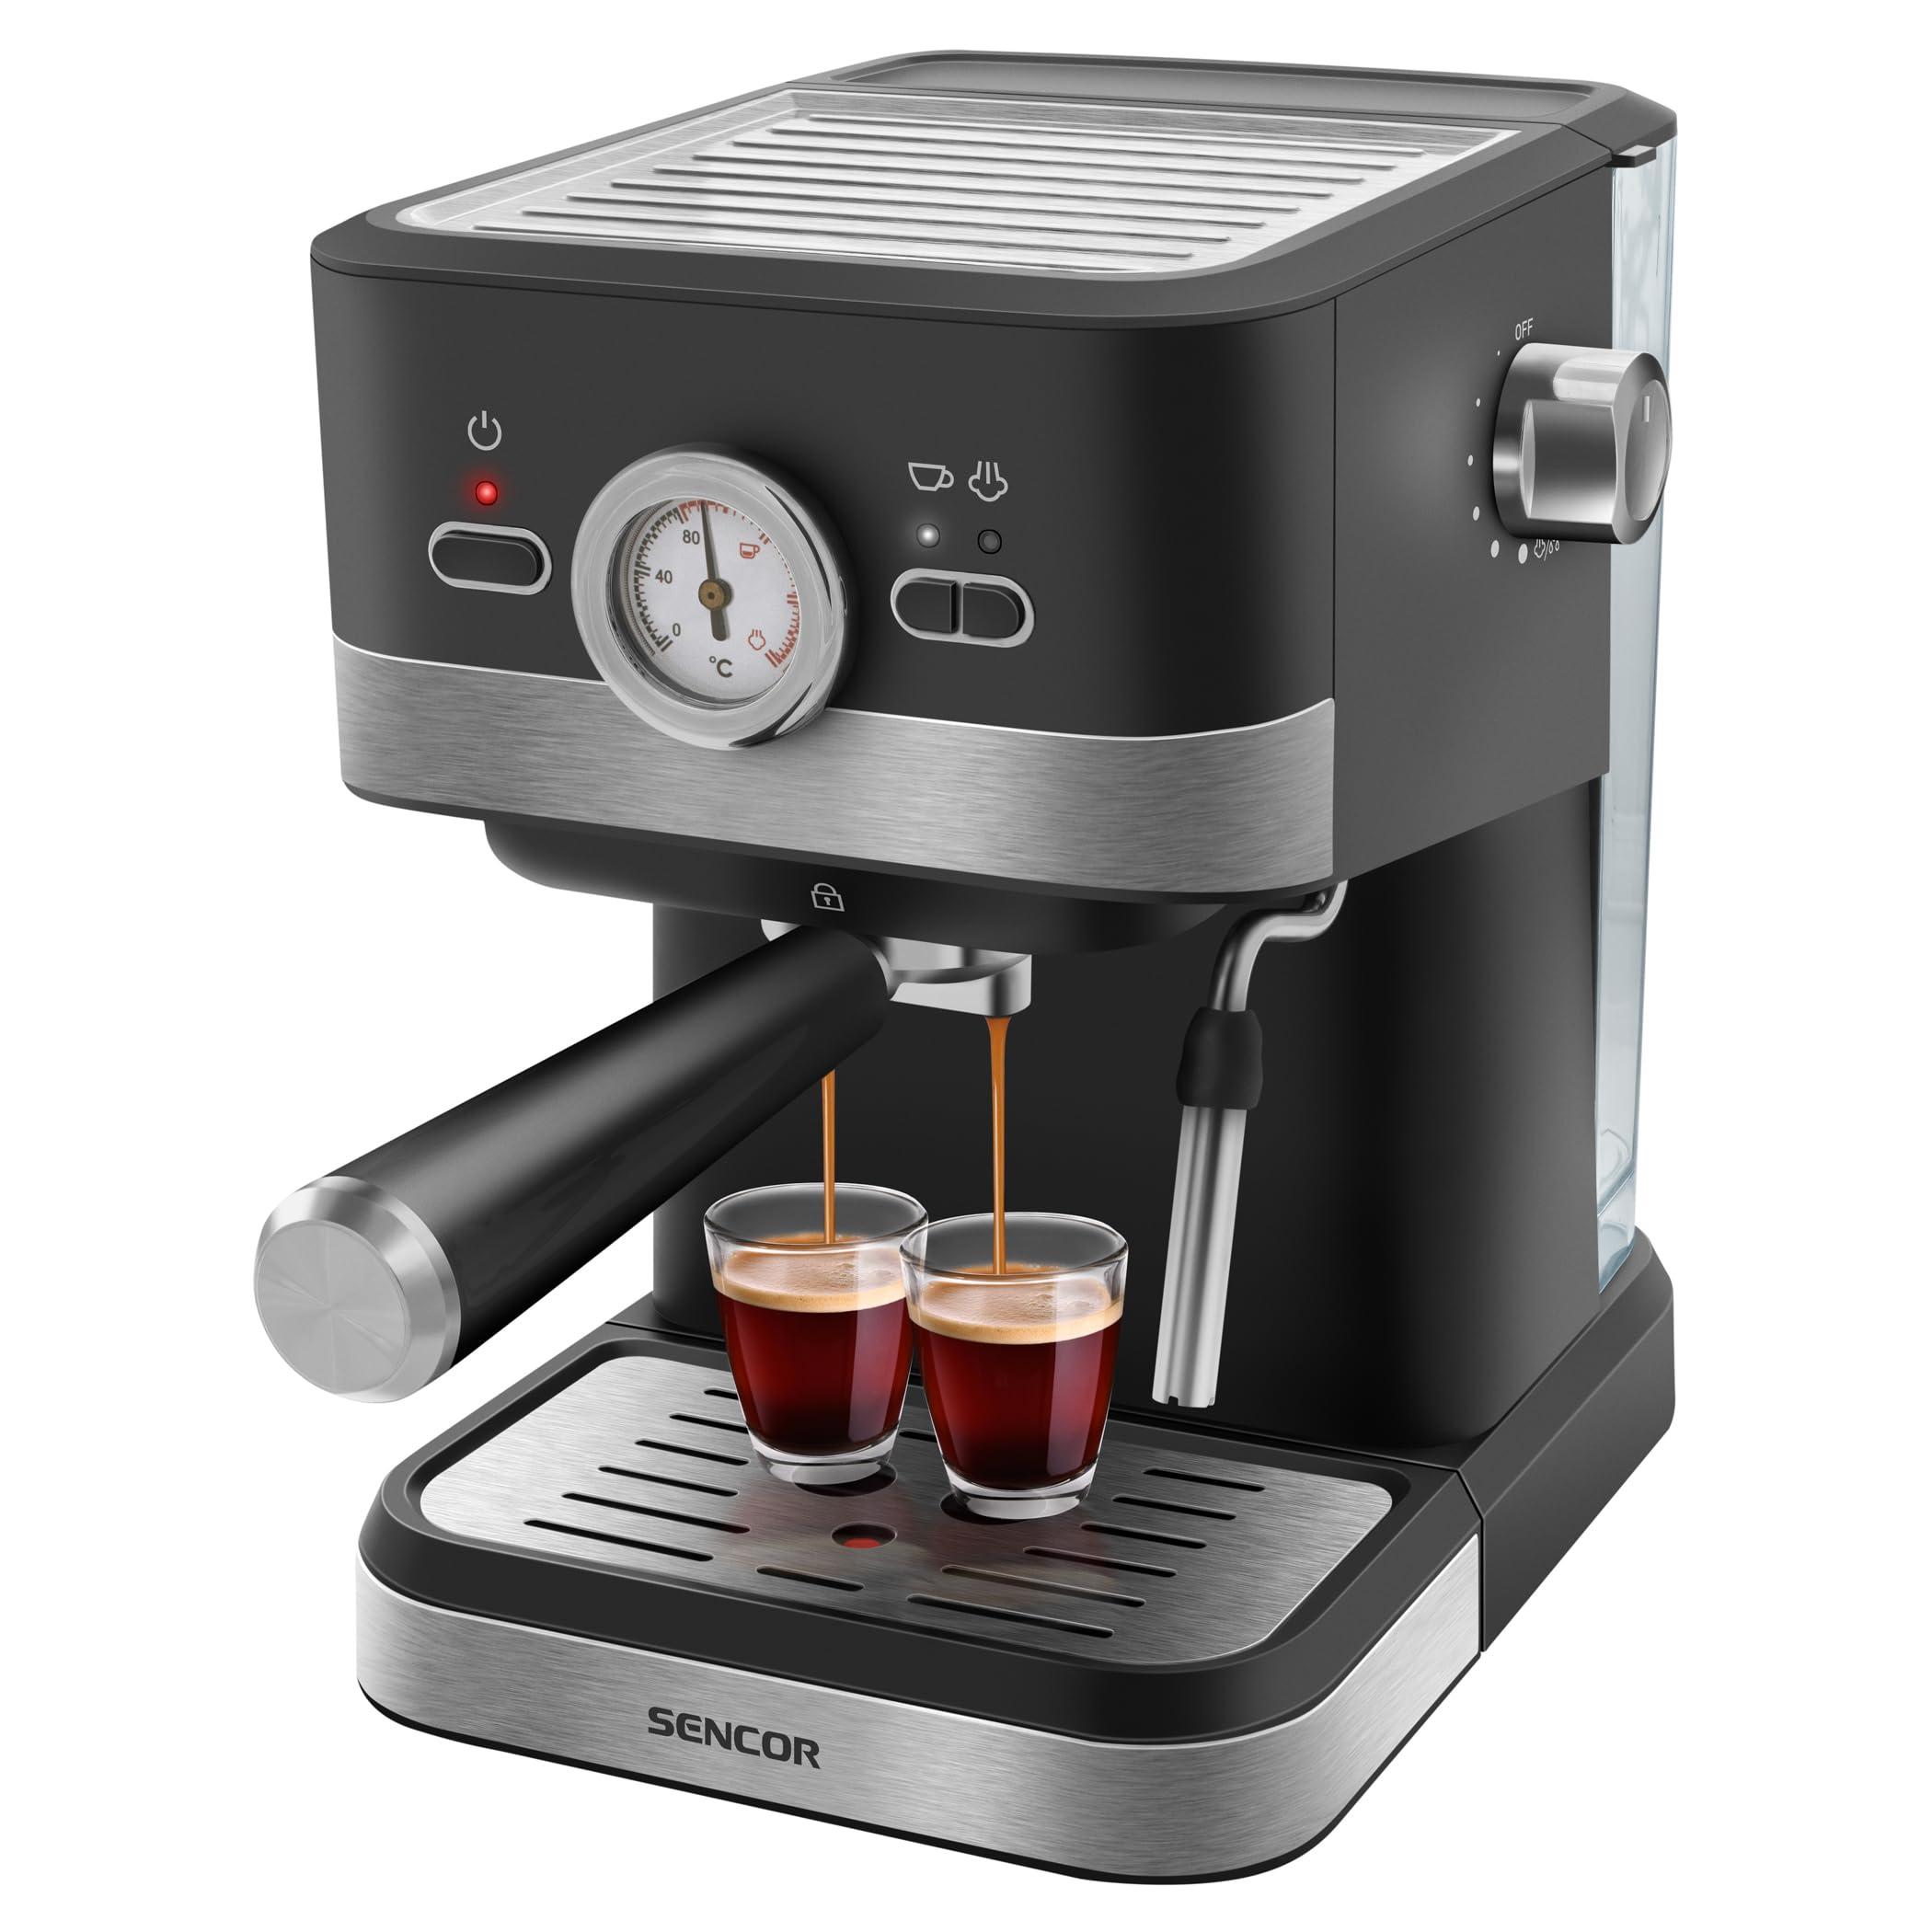
Imagem: The SENCOR SES 1721BK coffee maker actively brewing two shots of espresso into glass cups.
Espumando leite para cappuccino/latte:
- After brewing espresso, ensure the machine is still ON and the temperature gauge is in the steam range.
- Encha uma jarra de aço inoxidável para espumar leite com leite frio (de origem animal ou vegetal) até cerca de um terço da sua capacidade.
- Posicione o bico de vapor logo abaixo da superfície do leite.
- Turn the function dial to the steam position. Steam will begin to release.
- Lower the pitcher slightly to introduce air into the milk, creating foam. Move the pitcher up and down gently.
- Once the milk has doubled in volume and reached the desired temperature (around 60-70°C), turn the function dial back to the standby position.
- Limpe imediatamente a haste de vapor com um pano.amp pano para evitar que os resíduos de leite sequem.
- Despeje o leite espumado sobre o café expresso recém-preparado para criar um cappuccino ou um latte.

Imagem: A hand holding a frothing pitcher under the steam wand of the SENCOR SES 1721BK coffee maker, demonstrating milk frothing.
Limpeza e Manutenção
A limpeza regular garante o desempenho ideal e prolonga a vida útil da sua cafeteira.
Limpeza diária:
- Porta-filtro e filtros: Após cada utilização, retire o porta-filtro, descarte a borra de café e enxágue bem em água corrente.
- Bandeja de gotejamento: Empty and rinse the drip tray daily. It is removable for easy cleaning.
- Varinha de vapor: Imediatamente após espumar o leite, limpe a haste de vapor com um pano.amp cloth. Briefly release steam to clear any internal milk residue.
- Tanque de água: Empty and rinse the water tank daily, refilling with fresh water for each use.
- Exterior: Limpe as superfícies externas da máquina com um pano macio e seco.amp pano. Não use produtos de limpeza abrasivos ou solventes.
Descalcificação:
Over time, mineral deposits (limescale) can build up in the machine, affecting performance. Descale your coffee maker every 2-3 months, or more frequently if you have hard water.
- Prepare uma solução descalcificante de acordo com as instruções do fabricante do produto (ou utilize uma mistura de vinagre branco e água, na proporção de 1:1).
- Encha o tanque de água com a solução descalcificante.
- Coloque um recipiente grande sob o cabeçote de infusão e a haste de vapor.
- Turn the machine ON and allow it to heat up.
- Run half of the solution through the brewing head by turning the function dial to the coffee brewing position.
- Turn the function dial to the steam position and release steam through the wand until half of the remaining solution is used.
- Desligue a máquina e deixe-a repousar por 15 a 20 minutos.
- Repeat steps 5-7 with the remaining solution.
- Esvazie o reservatório de água, enxágue-o bem e encha-o novamente com água limpa.
- Run several tanks of fresh water through both the brewing head and steam wand to rinse out any descaling solution residue.
Solução de problemas
| Problema | Possível causa | Solução |
|---|---|---|
| No coffee flows out. | Water tank empty; coffee too finely ground or over-tamped; machine not primed; clogged filter. | Fill water tank; use coarser grind or less pressure when tamping; prime the machine; clean the filter and portafilter. |
| Coffee flows too quickly/weak coffee. | Coffee too coarsely ground or under-tamped; insufficient coffee grounds. | Use finer grind or tamp more firmly; use correct amount of coffee grounds. |
| Não sai vapor da varinha de vapor. | A saída de vapor está entupida; a máquina não atingiu a temperatura ideal para gerar vapor. | Clean steam wand nozzle; wait for temperature gauge to reach steam range. |
| Vazamento de água da máquina. | Reservatório de água mal encaixado; bandeja coletora cheia; vedações desgastadas. | Ensure water tank is properly seated; empty drip tray; contact customer support if seals are suspected. |
| A máquina não liga. | Não está conectado à tomada; interruptor de energia desligado; saída de energiatage. | Check power connection; ensure power switch is ON; check household power supply. |
If you encounter problems not listed here, or if the suggested solutions do not resolve the issue, please contact SENCOR customer support.
Especificações
| Marca | Sencor |
| Nome do modelo | SES 1721BK |
| Número do modelo do item | SEC 2100BK |
| Tipo | Espresso & Cappuccino Coffee Maker |
| Tipo de entrada de café | Café moído |
| Modo de operação | Manual |
| Volumetage | 230 Volts |
| Material | Plastic (with Brushed Stainless Steel Accents) |
| Cor | Preto |
| Dimensões do produto (P x L x A) | 32.5 cm de profundidade x 32.5 cm de largura x 21.5 cm de altura |
| Peso do item | 3 kg 200 g |
| Recurso especial | Removable Tank, Temperature Gauge, Water Volume Indicator, Anti-Slip Base |
| Componentes incluídos | Filter Holder, Measuring Scoop, 1-2 Cup Filters |
Garantia e Suporte
Informações sobre garantia:
Your SENCOR SES 1721BK Espresso & Cappuccino Coffee Maker is covered by a manufacturer's warranty. Please refer to the warranty card included with your product for specific terms, conditions, and duration. Retain your proof of purchase for warranty claims.
Suporte ao cliente:
For technical assistance, service, or spare parts, please contact SENCOR customer support. Contact details can typically be found on the SENCOR official website ou na embalagem do produto.


