1. Introdução
This manual provides essential information for the safe and effective operation of your ZENTALITY Mini Projector A10 PLUS. Please read this manual thoroughly before using the product and retain it for future reference.
Produto acimaview
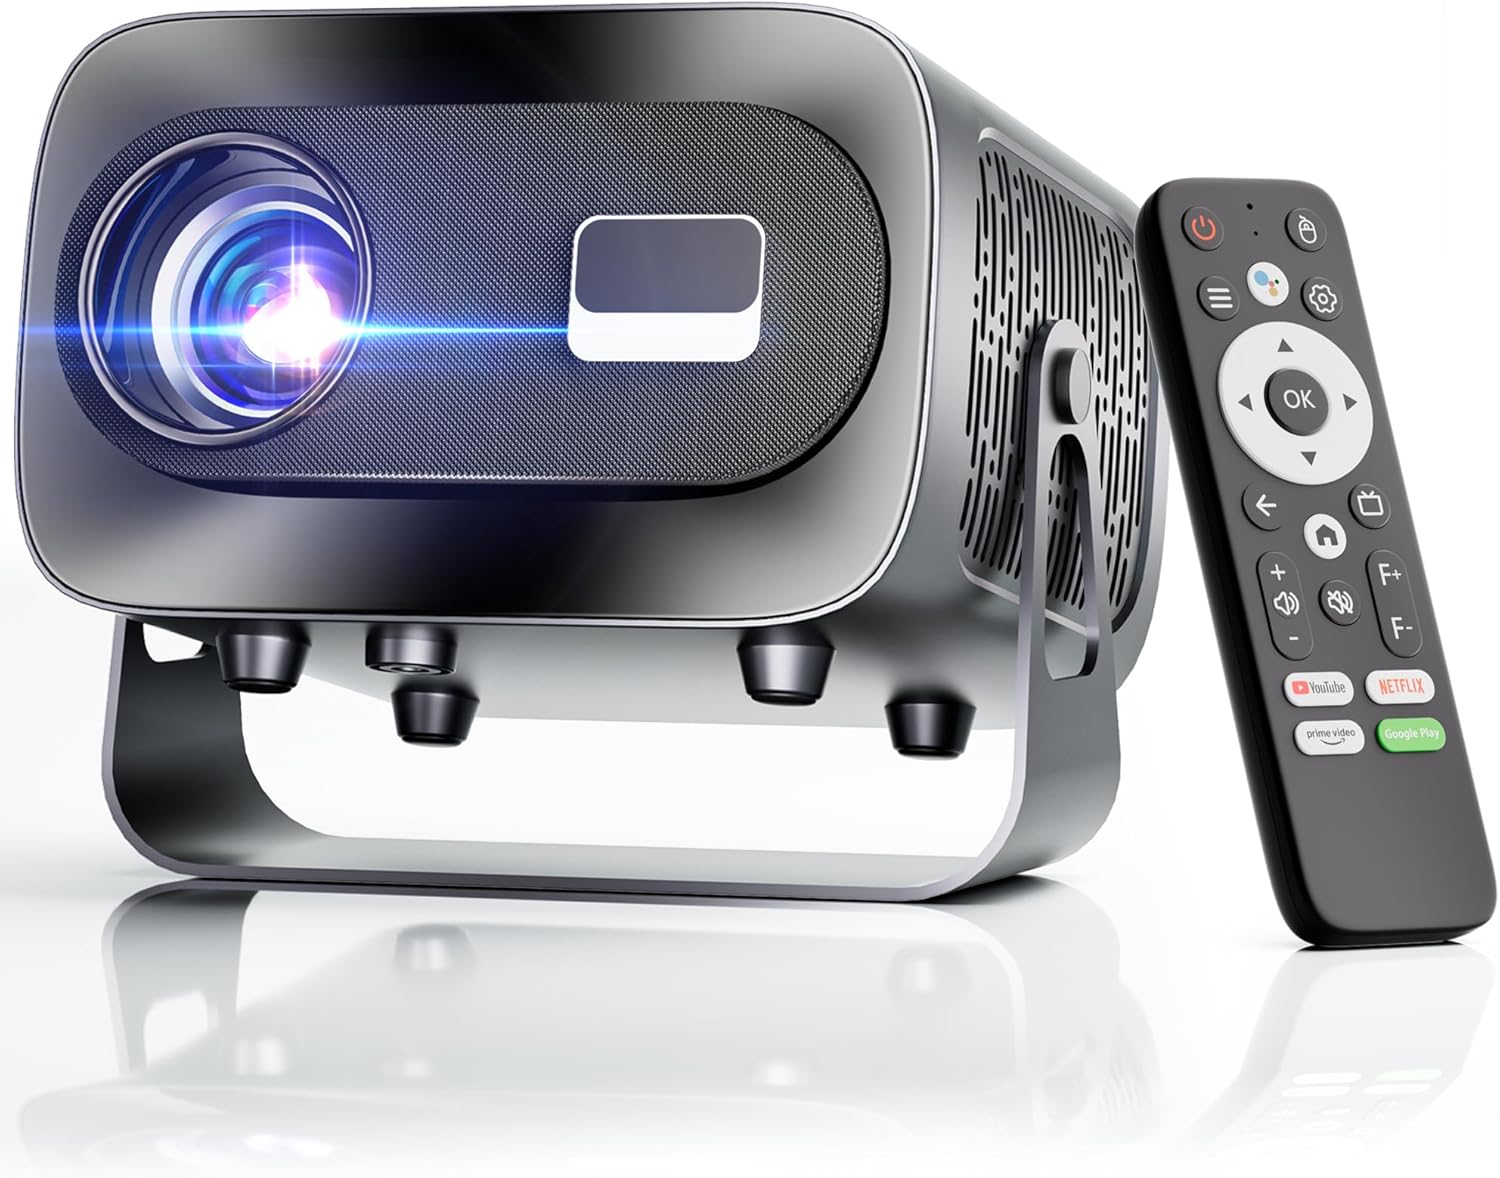
The ZENTALITY Mini Projector A10 PLUS is a smart projector featuring Android 13, designed for versatile home and outdoor entertainment. It supports 4K and 1080P HD content, offers electric focus, auto vertical keystone correction, and includes dual-band WiFi 6 and Bluetooth 5.1 connectivity. Its compact design and multiple input options make it suitable for various applications.
O que está na caixa
- ZENTALITY Mini Projector A10 PLUS
- Cabo HDMI
- Adaptador de energia
- Controle remoto
- Manual do usuário (este documento)
2. Informações de segurança
Please observe the following safety precautions to prevent damage to the projector and ensure user safety:
- Não obstrua as aberturas de ventilação. Garanta uma circulação de ar adequada ao redor do projetor para evitar o superaquecimento.
- Avoid direct exposure to the projector lens light. The bright light can cause eye strain or damage.
- Use only the provided power adapter. Using an incompatible adapter may cause fire, electric shock, or damage.
- Mantenha o projetor longe de água ou outros líquidos. Não opere em ambientes com pouca luz.amp ambientes.
- Não tente desmontar ou reparar o projetor por conta própria. Encaminhe todos os serviços de manutenção a pessoal qualificado.
- Coloque o projetor em uma superfície estável e nivelada para evitar que ele caia.
- Mantenha fora do alcance de crianças.
3. Componentes e portas do produto
Familiarize yourself with the projector's physical features and connectivity options.

Portas disponíveis:
- USB (x2): For connecting USB drives, external storage, or other USB-compatible devices.
- HDMI: For connecting devices such as laptops, gaming consoles, or TV sticks.
- Saída de áudio (conector de 3.5 mm): Para conectar alto-falantes externos ou fones de ouvido.
- Entrada de energia: Para conectar o adaptador de energia.
4. Configuração inicial
4.1 Conexão de Energia
- Conecte o adaptador de energia à porta de entrada de energia do projetor.
- Conecte o adaptador de energia a uma tomada de parede.
- Pressione o botão liga/desliga no projetor ou no controle remoto para ligá-lo.
4.2 Emparelhamento de controle remoto
Important: The remote control must be paired via Bluetooth before it can operate smoothly within 1-3 meters.
- Certifique-se de que o projetor esteja ligado.
- Navigate to the projector's Bluetooth settings (usually found in the 'Settings' menu).
- Select 'Pair new device' or similar option.
- On the remote control, press and hold the designated pairing button (refer to the remote's specific instructions if available, often a combination of 'OK' and 'Volume Down' or a dedicated Bluetooth button).
- Once the remote appears in the projector's Bluetooth device list, select it to complete pairing.

4.3 Placement and Screen Adjustment
The projector offers automatic and electric adjustments for optimal image clarity and alignment.
- Foco Elétrico: The projector features electric focus for instant clarity. Use the 'F+' and 'F-' buttons on the remote control to fine-tune the image sharpness.
- Correção automática de distorção vertical: The projector automatically corrects vertical image distortion up to ±15°. This ensures a rectangular image even if the projector is not perfectly perpendicular to the screen.
- Função de zoom: Adjust the image size from 50% to 100% without moving the projector. This is useful for fitting the projection to your screen size.


5. Instruções de operação
5.1 Android 13 Interface and App Access
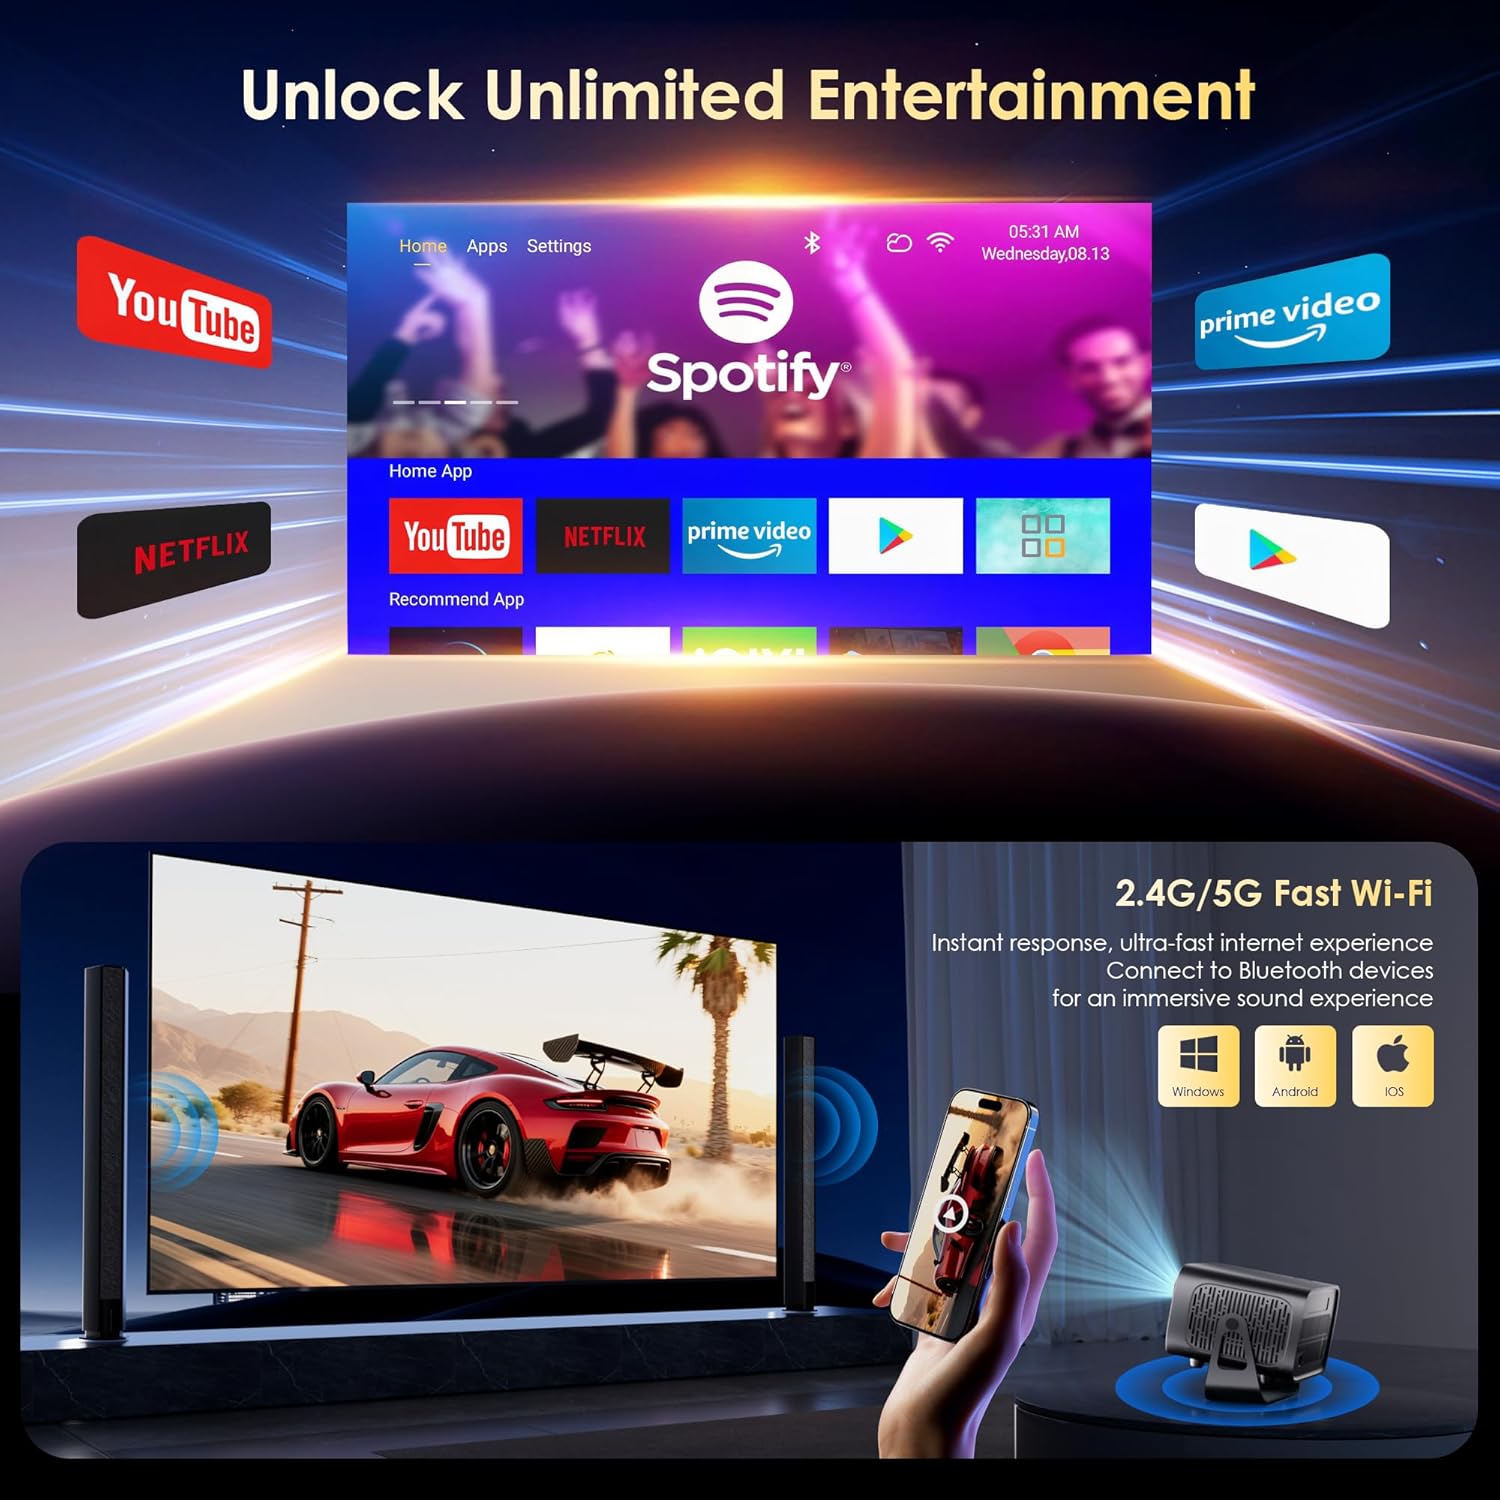
The projector runs on Android 13, providing access to a wide range of streaming applications.
- Upon startup, the home screen will display pre-installed applications like Netflix, Prime Video, and YouTube.
- Navigate using the remote control's directional pad and 'OK' button.
- Access the built-in app store (e.g., Google Play Store) to download additional applications.
- Use the voice assistant feature on the remote control for quick app launching or content search.

5.2 Conectividade Wi-Fi
The projector supports dual-band 5G/2.4G WiFi 6 for stable internet access and screen mirroring.
- Go to 'Settings' on the home screen.
- Selecione 'Rede e Internet'.
- Ligue o Wi-Fi e selecione a rede desejada na lista.
- Digite a senha, se solicitado, e conecte-se.
Note: WiFi is required for the first setup or online apps. If you prefer not to connect to WiFi, you can use the projector offline by connecting external devices via the included HDMI cable or the USB port.

5.3 Conectividade Bluetooth
The projector features Bluetooth 5.1 for audio streaming.
- Go to 'Settings' on the home screen.
- Selecione 'Dispositivos Conectados' ou 'Bluetooth'.
- Ative o Bluetooth e procure por dispositivos disponíveis.
- Select your Bluetooth speaker, headphones, or soundbar from the list to pair.
Note: Bluetooth supports audio output only, not video transmission.
5.4 Conectando dispositivos externos
The projector supports various external devices via its HDMI and USB ports.
- HDMI: Connect your laptop, gaming console, or TV stick using an HDMI cable. The projector will automatically detect the input or you may need to select the HDMI source from the input menu.
- USB: Insira uma unidade USB para reproduzir conteúdo multimídia. files directly. The projector's media player will typically launch automatically or can be accessed from the home screen.
5.5 Projection Modes
The projector can be used in various orientations:
- Desktop Projection: Coloque o projetor sobre uma superfície plana em frente à tela.
- Ceiling Projection: Mount the projector upside down on the ceiling. Adjust the projection settings in the menu to flip the image.
- Montagem do tripé: Use the 1/4'' screw hole at the bottom to mount the projector on a tripod for flexible positioning.

6. Manutenção
6.1 Limpeza
- Lente: Use um pano macio e sem fiapos, próprio para lentes oftálmicas. Não utilize produtos de limpeza ou panos abrasivos.
- Exterior: Limpe a parte externa do projetor com um pano macio e seco. Para sujeira mais persistente, use um pano levemente umedecido.amp Pode-se usar um pano e, em seguida, passar um pano seco.
- Aberturas de ventilação: Periodically check and gently clean the ventilation openings to ensure they are free from dust and debris. Use a soft brush or compressed air.
6.2 Sistema de Resfriamento
The projector features an advanced dual-fan cooling system designed for low noise and efficient heat dissipation. To ensure its longevity and stable performance:
- Always ensure the projector has adequate space around its ventilation openings.
- Avoid placing the projector on soft surfaces (e.g., blankets, carpets) that might block airflow.
- Operating the projector in extremely hot or humid environments may affect its performance and lifespan.
7. Solução De Problemas
Se você encontrar problemas com seu projetor, consulte os problemas e soluções comuns a seguir:
| Problema | Possível causa | Solução |
|---|---|---|
| No power/Projector won't turn on | Cabo de alimentação desconectado; tomada elétrica com defeito. | Verifique a conexão do cabo de alimentação; tente outra tomada. |
| Sem imagem/Tela em branco | Incorrect input source; Device not connected properly | Select correct input source (HDMI, USB); Reconnect external device |
| Image blurry/Out of focus | Foco não ajustado | Use the 'F+' and 'F-' buttons on the remote for electric focus adjustment |
| Image distorted/Trapezoid shape | Keystone not corrected | The projector has auto vertical keystone correction. Ensure it's on or manually adjust if needed. |
| Controle remoto não funciona | Not paired via Bluetooth; Low battery | Pair the remote control via Bluetooth (Section 4.2); Replace remote batteries |
| Sem som | Volume too low; Incorrect audio output; Bluetooth not connected | Increase volume; Check audio output settings; Ensure Bluetooth speaker is paired |
| problemas de conexão Wi-Fi | Incorrect password; Router issues; Out of range | Verify WiFi password; Restart router; Move projector closer to router |
8. Especificações
Detailed technical specifications for the ZENTALITY Mini Projector A10 PLUS:
- Marca: ZENTALIDADE
- Número do modelo: A10 MAIS
- Peso do item: 3.1 libras
- Dimensões do produto: 7.4 x 6.22 x 4.8 polegadas
- Sistema operacional: Androide 13
- Resolução da tela: 1920 x 1080 (Full HD nativo 1080p)
- Suporte 4K: Sim
- Brilho: 350 ANSI Lumens
- Taxa de contraste: 10,000:1
- Tecnologia de conectividade: 3.5mm Jack, Bluetooth 5.1, HDMI, USB (x2), Wi-Fi 6 (2.4G/5G)
- Características especiais: Built-In Media Player, Built-In Speaker, Electric Focus, Portable, Wi-Fi Ready, Auto Vertical Keystone Correction
- Usos recomendados: Negócios, Educação, Jogos, Cinema em Casa
- Lamp Vida útil: Até 100,000 horas

9. Garantia e Suporte
ZENTALITY is committed to providing quality products and customer satisfaction.
- Garantia de qualidade: Garantia de qualidade de 360 dias.
- Retornos: Devoluções gratuitas em 180 dias.
- Suporte técnico: Suporte técnico vitalício.
- Atendimento ao Cliente: 24/7 Fast Customer Service.
For support inquiries, please refer to the contact information provided on the ZENTALITY official website ou sua plataforma de compra.


