1. Introdução
Obrigado pela compra.asing the Eyoyo EM21A 22-Inch Monitor and TVI/CVI/AHD to HDMI Converter Adapter. This product is designed for continuous surveillance applications, offering a 22-inch Full HD display and a versatile converter for various security camera signals. This manual provides detailed instructions for setup, operation, and maintenance to ensure optimal performance and longevity of your device.
2. Informações importantes de segurança
- Leia atentamente todas as instruções antes de usar o produto.
- Guarde este manual para referência futura.
- Não exponha o dispositivo à chuva, umidade ou temperaturas extremas.
- Garanta ventilação adequada para evitar superaquecimento.
- Utilize apenas o adaptador de energia fornecido pelo fabricante.
- Não tente desmontar ou reparar o dispositivo por conta própria. Encaminhe todos os serviços de manutenção a pessoal qualificado.
- Clean the device with a soft, dry cloth. Avoid liquid cleaners.
3. Conteúdo da embalagem
Por favor, verifique o conteúdo da embalagem ao abri-la. Se algum item estiver faltando ou danificado, entre em contato com o vendedor.
- Eyoyo EM21A 22-Inch Monitor
- TVI/CVI/AHD to HDMI Converter Adapter
- Adaptador de energia para monitor
- Power Adapter for Converter
- Cabo HDMI
- Manual do usuário (este documento)
- Monitor Stand (if applicable)
4. Produto acabadoview
4.1. Eyoyo EM21A 22-Inch Monitor
The Eyoyo EM21A monitor is designed for continuous 24/7 surveillance. It features a 1920x1080 Full HD display with 99% sRGB color accuracy and 300cd/m² brightness, ensuring clear and vibrant visuals. A 75Hz refresh rate and 5ms response time provide smooth performance for security and surveillance applications.

Image 1: Eyoyo EM21A Monitor in a 24/7 monitoring setup. The screen shows four distinct camera feeds, illustrating its capability for continuous surveillance.
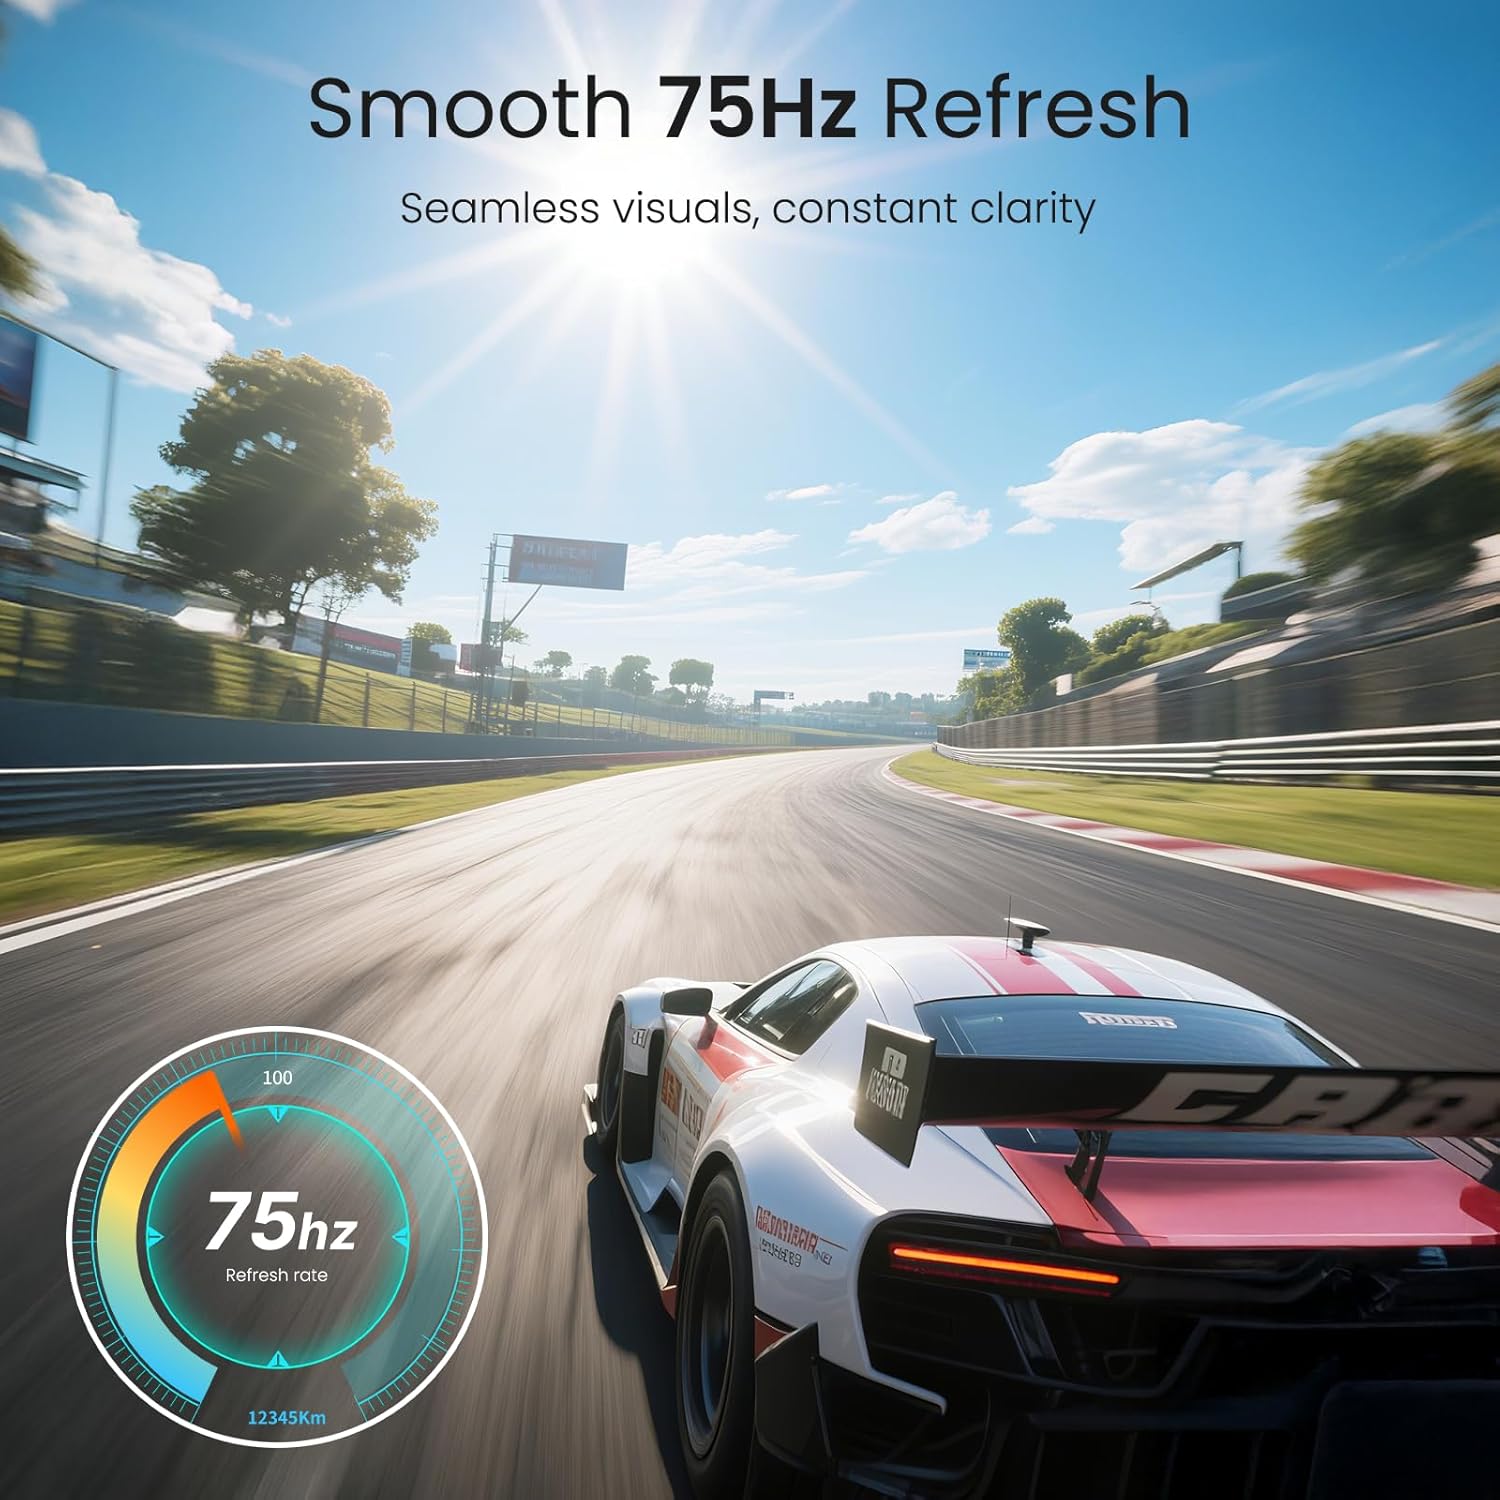
Image 2: Visual representation of the monitor's 75Hz refresh rate, highlighting its ability to deliver seamless and clear visuals.

Imagem 3: Traseira view of the Eyoyo EM21A monitor, detailing its multiple interface options including BNC, USB, Audio, AV, HDMI, VGA, and DC power. The image also shows the monitor's adjustable tilt feature.
The monitor offers versatile connectivity with HDMI, VGA, AV, BNC, and USB ports, making it compatible with DVR/NVR systems, computers, and gaming consoles.
4.2. TVI/CVI/AHD to HDMI Converter Adapter
This converter adapter facilitates the connection of TVI, CVI, AHD, and CVBS security camera signals to an HDMI monitor. It supports plug-and-play functionality and automatically recognizes input signals, outputting resolutions up to 1080P HDMI. Additionally, it features a 4K HD CVI/TVI/AHD/CVBS BNC loop output, preserving image brightness, contrast, and color without loss.

Image 4: Illustration of the converter's function, demonstrating how CVI, CVBS, AHD, and TVI camera signals are converted to 1080P HDMI for display on the monitor.
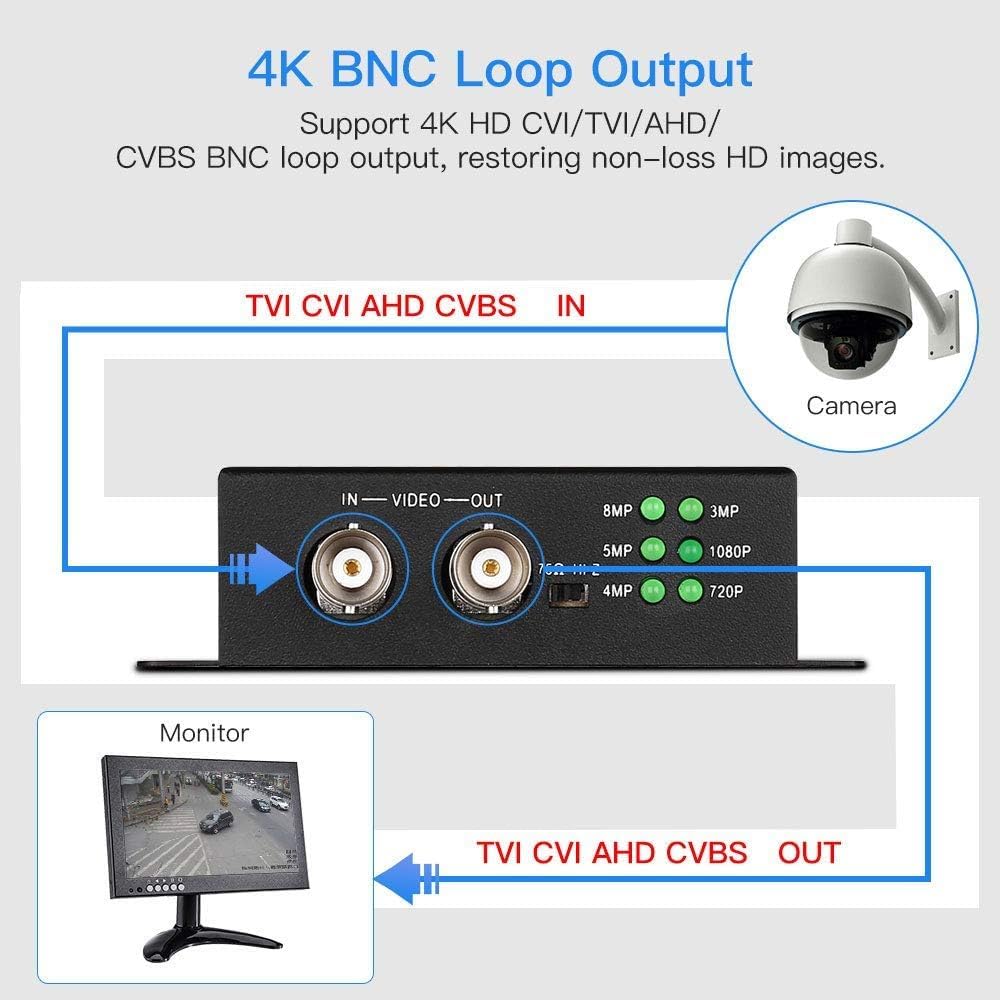
Image 5: Diagram explaining the 4K BNC Loop Output. A security camera connects to the converter's BNC IN, and a BNC OUT connects to a monitor, allowing signal pass-through.

Image 6: Illustration of simultaneous BNC and HDMI output from the converter. A single camera input is split to a BNC output for a tester monitor and an HDMI output for a main monitor.

Image 7: Close-up of the converter showing indicator lights for automatic resolution recognition (720P to 8MP). A table details supported resolutions and frame rates for CVI, TVI, and AHD inputs.
5. Instruções de configuração
5.1. Montagem do Monitor
- Retire cuidadosamente o monitor e o suporte da embalagem.
- Attach the stand base to the stand neck, securing it with the provided screws.
- Connect the assembled stand to the back of the monitor, ensuring it clicks into place or is secured with screws.
- Coloque o monitor sobre uma superfície plana e estável.
5.2. Connecting the Converter
- Connect your TVI/CVI/AHD/CVBS security camera to the ENTRADA BNC port on the converter using a BNC cable.
- Connect the converter's SAÍDA HDMI port to the monitor's HDMI IN port using the provided HDMI cable.
- Opcional: If you need a BNC loop output, connect the converter's SAÍDA BNC port to another BNC monitor or device.
- Opcional: If using the 75Ω/HI-Z impedance switch (refer to Image 7):
- Quando o IN port is connected to a security camera and the FORA port is not connected to a DVR/monitor, set the impedance switch to 75Ω.
- Quando o FORA port is connected to a DVR/monitor, set the impedance switch to OI-Z.
5.3. Connecting the Monitor Directly (without converter)
The EM21A monitor can also be used directly with other video sources:
- Conexão HDMI: Connect an HDMI cable from your device (e.g., DVR, NVR, PC) to the monitor's HDMI IN porta.
- Conexão VGA: Connect a VGA cable from your device to the monitor's ENTRADA VGA porta.
- Conexão AV: Connect an AV cable from your device to the monitor's AV IN ports (Yellow for Video, Red/White for Audio).
- BNC Connection: Connect a BNC cable from your security camera (CVBS only) or DVR to the monitor's ENTRADA BNC porta.
5.4. Ligando
- Connect the monitor's power adapter to the Entrada CC port on the monitor, then plug it into a power outlet.
- Connect the converter's power adapter to the converter's power input, then plug it into a power outlet.
- Pressione o botão liga/desliga no monitor para ligá-lo.
- The converter is typically plug-and-play and will power on automatically when connected to power.
6. Instruções de operação
6.1. Controles do monitor
The monitor typically features control buttons (often on the front or bottom bezel) for navigating the On-Screen Display (OSD) menu. Common buttons include:
- Botão de energia: Liga ou desliga o monitor.
- Botão de menu: Abre o menu OSD.
- Botões para cima/baixo/esquerda/direita: Navegue pelas opções do menu e ajuste as configurações.
- Botão Enter/OK: Confirma seleções.
- Botão de entrada/fonte: Cycles through available input sources (HDMI, VGA, AV, BNC).
6.2. Navegação no Menu OSD
- Pressione o Menu botão para abrir o menu OSD.
- Use the navigation buttons to select categories such as Picture, Color, OSD Settings, or Input Source.
- Imprensa Entrar / OK Para entrar em um submenu ou confirmar uma configuração.
- Adjust values using the navigation buttons.
- Imprensa Menu again or an Saída button (if available) to close the OSD menu.
6.3. Using the Converter
The converter is designed for ease of use:
- Once powered on and connected, the converter will automatically detect the input signal type (TVI/CVI/AHD/CVBS).
- The resolution indicator lights on the converter (refer to Image 7) will illuminate to show the detected input resolution.
- The converted HDMI signal will be output to the connected monitor.
7. Manutenção
- Limpando a tela: Limpe suavemente a tela com um pano macio e sem fiapos. Para manchas persistentes, dampen the cloth slightly with water or a screen-specific cleaning solution. Do not spray liquid directly onto the screen.
- Limpando o Casing: Use a soft, dry cloth to wipe the monitor and converter casing. Evite produtos de limpeza ou solventes abrasivos.
- Ventilação: Ensure that the ventilation openings on the monitor and converter are not blocked to prevent overheating.
- Desligue quando não estiver em uso: For extended periods of inactivity, it is recommended to power off both the monitor and converter and unplug them from the power outlet.
8. Solução De Problemas
8.1. Sem energia
- Ensure both the monitor and converter power adapters are securely connected to the device and a working power outlet.
- Verifique se a tomada está funcionando conectando outro aparelho.
- Verify the power button on the monitor is pressed.
8.2. No Signal / Black Screen
- Confirm all video cables (BNC, HDMI, VGA, AV) are securely connected to both the source device and the monitor/converter.
- If using the converter, ensure the camera is connected to the ENTRADA BNC and the monitor to the SAÍDA HDMI.
- Pressione o Fonte de entrada button on the monitor to cycle through available inputs and select the correct one (e.g., HDMI for converter output).
- Check the camera or source device to ensure it is powered on and outputting a signal.
- If using the converter, check the resolution indicator lights to confirm it is detecting an input signal.
- Verify the 75Ω/HI-Z impedance switch on the converter is set correctly according to your connection (refer to Section 5.2).
8.3. Distorted or Poor Image Quality
- Certifique-se de que todos os cabos estejam conectados corretamente e não danificados.
- Adjust the monitor's display settings (brightness, contrast, sharpness) via the OSD menu.
- Check the resolution output of your source device or converter to ensure it is compatible with the monitor.
- If using the converter, ensure the input signal from the camera is stable and clear.
9. Especificações
9.1. Eyoyo EM21A 22-Inch Monitor
| Tamanho da tela | 22 polegadas |
| Resolução | 1920x1080 Full HD |
| Taxa de atualização | 75Hz |
| Tempo de resposta | 5ms |
| Brilho | 300cd/m² |
| Precisão de cor | 99% sRGB |
| Interfaces de entrada | HDMI, VGA, AV, BNC, USB |
| Uso | 24/7 Surveillance, CCTV, Camera Monitor |
9.2. TVI/CVI/AHD to HDMI Converter Adapter
| Sinais de entrada | TVI, CVI, AHD, CVBS |
| Sinais de saída | HDMI (1080P), BNC Loop Output (4K HD CVI/TVI/AHD/CVBS) |
| Resolução de saída HDMI | Até 1080P |
| BNC Loop Output Resolution | Até 4K (8MP) |
| Características | Plug and Play, Automatic Signal Recognition, Impedance Switch (75Ω/HI-Z) |
Note: For detailed supported resolutions and frame rates for CVI, TVI, and AHD inputs, please refer to Image 7 in Section 4.2.
10. Garantia e Suporte
Eyoyo products are designed for reliability and performance. This product comes with a standard manufacturer's warranty. Please refer to the warranty card included in your package or visit the official Eyoyo website para obter termos e condições detalhados da garantia.
For technical support, troubleshooting assistance, or service inquiries, please contact Eyoyo customer support through the contact information provided on the official Eyoyo website or your purchase documentation. When contacting support, please have your product model (EM21A) and purchase details ready.


