1. Introdução
This manual provides detailed instructions for the assembly, operation, and maintenance of your new DWVO Vanity Desk Set. Please read this manual thoroughly before use to ensure proper function and safety. Keep this manual for future reference.
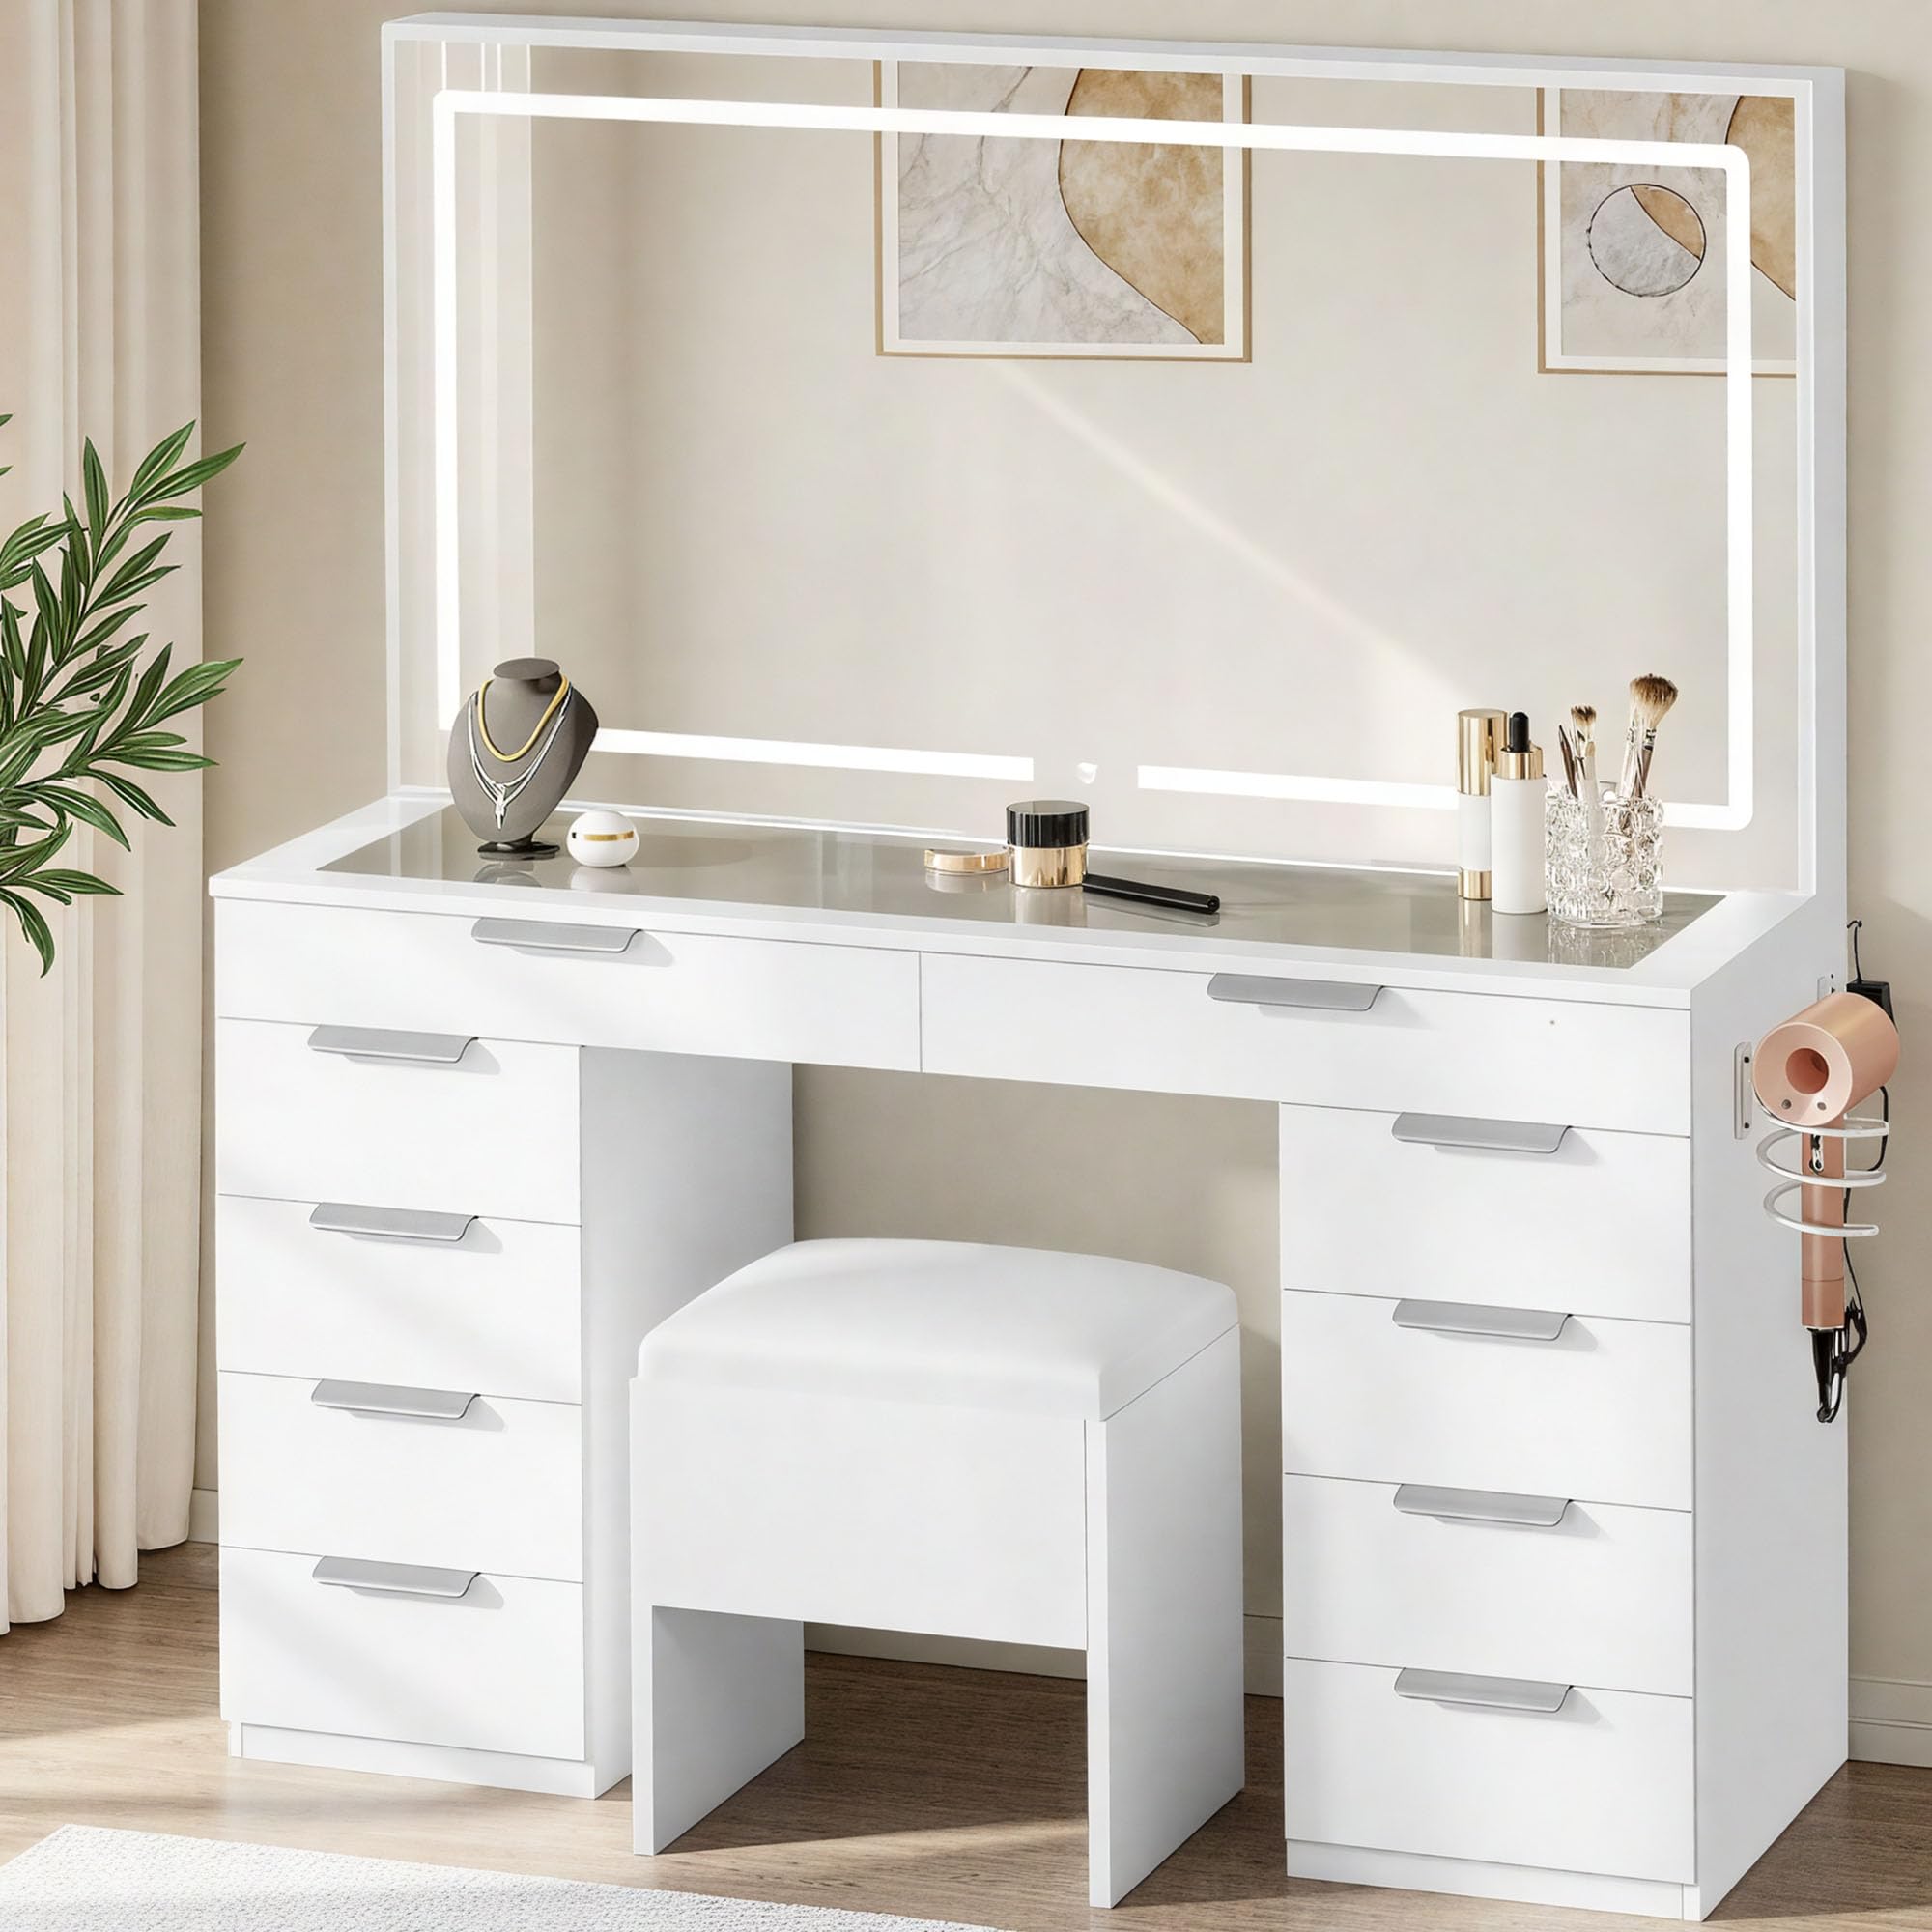
Image 1.1: The DWVO Vanity Desk Set, featuring a large LED mirror, multiple drawers, and a matching stool.
2. Recursos do Produto
- Elegant Lighting & Spacious Mirror: Features a 46-inch LED mirror with 3 adjustable light colors (Warm White, Cool White, Warm Yellow) and dimmable brightness. Includes a removable magnifying mirror for detailed tasks.
- Carregamento conveniente: Equipped with 1 Type-C port, 1 Type-A port, and 2 AC outlets to keep your devices charged and beauty tools powered.
- Amparmazenamento: Includes 10 drawers of two different sizes for organizing skincare, cosmetics, and accessories. The accompanying stool offers hidden storage, and a built-in hair dryer rack provides convenient access.
- Sturdy & Chic Design: Constructed from engineered wood with a tempered glass top, ensuring durability and a modern aesthetic.
- Effortless Assembly & Safety Features: Designed for straightforward assembly with pre-labeled parts and clear instructions. Includes non-tipping kits for enhanced stability and safety.
3. Informações de segurança
AVISO: O não cumprimento destas instruções de segurança pode resultar em ferimentos ou danos ao produto.
- Always follow the assembly instructions carefully for safe setup and use.
- Utilize the provided non-tipping kits to securely anchor the vanity to a wall, preventing accidental tipping.
- Keep the vanity away from direct heat sources and open flames.
- Do not place excessively heavy objects on the mirror or glass surfaces to prevent breakage.
- Do not use the vanity if the power cord is damaged, or if it emits unusual noises or odors. Immediately unplug the unit if such conditions occur.
- Unplug the vanity from the power outlet when not in use and before cleaning.
- Do not use the vanity if the mirror is cracked or broken. Contact customer support for replacement parts.
- Este produto é destinado somente para uso interno.
4. Configuração e Montagem
The DWVO Vanity Desk Set requires assembly. All necessary parts and easy-to-follow instructions are included. It is recommended to have a clear, spacious area for assembly.
4.1 Desembalagem e Identificação das Peças
Carefully unpack all components and verify against the parts list in your instruction manual. The product may arrive in two separate boxes.

Image 4.1: All components laid out for assembly.
4.2 Processo de Montagem
Follow the step-by-step instructions provided in the included manual. Ensure all screws and bolts are tightened securely. The drawers are designed to slide easily into place. The mirror component is typically installed last.
Video 4.1: Assembly demonstration of the DWVO Vanity Desk Set, showing the process of putting together the desk and mirror components.
4.3 Securing the Vanity
Attach the non-tipping kits to the back of the vanity and to a wall stud using appropriate hardware. This step is crucial for safety, especially in households with children or pets.

Imagem 4.2: Dimensões do produto para planejamento de posicionamento.
5. Instruções de operação
Operação do espelho LED 5.1
The integrated LED mirror features a touch-sensitive button for control:
- Ligar/desligar: Tap the touch button once to turn the LED lights on or off.
- Ajustar a cor da luz: With the lights on, tap the button repeatedly to cycle through the three available light colors: Warm White, Cool White, and Warm Yellow.
- Ajustar brilho: To dim or brighten the lights, press and hold the touch button. The brightness will gradually adjust. Release the button when the desired brightness is achieved.

Image 5.1: LED mirror controls for light color and brightness adjustment.
5.2 Tomadas elétricas e portas USB
The vanity desk includes a built-in power strip with 2 standard AC outlets, 1 USB Type-A port, and 1 USB Type-C port. These are located on the side of the desk for convenient access.
- Ligue o secador de cabelo, curling iron, phone charger, or other electronic devices as needed.
- Certifique-se de que os dispositivos sejam compatíveis com o volume fornecido.tage and current ratings (125V/12A for AC, 5V/2A for USB).

Image 5.2: Integrated power outlets and hair dryer rack.
5.3 Magnifying Mirror
A removable magnifying mirror is included, which attaches to the main mirror surface via suction cups. This allows for precise application of makeup or detailed grooming tasks.
- Attach the magnifying mirror to any desired position on the main mirror.
- Ensure the suction cups are clean and dry for optimal adhesion.
5.4 Storage Drawers and Stool
The vanity features 10 drawers for organizing various items. The accompanying stool also provides hidden storage space.
- Utilize the different drawer sizes to categorize and store your cosmetics, skincare products, and accessories.
- Lift the cushioned top of the stool to access its internal storage compartment.
Vídeo 5.1: Acabouview of the vanity desk, demonstrating drawer functionality, mirror lighting, and the stool's hidden storage.
6. Manutenção
6.1 Limpeza
- Superfícies: Limpe todas as superfícies com um pano macio e seco.amp pano. Evite produtos de limpeza abrasivos ou produtos químicos agressivos que possam danificar o acabamento.
- Espelho: Limpe o espelho com um limpa-vidros e um pano que não solte fiapos. Não borrife o produto de limpeza diretamente no espelho; aplique-o primeiro no pano.
- Tampo de vidro: For the tempered glass top, use a glass cleaner. Be careful not to let liquids seep into the drawers below.
6.2 Cuidados Gerais
- Verifique regularmente todos os parafusos e conexões para garantir que permaneçam firmes. Aperte-os, se necessário.
- Avoid exposing the vanity to excessive moisture or direct sunlight for prolonged periods.
- Do not drag the vanity when moving it; always lift to prevent damage to the legs and floor.
7. Solução De Problemas
| Problema | Possível causa | Solução |
|---|---|---|
| LED mirror lights not turning on. | Power cord unplugged; power outlet not working; faulty connection. | Ensure the power cord is securely plugged into a functional outlet. Check the connection between the mirror and the desk. |
| Lights are not dimming/changing color. | Operação incorreta do botão de toque. | Tap the button to change color. Press and hold the button to adjust brightness. |
| As tomadas elétricas/portas USB não estão funcionando. | Power cord unplugged; device not compatible; circuit overload. | Verify the main power cord is plugged in. Check device compatibility. Avoid overloading the outlets. |
| Drawers are stiff or not sliding smoothly. | Improper assembly; obstruction in drawer slides. | Recheck assembly instructions for drawer slides. Remove any obstructions. |
| A vaidade parece instável. | Loose connections; non-tipping kit not installed. | Tighten all assembly screws. Ensure the non-tipping kit is properly installed and anchored to a wall. |
8. Especificações
- Número do modelo: MADWVgVmC7
- Dimensões do produto: 15.7"D x 46"L x 55.9"A (39.9 cm de diâmetro x 116.8 cm de largura x 142 cm de altura)
- Peso do item: 122.4 libras (55.5 kg)
- Material da estrutura: Madeira projetada
- Tipo de espelho: LED Mirror with 3 Dimmable Light Colors
- Tomadas de energia: 2 AC Outlets (125V/12A), 1 USB Type-A Port (5V/2A), 1 USB Type-C Port (5V/2A)
- Armazenar: 10 Drawers, Hidden Storage Stool, Hair Dryer Rack
- Montagem necessária: Sim
9. Garantia e suporte
Your DWVO Vanity Desk Set is covered by a manufacturer's warranty against defects in materials and workmanship. For specific warranty details, including duration and coverage, please refer to the warranty card included with your product or contact DWVO customer support.
Suporte ao cliente
If you encounter any issues with your product, require replacement parts, or have questions not addressed in this manual, please contact DWVO customer support through the retailer where the product was purchased or visit the official DWVO website para informações de contato.
Please have your model number (MADWVgVmC7) and purchase date ready when contacting support.


