Introdução
This manual provides essential instructions for the safe operation, installation, and maintenance of your Vissani 3-in-1 Portable Air Conditioner, Model VAP09R1AWT. This unit is designed to provide cooling, dehumidification, and fan functions for rooms up to 150 square feet. Please read all instructions thoroughly before initial use.
Instruções importantes de segurança
Please read all instructions carefully before using this appliance. Failure to follow these instructions may result in electric shock, fire, or personal injury. Keep this manual for future reference.
- Always connect the unit to a grounded 3-prong outlet. Do not remove the grounding prong or use an adapter.
- Do not operate the unit with a damaged power cord or plug. If the power cord is damaged, it must be replaced by the manufacturer, its service agent, or similarly qualified persons to avoid a hazard.
- Do not block air vents or exhaust openings. Ensure adequate clearance around the unit for proper airflow.
- Keep flammable materials, such as aerosols, away from the unit.
- Unplug the unit from the power outlet before cleaning, performing maintenance, or moving it.
- Do not use the unit in wet areas such as bathrooms or laundries where it may come into contact with water.
- Ensure proper installation of the exhaust hose to prevent hot air recirculation and maintain cooling efficiency.
- Este aparelho não se destina ao uso por pessoas (incluindo crianças) com capacidades físicas, sensoriais ou mentais reduzidas, ou com falta de experiência e conhecimento, a menos que tenham recebido supervisão ou instruções sobre o uso do aparelho de uma pessoa responsável pela sua segurança.
Conteúdo da embalagem
Ao abrir a embalagem, verifique se todos os itens estão presentes:
- Vissani Portable Air Conditioner Unit
- Controle remoto
- Kit de instalação para janela (inclui mangueira de exaustão, kit de corrediças para janela e adaptadores)
- Manual do usuário (este documento)
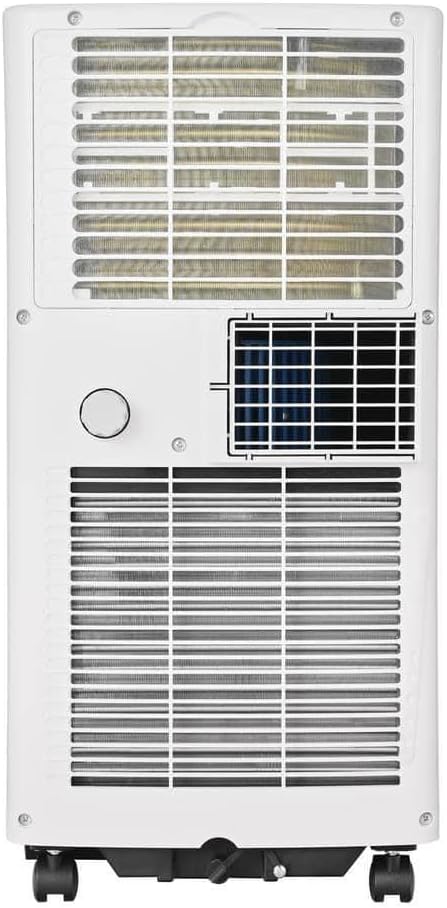
Produto acimaview
Familiarize yourself with the main components and general appearance of your portable air conditioner.

The unit features a compact design with integrated caster wheels for easy mobility between rooms.


Configuração e instalação
The Vissani portable air conditioner requires proper installation of the window kit to vent hot exhaust air outside. Correct installation is crucial for efficient cooling performance.
Conjunto de kit de janela
- Attach one end of the exhaust hose to the unit's exhaust port. Twist or click into place until secure.
- Connect the window exhaust adapter to the other end of the exhaust hose.
- Adjust the window slider kit to fit your window opening. Extend or retract the panels as needed.
- Place the assembled window slider kit securely in the window frame. Close the window against the kit to seal it.
- Insira o adaptador de exaustão da janela na abertura do kit de janela deslizante.
- Ensure all connections (unit to hose, hose to adapter, adapter to window kit) are secure to prevent air leakage, which can reduce efficiency.


Instruções de operação
Your Vissani portable AC offers three operating modes: Cool, Dehumidify, and Fan. It can be controlled via the unit's control panel or the included remote control.
Painel de controle e controle remoto
The control panel on top of the unit allows direct access to all functions. The remote control provides convenient operation from a distance. Ensure batteries are correctly inserted into the remote control.
Modos de operação
- Modo legal: Select this mode for air conditioning. Use the temperature adjustment buttons to set your desired room temperature. The unit will cool the room to the set temperature and cycle on/off to maintain it.
- Modo de desumidificação: This mode removes excess moisture from the air. The fan speed is typically fixed at a low setting in this mode. For continuous dehumidification, ensure the continuous drainage option is set up (refer to the Maintenance section).
- Modo fã: Circulates air without cooling. Select desired fan speed (low, medium, high) to provide a refreshing breeze.
Função de temporizador
The 24-hour programmable timer allows you to set the unit to turn on or off automatically after a specified period. To set the timer, press the 'Timer' button on the control panel or remote, then use the temperature adjustment buttons to select the desired delay time (in hours). Press 'Timer' again to confirm.
Manutenção
Regular maintenance ensures optimal performance, improves air quality, and extends the lifespan of your portable air conditioner.
Limpeza do filtro de ar
The air filter should be cleaned every two weeks or more frequently depending on usage and air quality. A dirty filter can significantly reduce cooling efficiency and airflow.
- Desconecte a unidade da tomada antes de limpá-la.
- Locate and remove the air filter (typically found on the back or side of the unit).
- Wash the filter with warm, soapy water. Rinse thoroughly to remove all dirt and debris.
- Allow the filter to air dry completely before reinstalling. Do not expose to direct sunlight or heat.
- Reinsert the dry filter into the unit, ensuring it is properly seated.
Drenagem
The unit collects condensate during cooling and dehumidifying operations. Periodically drain the collected water from the drainage port at the bottom rear of the unit. For continuous dehumidification, connect a standard garden hose (not included) to the continuous drainage port and direct it to a floor drain or suitable receptacle.
Armazenar
Before storing the unit for an extended period (e.g., during off-season):
- Drain all accumulated water completely from the unit.
- Clean the air filter as described above.
- Run the unit in fan-only mode for a few hours to ensure internal components are thoroughly dry.
- Unplug the unit and carefully coil the power cord.
- Store the unit in a dry, upright position, preferably in its original packaging, away from extreme temperatures.
Guia de solução de problemas
Antes de entrar em contato com o suporte ao cliente, verifiqueview A seguir, apresentamos os problemas comuns e suas possíveis soluções.
| Problema | Possível causa | Solução |
|---|---|---|
| A unidade não liga | No power supply; power cord unplugged; circuit breaker tripped; unit's internal safety switch activated. | Ensure unit is securely plugged into a functional, grounded outlet; check and reset the circuit breaker if tripped; press the reset button on the plug if available. |
| Resfriamento insuficiente | Dirty air filter; blocked air intake/exhaust; room size exceeds capacity; windows/doors open; exhaust hose not properly installed or kinked. | Clean the air filter; clear any obstructions from air inlets and outlets; ensure the room size is within 150 sq. ft.; close all windows and doors; verify exhaust hose installation and ensure it is straight. |
| A unidade está fazendo barulho ou vibrando excessivamente. | Unit not on a level surface; fan obstruction; loose components. | Place the unit on a flat, stable surface; check for foreign objects in the fan area; contact support if noise persists after checking. |
| Vazamento de água | Drain plug not securely closed; unit tilted; internal water tank full (if applicable and not continuously drained). | Ensure the drain plug is securely closed; place the unit on a level surface; drain accumulated water from the unit. |
| Controle remoto não funciona | Dead batteries; obstruction between remote and unit; remote not pointed at receiver. | Replace batteries with new ones; remove any obstructions; ensure remote is pointed directly at the unit's receiver. |
Especificações do produto
| Recurso | Detalhe |
|---|---|
| Número do modelo | VAP09R1AWT |
| Capacidade de resfriamento (DOE) | 5,000 BTU |
| Área de cobertura | Até 150 pés quadrados. |
| Funções | Ar condicionado, desumidificador, ventilador |
| Volumetage | 115 Volts |
| O quetage | 450 watts |
| Nível de ruído | 50-52 dBA |
| Peso do item | 45.9 libras |
| Dimensões do produto (P x L x A) | Aproximadamente 15 x 16 x 12 polegadas |
| Cor | Branco |
| Componentes incluídos | Remote Control, Window Installation Kit |
Garantia e Suporte ao Cliente
For specific warranty information regarding your Vissani Portable Air Conditioner, Model VAP09R1AWT, please refer to the warranty card included with your product packaging. It is recommended to retain your purchase receipt as proof of purchase for any warranty claims.
For technical assistance, troubleshooting beyond this guide, or to inquire about replacement parts, please contact Vissani customer support. Contact details can typically be found on the product packaging, the official Vissani website, or the included warranty documentation.


