Introdução
This manual provides detailed instructions for the installation, operation, and maintenance of your darkFlash DE360 All-in-one Liquid CPU Cooler. The DE360 features a 2.88-inch IPS LCD display, ARGB synchronization, and three PWM fans with a 360mm radiator, designed for efficient CPU cooling. Please read this manual thoroughly before installation and use to ensure proper functionality and longevity of the product.

Imagem: Acimaview of the darkFlash DE360 All-in-one Liquid CPU Cooler highlighting its unique shape, integrated LCD screen, AMD/Intel compatibility, ARGB Sync, high-performance water pump, and PWM smart fan control.
O que está na caixa
Verifique se todos os componentes estão presentes antes de prosseguir com a instalação.
- AIO Cooler 360mm (with pre-installed fans and pump)
- Guia de instalação
- Suporte Intel
- Suporte AMD
- Placa traseira
- Parafusos de montagem
- Intel 17XX Standoffs
- Intel 115X/1200 Standoffs
- Confrontos da AMD
- graxa térmica
Video: Unboxing and initial component overview of the darkFlash DE360 AIO Liquid CPU Cooler, showing the contents of the package and the main cooler unit.
Especificações
| Marca | Flash escuro |
| Número do modelo | DE360 |
| Método de resfriamento | Líquido (Água) |
| Tamanho do radiador | 360 mm |
| Tipo de ventilador | PWM ARGB Fans |
| Velocidade máxima do ventilador | 2000 RPM ±10% |
| Nível de ruído do ventilador | ≤36 dBA |
| Capacidade de fluxo de ar | 64.05 CFM |
| Velocidade da bomba | 2500 RPM ±10% |
| Tela LCD | 2.88" IPS, 480x480 Resolution |
| Compatibilidade | Intel 1851/1700, AMD AM4/AM5 |
| Material | Aluminium (Radiator), Copper (Cold Plate), Glass |
| Tipo de conector de alimentação | 5 pinos |
| Peso do item | 4.98 libras |

Image: Diagram illustrating compatibility with various Intel (LGA2011/2011-V3/2066/1366/115X/1700/1851) and AMD (FM1/FM2/FM2+/AM2/AM2+/AM3/AM3+/AM4/AM5) sockets.
Configuração e instalação
Follow these steps for proper installation of your darkFlash DE360 liquid CPU cooler. Ensure your system is powered off and unplugged before beginning.
1. Prepare the CPU Block
- Carefully remove the protective film from the copper cold plate of the CPU block.
- Attach the appropriate mounting bracket (Intel or AMD) to the CPU block. Align the bracket with the arrows and rotate until it is parallel and securely locked.
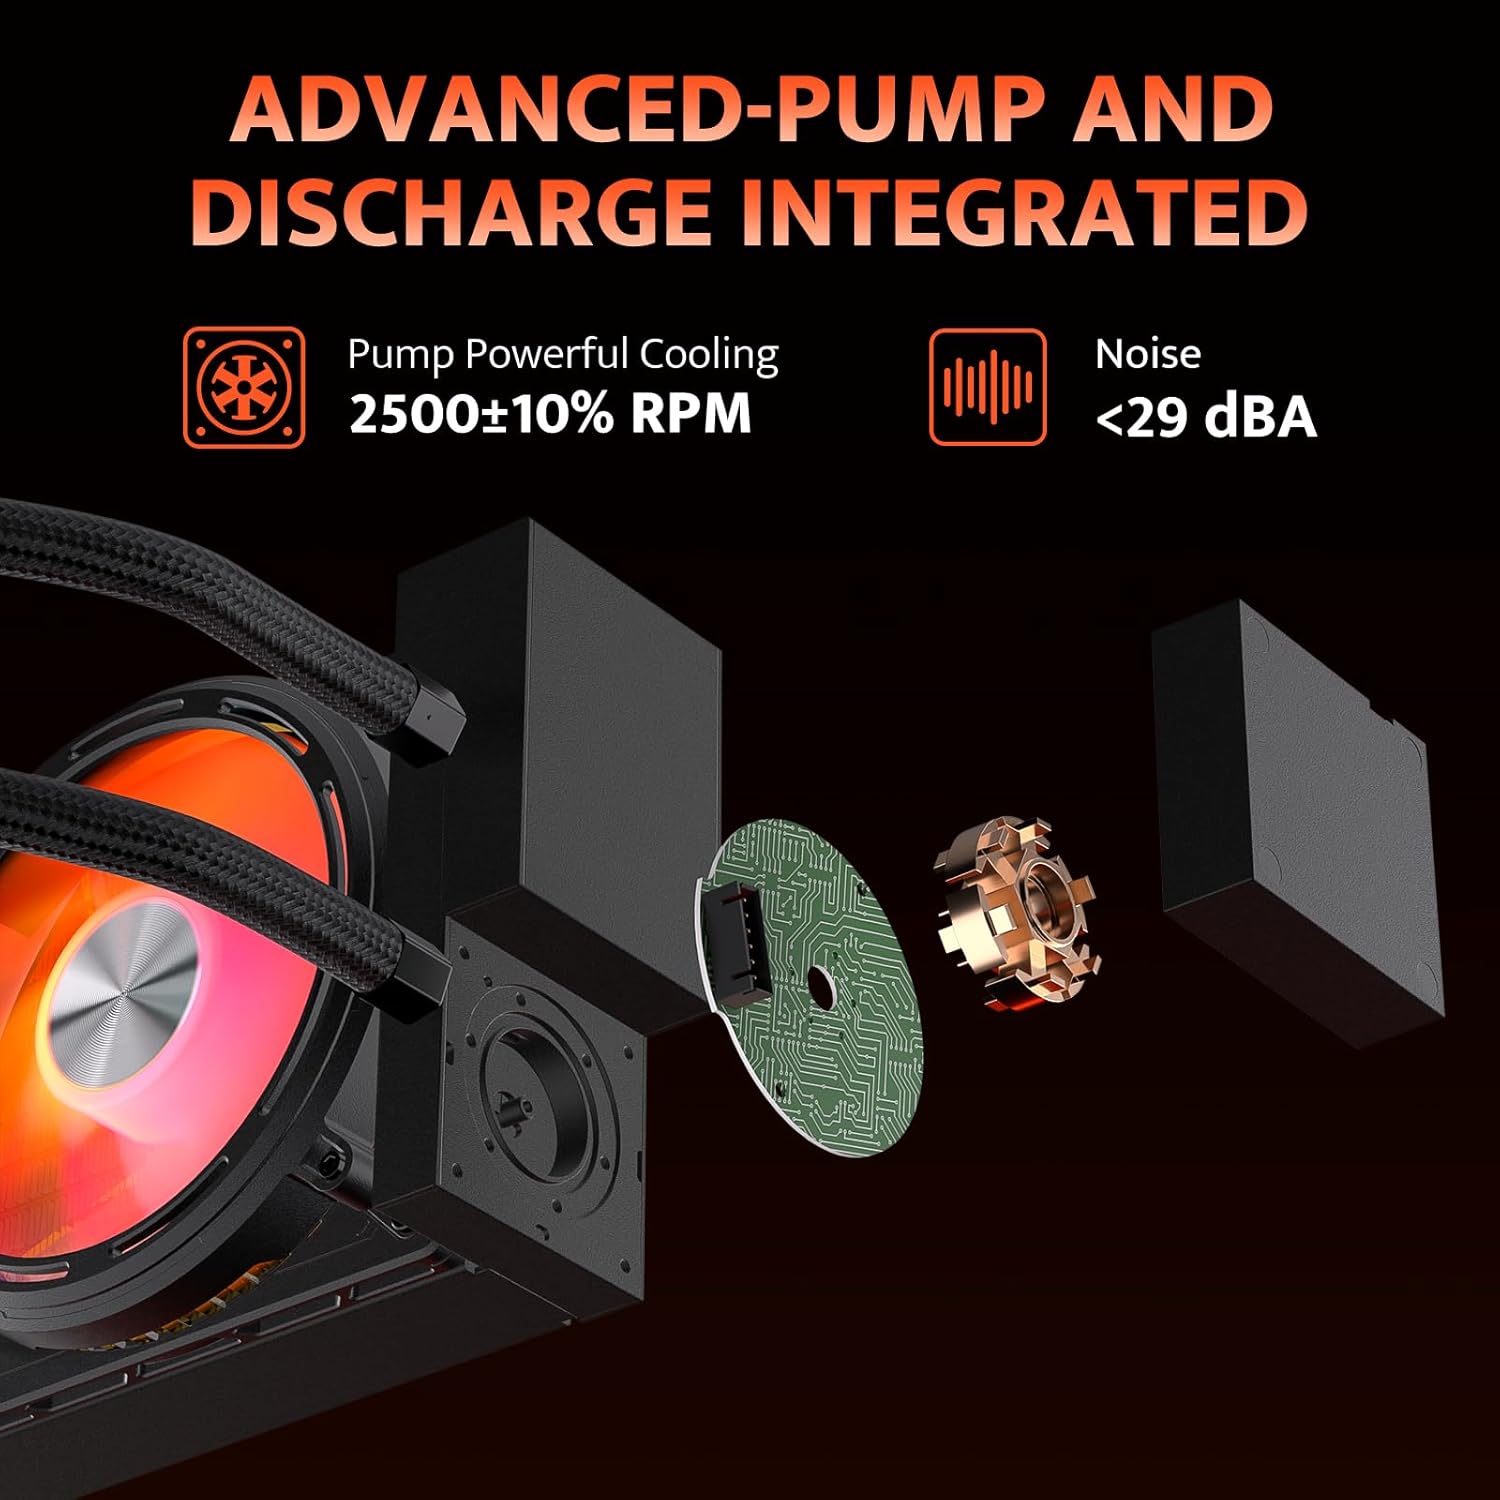
Image: Diagram showing the advanced pump design, which isolates the water pump from the cold head for improved heat dissipation and installation flexibility. The pump operates at 2500 RPM with noise levels below 29 dBA.
2. Instale o radiador e as ventoinhas.
- Mount the 360mm radiator with its pre-installed fans to an available fan mounting location in your PC case (typically the top or front). Use the provided screws to secure it.
- Garanta a direção correta do fluxo de ar para um resfriamento ideal.

Image: Illustration of the high wind pressure thickened fans, detailing fan speed (≤2000 RPM), air capacity (≤55.22 CFM), fan pressure (≤2.16 MMH2O), and noise (≤36 dBA).
3. Monte o bloco da CPU
- Apply a small amount of thermal grease to the center of your CPU's integrated heat spreader (IHS).
- Place the backplate on the rear of your motherboard, aligning it with the CPU socket holes.
- Insert the appropriate standoffs (Intel 17XX/115X/1200 or AMD) into the four mounting holes around the CPU socket.
- Carefully place the CPU block onto the CPU, ensuring the mounting holes align with the standoffs.
- Secure the CPU block with the provided mounting screws, tightening them in a diagonal pattern until snug. Do not overtighten.
Video: Detailed installation guide for the darkFlash DE360 AIO Liquid CPU Cooler, demonstrating the steps for mounting the CPU block, radiator, and connecting cables.
4. Conexões de Cabos
- Connect the 3-pin pump connector to the CPU_FAN or AIO_PUMP header on your motherboard.
- Connect the fan PWM cables to the CPU_FAN or other available fan headers on your motherboard.
- Connect the ARGB cables to a compatible 5V 3-pin ARGB header on your motherboard for lighting synchronization.
- Plug the USB 2.0 connector from the LCD screen into an available USB 2.0 header on your motherboard. This is essential for LCD display functionality and software control.
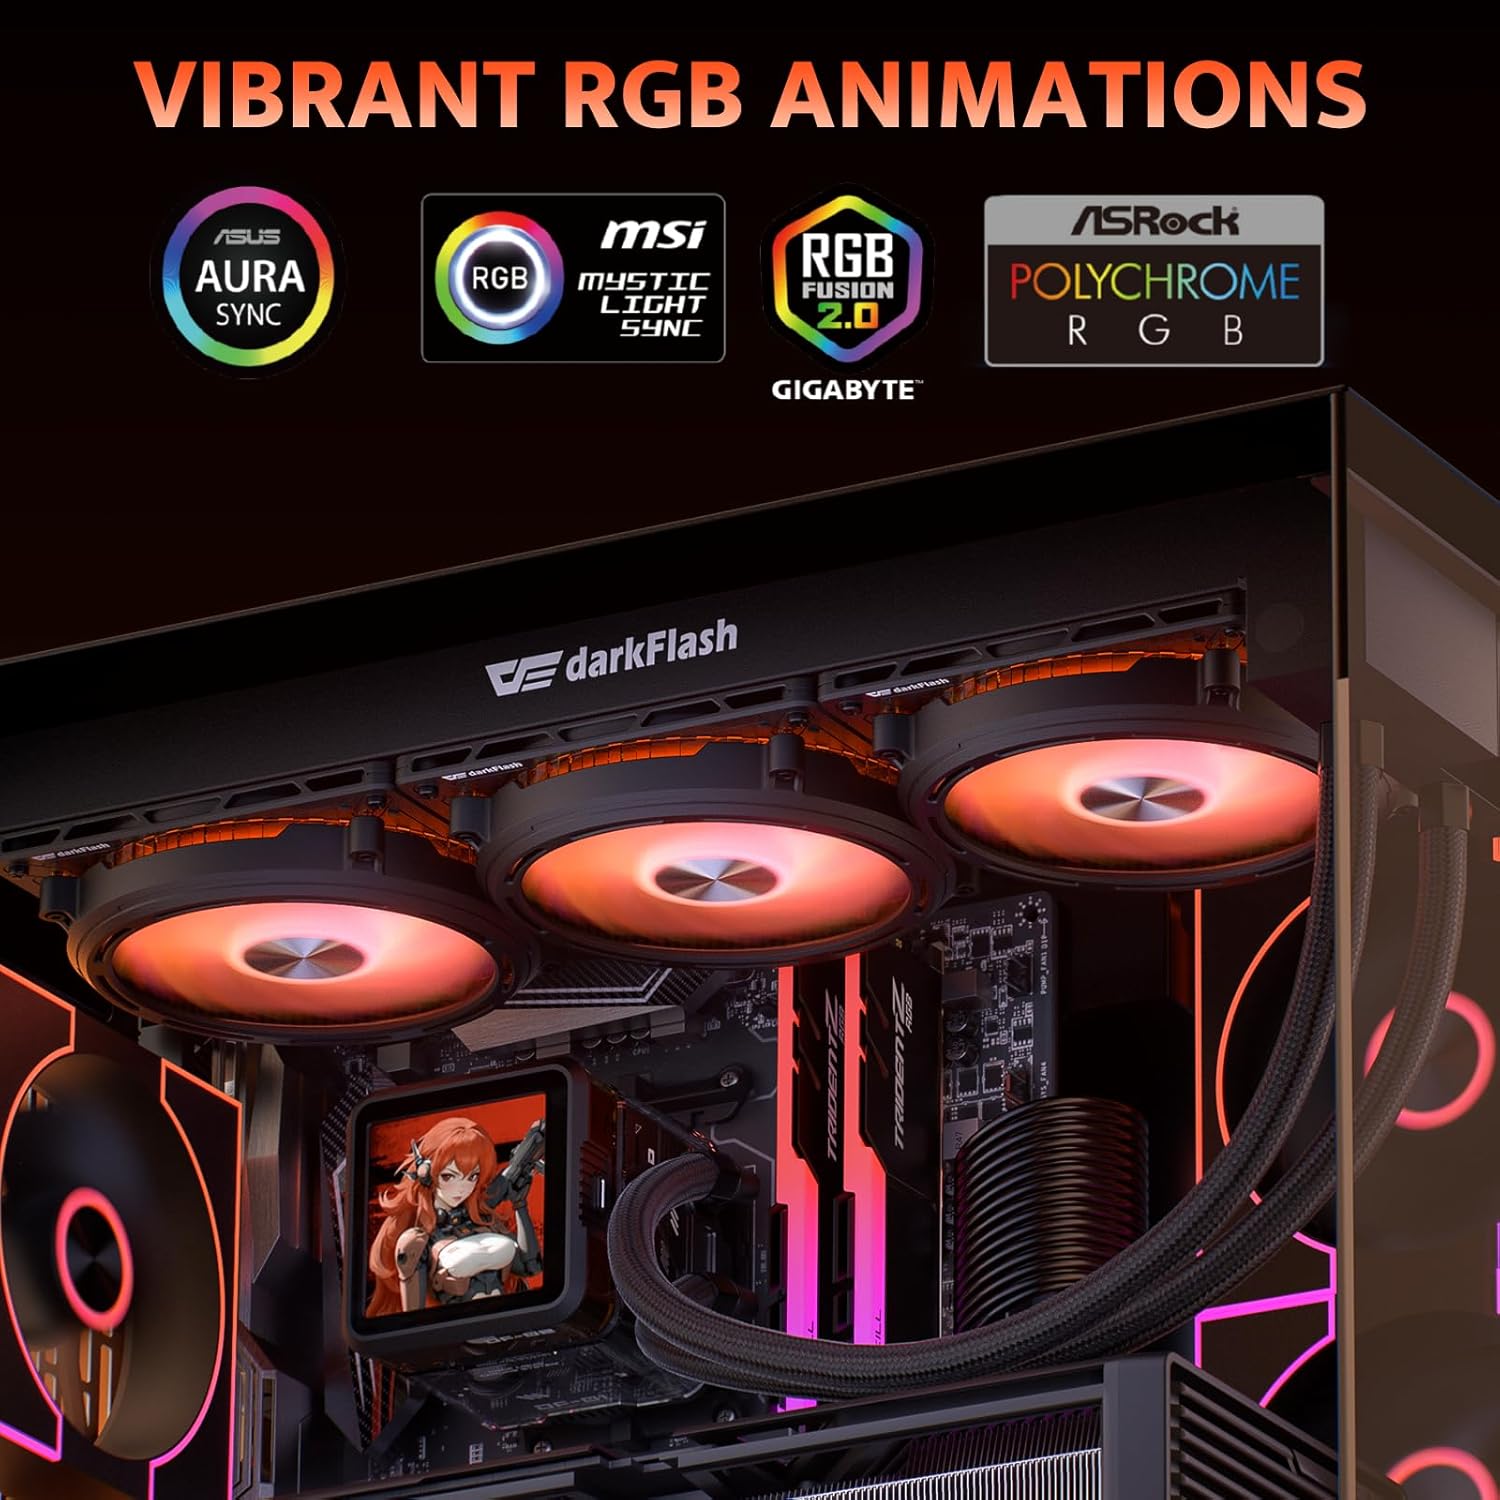
Image: Display of vibrant RGB lighting effects, highlighting compatibility with ASUS Aura Sync, MSI Mystic Light Sync, Gigabyte RGB Fusion, and ASRock Polychrome RGB for synchronized lighting.
Instruções de operação
Once installed and connected, the darkFlash DE360 will begin cooling your CPU automatically. The fans will adjust speed based on CPU temperature via PWM control.
LCD Screen Functionality
The 2.88-inch IPS LCD screen on the CPU block displays real-time system information such as CPU temperature, frequency, and other customizable data. It can also display custom images or videos.

Image: The darkFlash DE360 AIO Liquid CPU Cooler installed in a PC, showcasing the 2.88-inch LCD screen displaying CPU temperature and other system metrics.
Software Control and Customization
To fully utilize the LCD screen's customization features and monitor system performance, download the dedicated darkFlash control software from the official darkFlash website. O software permite que você:
- Monitor CPU and GPU temperatures, fan speeds, and other system parameters.
- Select from various pre-designed themes for the LCD display.
- Upload custom images or videos to be displayed on the LCD screen.
- Adjust display rotation (e.g., 90 degrees) for optimal viewângulos de inclinação.

Image: Screenshot of the darkFlash intelligent control software, showing options for system monitoring, theme selection, and customization of the LCD display with dynamic styling and cloud themes.
Manutenção
Regular maintenance helps ensure optimal performance and extends the lifespan of your liquid CPU cooler.
- Limpeza de pó: Limpe periodicamente a poeira das aletas e ventoinhas do radiador usando ar comprimido. Certifique-se de que as ventoinhas não estejam girando durante a limpeza para evitar danos.
- Inspeção de tubos: Check the coolant tubes for any signs of kinks, leaks, or damage. Ensure they are not pressing against other components that could cause wear.
- Ruído da bomba: Listen for unusual noises from the pump. A consistent humming sound is normal, but grinding or gurgling may indicate an issue.
- Pasta térmica: While not frequently required for AIOs, if you ever remount the CPU block, clean off old thermal paste and apply new thermal paste for optimal heat transfer.

Image: Diagram illustrating the efficient heat dissipation features, including a 53mm high-density radiator and IIR+EPDM dual-material hoses designed for low resistance and resistance to aging and corrosion.
Solução de problemas
If you encounter issues with your darkFlash DE360, refer to the following common problems and solutions:
- Altas temperaturas da CPU:
- Ensure the CPU block is securely mounted and making full contact with the CPU.
- Verify that thermal paste was applied correctly.
- Check if the pump is running (listen for a faint hum or check software monitoring).
- Certifique-se de que as ventoinhas do radiador estejam girando e orientadas corretamente para permitir o fluxo de ar.
- Limpe qualquer acúmulo de poeira nas aletas do radiador.
- Ventoinhas não giram/RGB não funciona:
- Check all fan and ARGB cable connections to the motherboard.
- Ensure the ARGB header on your motherboard is enabled in the BIOS/UEFI or motherboard software.
- Confirm that the power supply is providing adequate power.
- Tela LCD não exibida:
- Verify the USB 2.0 cable from the LCD screen is securely connected to both the CPU block and the motherboard header.
- Install the darkFlash control software and ensure it recognizes the device.
- Check for any driver updates for the cooler on the darkFlash website.
- Ruído incomum da bomba:
- Ensure the pump is positioned lower than the highest point of the radiator to prevent air bubbles from accumulating in the pump.
- If the noise persists, contact darkFlash support.
Garantia e Suporte
The darkFlash DE360 All-in-one Liquid CPU Cooler comes with a garantia de 3 anos. For technical support, warranty claims, or further assistance, please visit the official darkFlash webVisite o site ou entre em contato com o serviço de atendimento ao cliente. Guarde o comprovante de compra para validação da garantia.
darkFlash oficial Website: www.darkflash.com


